This user guide will provide you with all the information you need to know to set up and use your Archivist book scanner. If you have any questions or have tips you want to add to this guide, email help at tenrec dot builders or post in the forums.
Aside from this guide, you can find more resources at the Archivist Design Guide, the DIY Book Scanner forums, or the Tenrec Builders LLC homepage.
Assembly
The assembly instructions are posted on the design guide in five parts. Here is the direct link to each part:
Archivist Tools -- If you purchased a kit from Tenrec Builders LLC, the electrical tape and hex keys are included.
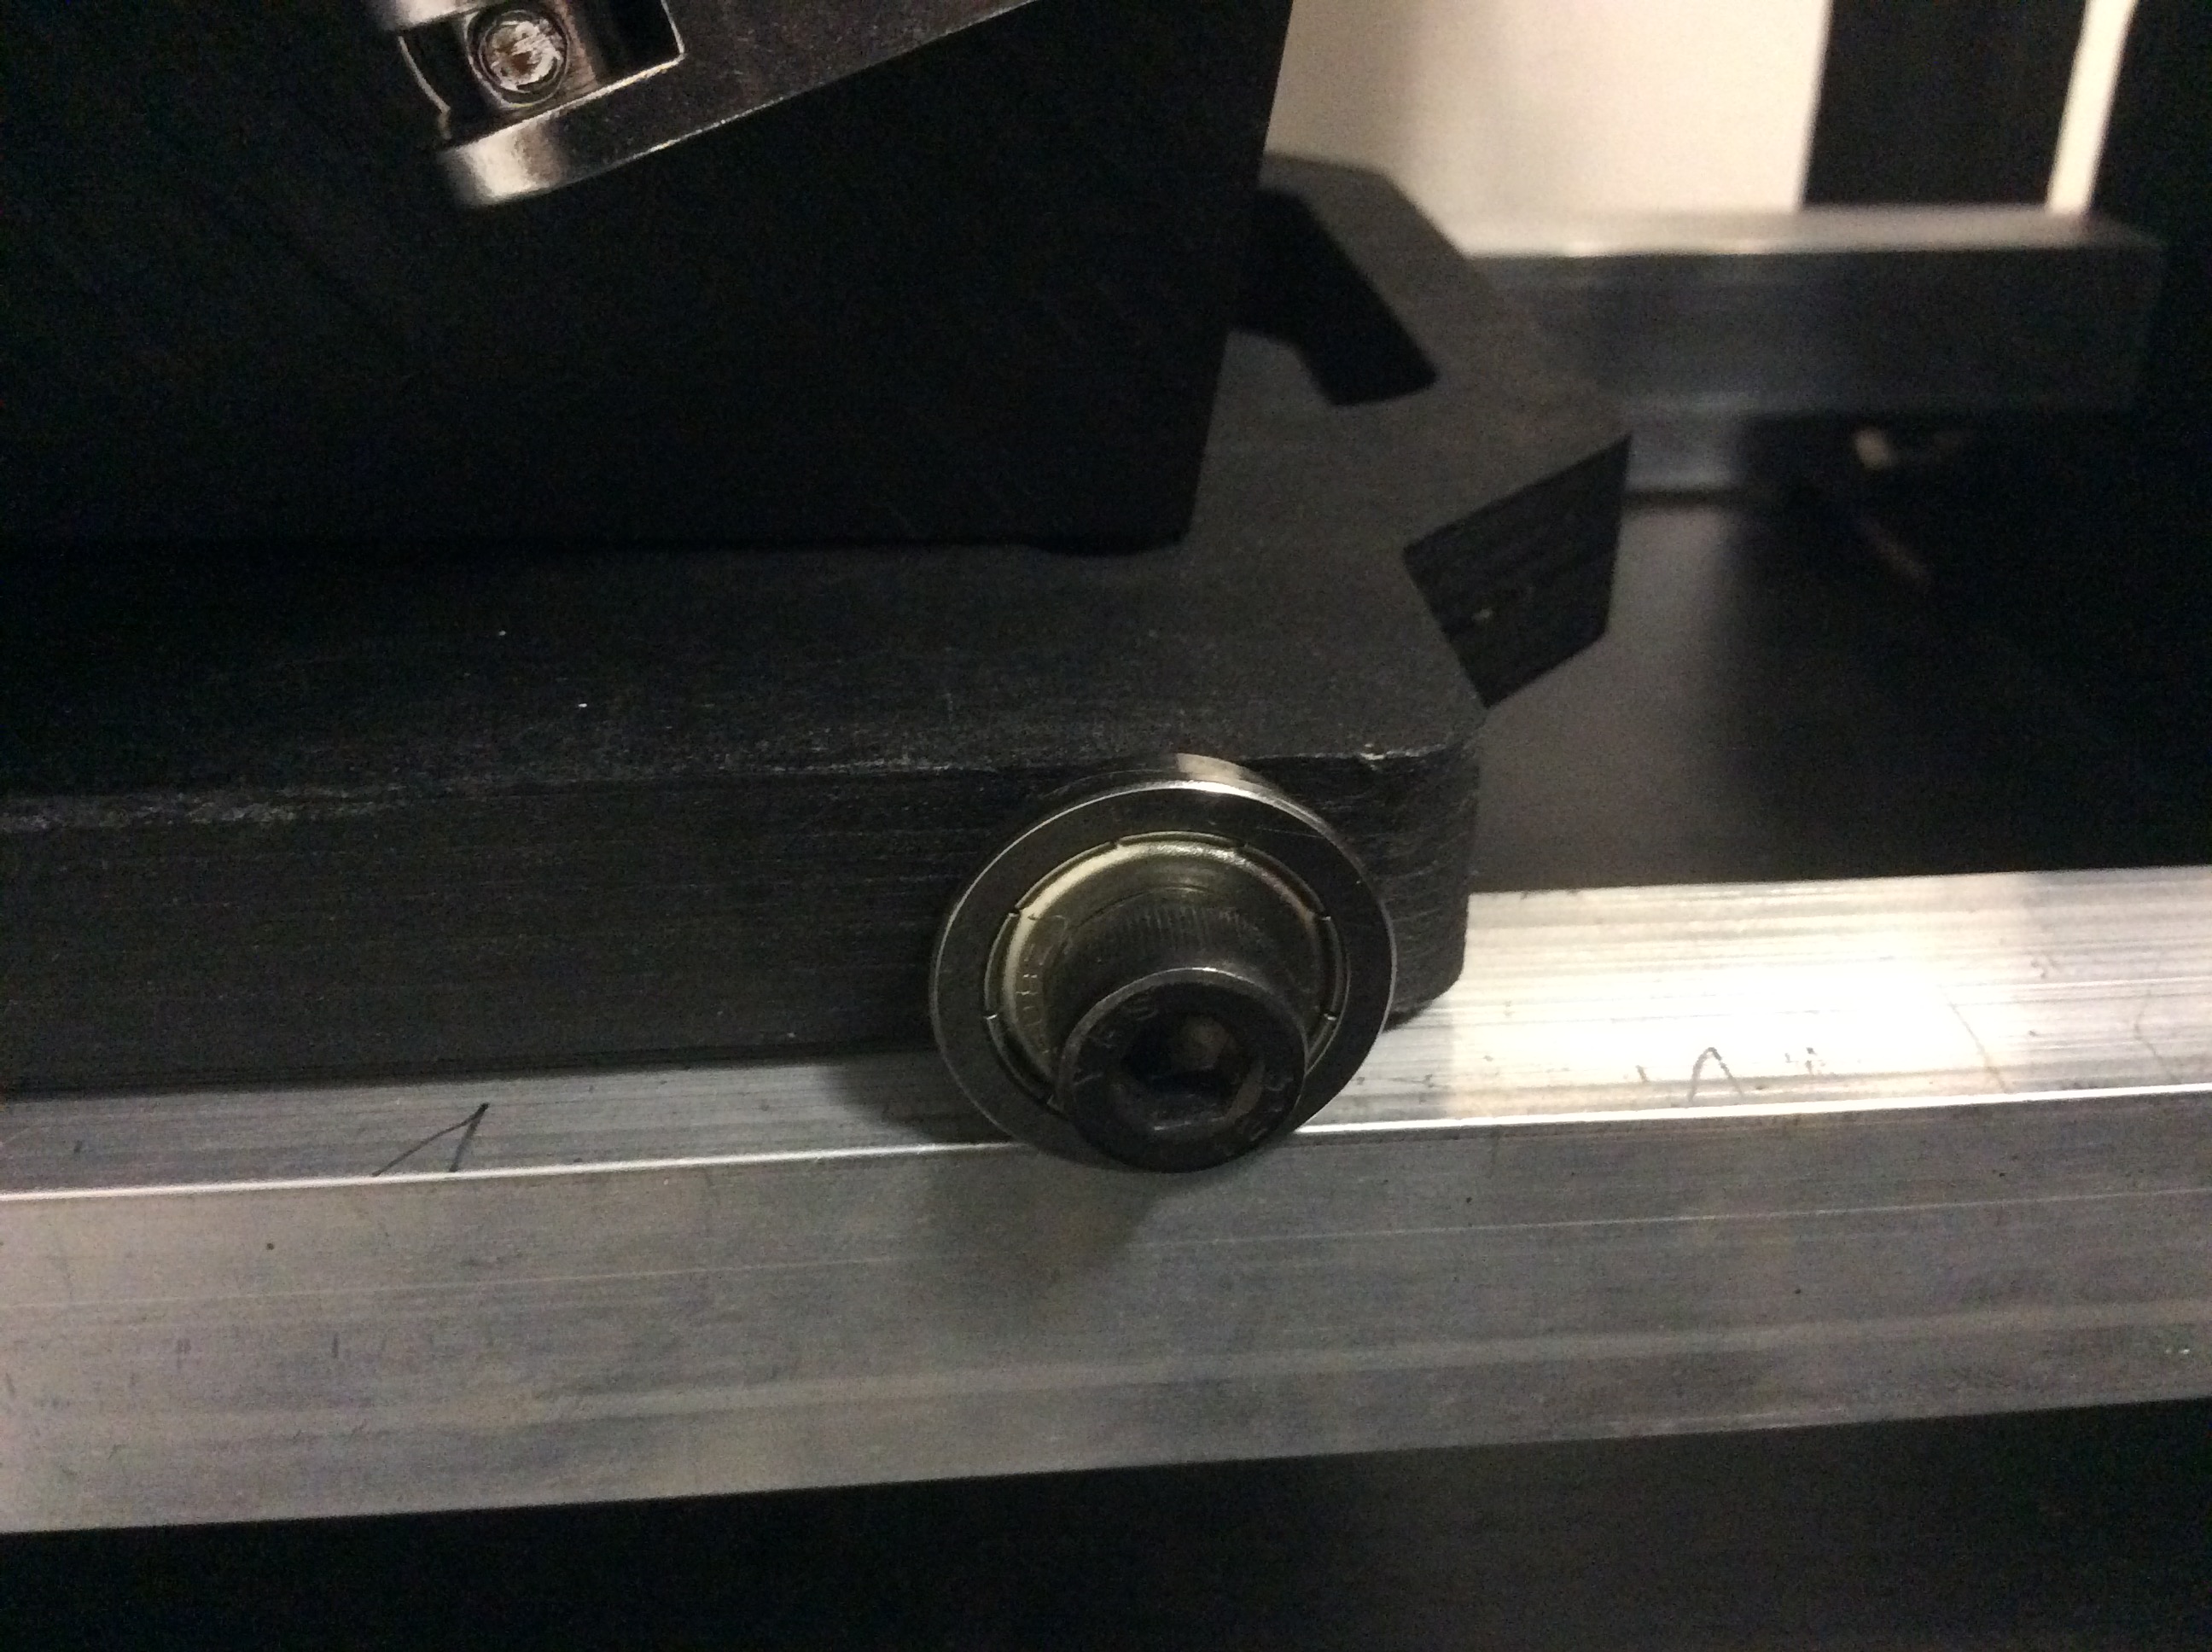
Archivist Base -- If you purchased a kit from Tenrec Builders LLC, there is a tweak when assembling the front-left pulley. You want to reverse the 40mm bolt. Put the bolt into the hole from the left, add the nut, then the pulley, and finally the flange nut. This makes sure the pulley is held properly. The kit has a slightly different screw type than the instructions assume.
Cradle -- For more about how to use the cradle, see below.
Electronics Pack Setup -- If you bought the standard electronics pack or want to make one yourself, you will want to follow these instructions to set up your cameras and controller.
Camera Alignment -- In order to take good scans, you need to align your cameras carefully. Here is the best way to do it.
Using the Cradle
The cradle has a few features which require further explanation.
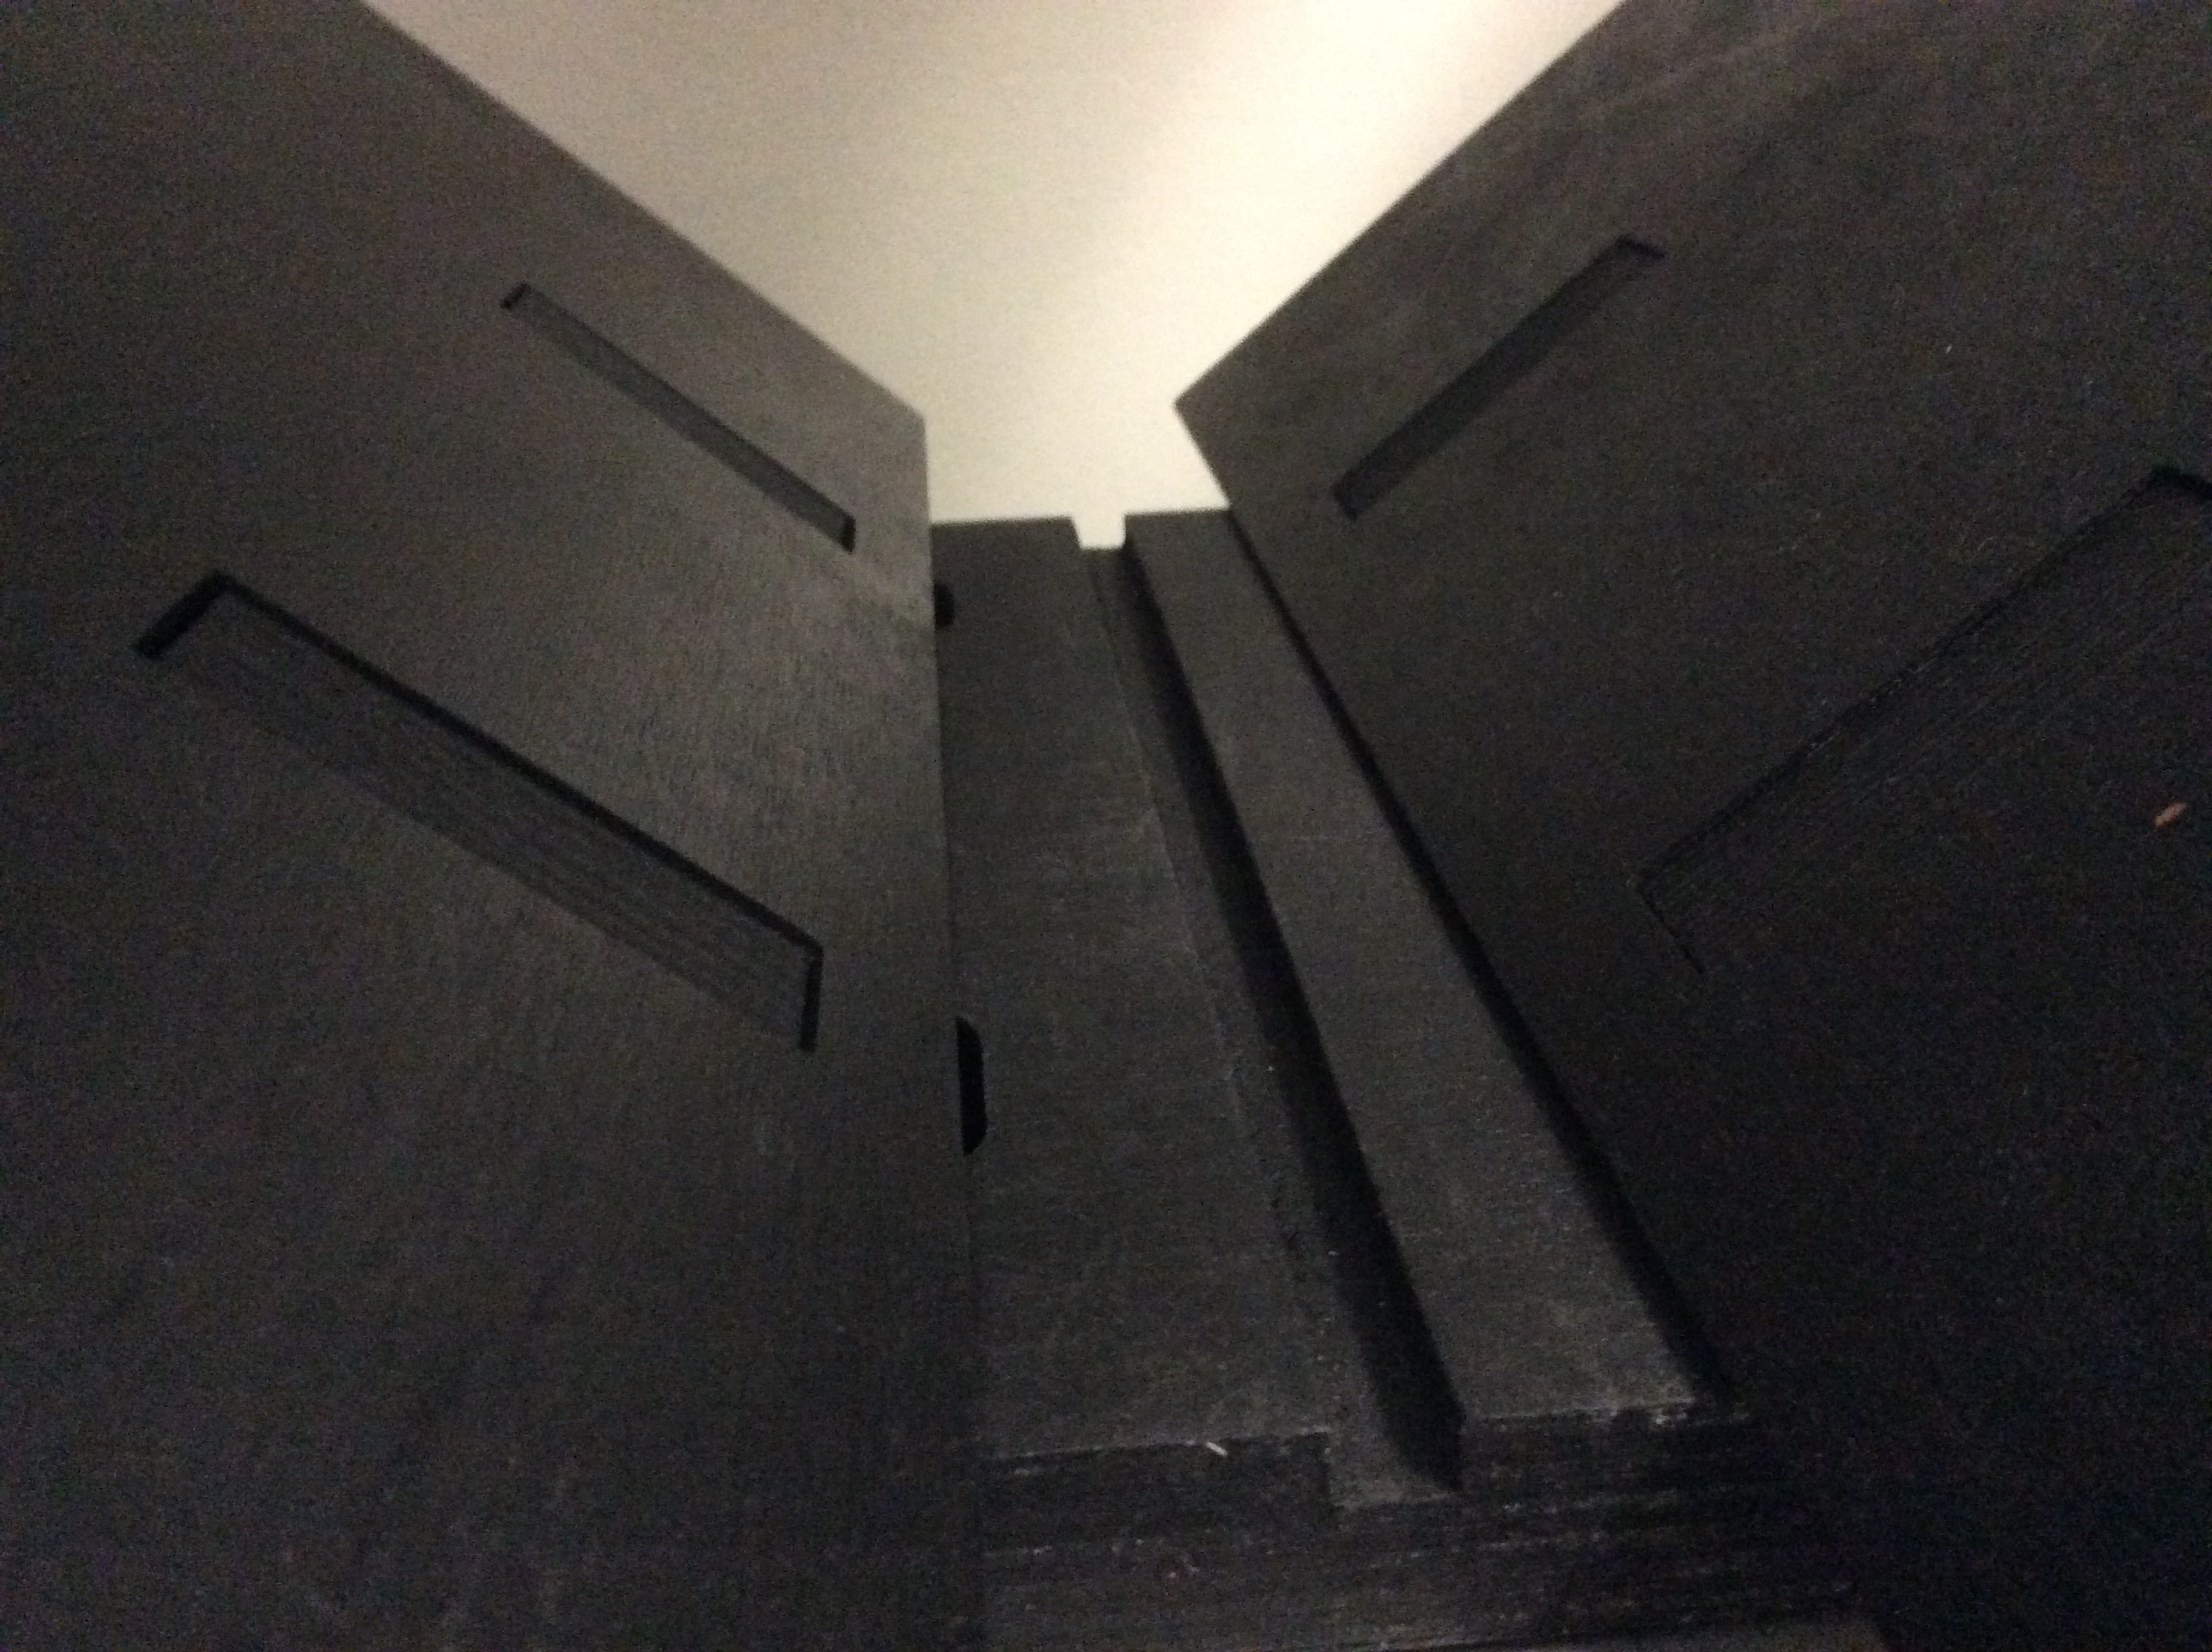
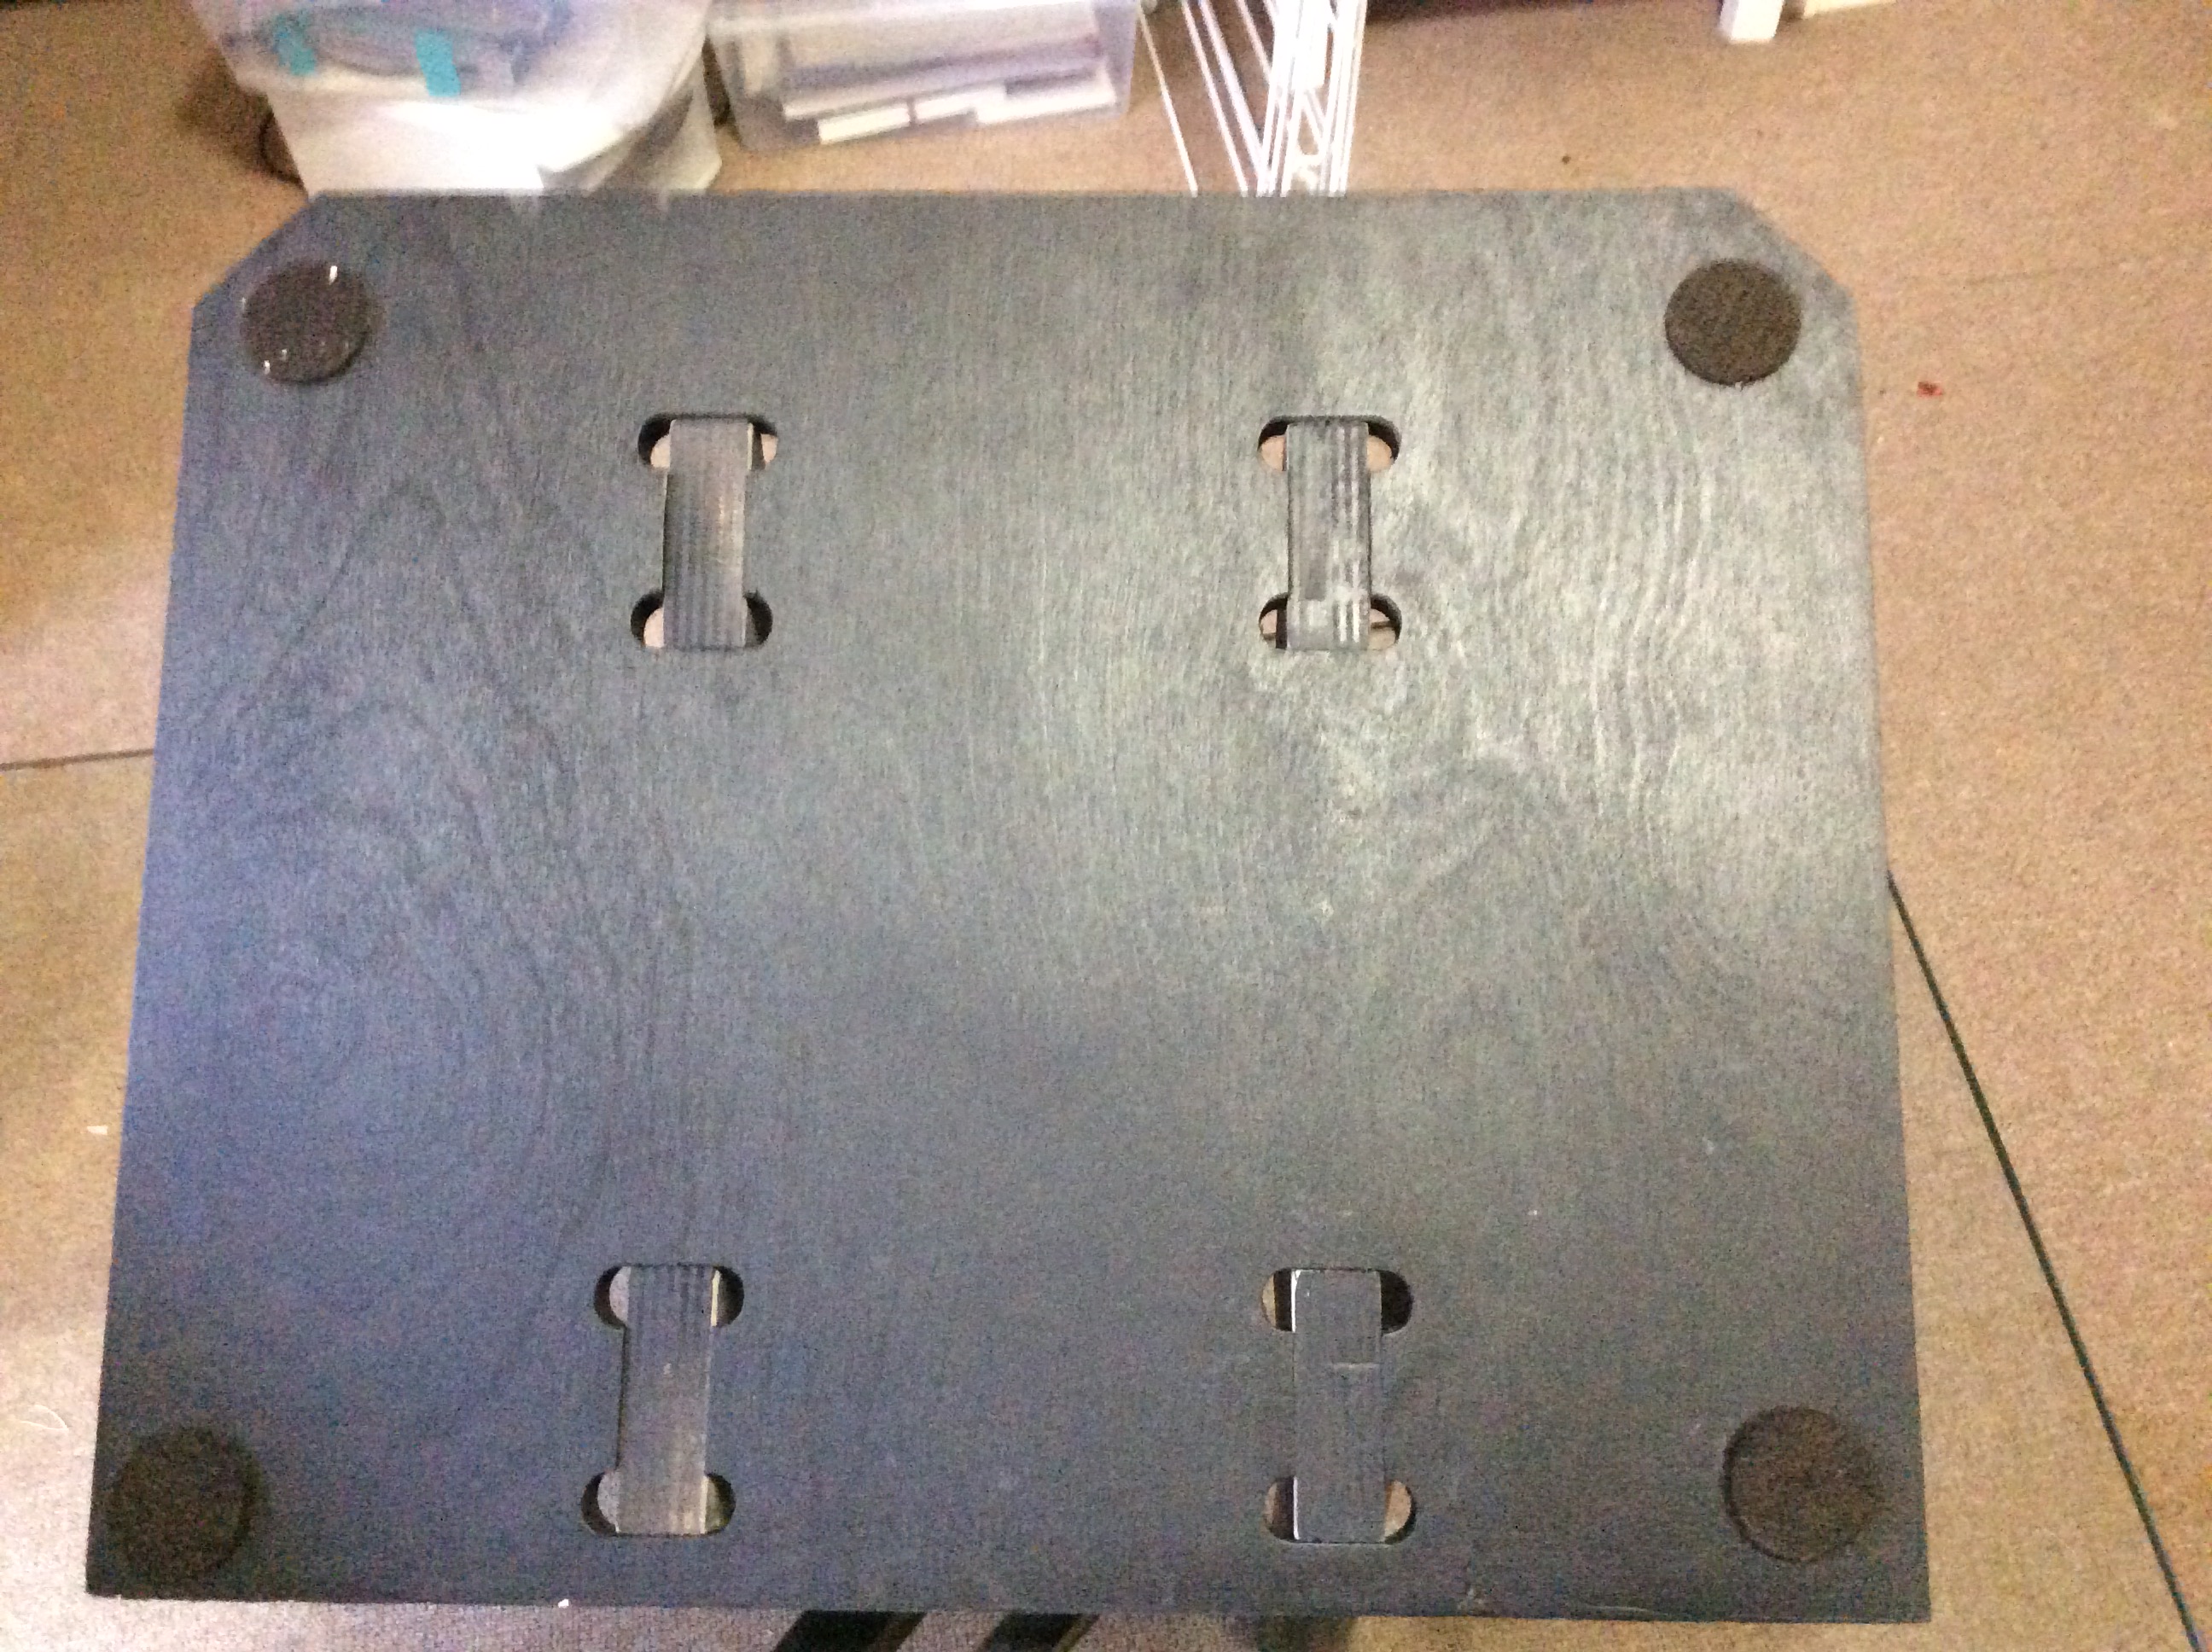
Removable The cradle is removable. This will let you lift the cradle out of the scanner to make it easier to set it up for a new book. Always lift it from the base using the handles at the sides. If you lift it by the wings, it will sometimes come apart in your hands. Take care where you place it. The small bearings it uses as wheels can harm a soft surface or roll if there is an angle.
Friction There are three felt pads which are screwed in underneath the cradle. The purpose of these is to allow you to adjust how much friction there is when the cradle moves from side to side. It is on wheels so that it can auto-center under the platen. But if there is too little friction, it can slide far from the center as the motion of the cradle arms moves it up and down. You want to be between these extremes.
Clamping Each wing of the cradle moves back and forth so that the cradle can provide support for different book sizes. The clamp doesn't have to be terribly tight. You can adjust how tight it is when clamped by screwing or unscrewing the nut at the opposite side of the lamp.
Center Notch There is a little square notch at the top of your cradle. It is important! The bane of platen-based scanners is text and images that lie too close to the gutter. Sometimes you need something under the spine to push it up against the glass and show a bit more of the page. Various sizes of foam or wooden dowels can be placed in the notch to do this.
Wings The two cradle wings support the sides of your book. Depending on how delicate the book is, you may want to put a cloth or plastic covering on them to make things gentler on the book. If you ever need to take a scan on just one side, you might consider adding foam feet or some other protection to avoid scratching the glass. Dark colors are best for any cover on the cradle wings because it will be easier for post-processing applications to detect what the background is and crop it afterwards.
Counterweights
There are three bungee cords used in the construction of the Archivist. These operate as counterweights, offsetting the weight of the cradle and the book on the cradle. Two of them are fixed length and these bungees go on the inside of the frame. From anchor points on the left and right, through the pulleys, and attaching to the eye hooks in the handle bar. When attaching to the eye hooks, I find it is easiest to remove them later if you make sure that the end of the hook is facing towards the handlebars.
The third bungee is adjustable. When loose, the hook at the end can be moved along the cord to create a smaller or larger effective length. A smaller length means more weight offset. The adjustable bungee goes along the outer right side of the base, from the anchor, through the pulley, and then up to the bolt on the right cradle arm.
Every time you start scanning a new book, you should engage the cradle stop, carefully unhook the adjustable bungee, and then lengthen it or shorten it until it just about counterbalances the weight of the book. Your arms will thank you.
The motion of the cradle can also be managed with a foot pedal. Turn the whole scanner around so that the handlebar faces away from you. Then attach a cord and pedal to the handlebar. In this way, your legs do most of the work instead of your arms.
Finally, always be careful when using the bungees. Especially when removing or replacing them. While the kit provides high quality bungees, there is always the possibility that they will snap. If you notice any wear on them, replace them. When your scanner will not be used for a while, disengage all the bungees so that they are not kept taut during storage.
Recommended Cameras
The current standard camera for the Archivist is the Canon Powershot A2500. It is known to work well as part of the standard electronics pack. If you already have a working rig with some other setup, then you shouldn't worry about switching. But if you don't know which model to use, buy this one as your default. It is the best supported model and the most likely to just work.
The two other models which are still relatively tested are the Canon Powershot A1400 and the Canon Powershot A810. Many other cameras can be used if you have the experience and patience. The next section discusses general considerations for camera selection for those who want to blaze their own trail.
Picking a Camera
Selecting the right camera is really important. We have years and years of debate on the topic. No question gets asked more often, and so nobody has thought about this more than the DIY book scanning community. And we have a three step process for you to figure it out.
For the Archivist, you can find specific model recommendations above. This section should help explain the rationale behind those recommendations.
Step 1. How many megapixels do you need?
A. Measure at the books you intend to scan. Aim for the largest average size (don’t choose the largest outliers). For example, most textbooks are around 9 x 11in (22.86cm x 27.94cm).
B. Now multiply that size by the PPI (pixels per inch) that you intend to capture. 300 is a safe minimum, though you can’t go wrong by capturing higher than that. So, in our example - 9*300=2700. 11*300=3300. We need an image that’s at least 2700x3300 = 8910000 pixels, or about 9 megapixels. Now, that’s if you used every pixel perfectly to capture every part of the page, which NEVER happens. So to be safe, add 20-30% for wasted pixels. In this case, that makes 12 megapixels the minimum to get at least 300PPI capture.
Step 2. How much control do you need?
If you’re just scanning one book, or you’re scanning a book for it’s information content only (as opposed to trying to capture the actual physical appearance of the book), you don’t need very good captures. If the lighting changes, or the camera settings change from shot-to-shot, you’ll still get some kind of result. However, the more perfectly you want to capture the book, and the more pages you want to capture, the more control you need. So assuming you want to do a good job and care about more than just the raw text on any page, you need a camera that lets you control the following:
- Shutter speed
- White balance
- Aperture
- ISO
- Flash on/off
- Any custom image processing (sharpenng, color enhancements, etc)
- Focus (ideally being able to lock focus)
- Exposure compensation
- Zoom
Most DSLRs allow for all this kind of control; for compact cameras only Canon Powershot cameras that are capable of running CHDK give you control over all these parameters.
One more factor to consider: ideally you want to run the cameras from an AC adapter instead of batteries. Check availability of these accessories.
Step 3. How much money do you have?
If you have a healthy budget, just buy DSLR cameras and use those. Buy the highest resolution you can afford, and try the “kit lens” that comes with the camera body as a starting place (they usually cost only $50-100 over the price of the camera body alone and perform reasonably well).
If you’re on a budget, the aforementioned Canon compact cameras can often be purchased for as little as $75USD each, and, with a little hacking, produce incredibly high-quality images. They are by far the best “bang for the buck” - which is what DIY Scanning is all about.
Can I use my phone camera or a webcam?
While you can use whatever you want, consider that it might not be a good idea to use such cameras. Although phone cameras are getting better every day, they still lack much of the control that we can get from CHDK-enabled compacts. Most do not support a remote control protocol like PTP. We are working on the best ways to use phone cameras to scan books, but it is definitely not mounting them in this rig.
Do I really need two cameras?
You can use the DIY Book Scanner with only one camera, but a lot of different issues will come up with that configuration. You’ll be scanning at half-speed, for starters. Many of the postprocessing tools also assume a left and right camera.
If your budget is limited, consider that there are different price ranges for cameras, and that you might want to sacrifice some other features of the scanner (like the lightning module). Consider also, that unless your time is free, it may be a false economy. It might end up being cheaper to buy two cameras, using them to scan your books quickly, and to sell the whole thing when you’re done.
Historically, people have also gotten by with two slightly different camera models. Search the forums for more info on the problems they ran into.
Camera Tips
Power Most cameras are battery powered because they are intended for mobile use. But you will be using them in a fixed position and changing a battery every few hours will quickly become troublesome. This is especially true if your battery location is not easily accessible after mounting and callibrating the position. Nearly every camera model has an AC adapter that you can purchase for it. Buy two when you are getting your cameras. If you cannot find an appropriate AC adapter for your camera, it is possible to make your own.
Mounting Each camera is mounted near the top of the imaging module facing the opposite page. The details of how to precisely position it are below, but the tricky thing is that the simple camera bolt shipped with the Archivist may not be enough by itself to mount your camera. If the cords or AC adapter on your camera are on the bottom, you need to make sure there is enough clearance. To do this you may need to buy a longer 1/4-20 bolt and some nuts and washers. If your camera mounting is tricky, please post to the forum or email help at tenrec dot builders for assistance.
Flash Always make sure the flash is off. The overhead lights provide sufficient illumination and a flash will only reflect glare from the platen back at the lens.
White Balance The LED bulbs in the lighting module have a color profile of 'warm white' (2700 K). This means that the light they provide is skewed more yellow than blue. This means that you must set your white balance to 'Tungsten' on your camera. If you don't, the pictures be yellow tinted.
Focus Your camera can auto-focus when taking most scans. But the auto-focus can fail, especially when the center of the page is blank. If it does, you should manually focus your camera if possible. Be aware that each camera might need a slightly different focus even if they are the same model and the same distance from the page. Also, the ideal focus for the center of a page is slightly different than the ideal focus for the corners.
Zoom It is tempting to try to zoom in on each book as much as possible in order to maximize your effective use of the camera. But this is a mistake with the Archivist. Each time you change the zoom setting, you will have to recallibrate the position of your camera. Since callibrating your camera position precisely is so time consuming, it is better to pick a camera and zoom setting that provides sufficient resolution and leave it.
ISO In the Archivist, the pages will always be strongly and evenly lit. Low-light settings will simply reduce the quality of the image. Set the ISO to the lowest value your camera supports.
Aperture Most cheap cameras do not have aperture settings. If you are using a more expensive camera, then it is worthwhile to decrease the aperture size somewhat in order to make sure that both the corners and the center are always in perfect focus.
Shutter Speed Faster shutter speeds reduce the blur introduced by vibrations or other motions. Usually a value of 1/10 of a second is plenty fast enough for scanning.
Lens Distortion Every camera lens has slight imperfections which cause small distortions in the photographs. In addition, you will never get your camera to be completely perfectly positioned with respect to the page so the photo will be at a very slight angle. Often these artifacts can be hard to spot, especially if you aren't looking for them. But there is software that can be used to figure out the distortion on your setup and correct it after the fact. Only start looking into this when everything else is working.
Camera Alignment
Camera alignment important task that it now had its own complete guide. In order to align the camera easily, you will need a small mirror, a permanent marker, and some printed out alignment cards. Read the guide for all the details.
Controlling the Cameras
After mounting and aligning your camera position (see above), you will want to avoid touching your camera as much as possible. Pressing the trigger button can cause vibrations that will decrease the quality of the photo. And the cameras in the Archivist are positioned such that they are hard to trigger manually in any case. You will need a remote trigger, preferrably computer controlled.
Standard Electronics Pack
Your best bet for getting up and running quickly is to use the standard electronics pack. This is a set of solid hardware which is known to work well together. The main pieces are a Raspberry Pi 2 running a stable version of SpreadPi and two Canon Powershot A2500 cameras. While Tenrec Builders LLC now provides a complete and tested electronics pack for sale, you can assemble it yourself using the SD card images linked in the guide above.
Other Options
TwoCamControl If your cameras support CHDK, you can control them directly from your PC using this script. It will trigger both cameras and save the images for later post-processing. Since it doesn't require any extra hardware, it may be the easiest way to get started. Link
Spreads Spreads is a more full-featured capture program that can also do many post-processing tasks. It requires Linux and installation can be tricky, so it may be easier to use as a SpreadPi image (see below). Link
SpreadPi This is a version of Spreads packaged up as an image for use on a Raspberry Pi. You can use the Pi as a standalone scanner controller and connect to it over a web interface to control it. Link
Post-Processing
Once you have finished capturing photographs of every page, you will have a pile of image files. While you could read the book by simply browsing through the images, usually you will want to do some processing of them to make them into a single ebook. There are a number of different tasks on these images that can be performed along the way.
Possible Tasks
Rename The image files from the two cameras should be combined into one directory and renamed so that they reflect the sequence of the book. Usually, your camera control software should handle this stage for you as it captures pictures from the cameras.
Rotate The default orientation of the images is usually 90 degrees away from readable. And the odd and even pages will usually need to be rotated in different directions.
Crop The photograph likely includes parts of the background or spine or other non-content elements. The photograph should be cropped to exclude them. Some people like to crop to the page, keeping margins and other features. Others crop to content, allowing different margins to be set later.
Deskew Even after callibration, it is likely that the cameras won't be exactly aligned to the book. Deskewing rotates the image slightly to try to make the text exactly horizontal.
Dewarp There are a number of ways in which an image might have artifacts of the scanning process. The angle of the camera (keystoning, perspective warp), distortions and imperfections in the camera lens (barrel warp, pincushion warp), or the curve of the page if it isn't held completely flat by the platen. Many post-processors have software to detect and fix some of these problems. Be careful when using them because automatic dewarping is often error-prone. It is usually better to avoid the issue in the first place.
Binarize The images of the book may be converted to a completely black and white appearance with no color or shades of gray. The advantage to this is that books stored in this way are much more compact and it can increase the apparent sharpness of the text. The disadvantage is that some artifacts (speckles, missing strokes on letters) may be introduced and pictures in the book will look awful. Some software allows you to binarize most of a book but retain some regions of color.
Remove Spots Sometimes there are spots of stray ink or defects on a book page that you wish to remove. Software can let you pick those regions and force them to be white or blend into the page background color.
Add Headings Book formats such as PDF and DJVU allow you to set certain pages as chapter or section headings. This lets a reader use a table of contents interface to navigate the book. No software can automatically detect when this occurs, so it requires that you flip through the scanned pages and add them manually.
OCR Search There is software which can detect the shapes of letters with a fair amount of accuracy (OCR or Optical Character Recognition). One use for this is to make a book searchable. You would still look at (possibly enhanced) photographs of pages while reading, but the software has a hidden layer associating words with positions on a page which it can display when searching.
Convert to ebook An alternate use for letter detection is to discard the camera images entirely and simply save the text you found in them as an ebook. The advantage is that you have an extremely compact book file and eReaders have a lot of flexibility in how to display it. One disadvantage is that you lose all photographs or pictures. Charts and tables and maps are bowdlerized, and even normal text can have visible errors because the programs that detect letters are not perfect.
Convert to PDF After processing all of the images, they can be bound into a single PDF file for easy reading. Almost every platform has a large selection of applications that let you read PDF files.
Convert to DJVU An alternative to PDF is a new document format called DJVU. It is harder to find software that lets you read it. But in many cases, DJVU files are significantly more compact than equivalent PDF files, especially if you have used binarization to make everything black and white.
Software Options
Image Editors Many of the above operations can be done with standard free or paid image editors. But be careful to only use them sparingly. Doing the same operation by hand to each of several hundred pages in a document is a slow and tedious process. Use specialized software instead.
Scan Tailor (free) Scan Tailor is a free program designed for all kinds of scanned images. It provides most of the operations above and for many of them it can operate in batch mode, running in the background on each image in succession. It can still take a lot of manual effort to process a book, especially if you are binarizing it and still have a lot of pictures in the book that you want to remain in color. Forum | Video
Spreads (free) Spreads can act as a post-processing system as well as capturing images. It can do many of the tasks above and also integrates Scan Tailor into its workflow. Forum
Book Scan Wizard (free) Another alternative that can do many of these operations. This is oriented more towards a power user than other tools. Forum | Video
ImageMagick (free) A set of command-line tools that can perform various basic manipulations on images, including rotation, cropping, resizing, and stitching many images together into a single PDF. Link
Paid Options Abbyy Finereader, Adobe Acrobat, and Omnipage are all paid alternatives. You will need to review their literature to see if they are appropriate for your requirements.