This is a guide to the Archivist electronics pack. How to put the pieces together, set up your cameras and controller, and get started scanning right away.
Related Links:
- Archivist User Guide: A general guide to assembling and using the Archivist book scanner itself
- Camera Alignment: How to mount your camera and precisely orient your camera toward the platen
- Archivist Design Guide
- DIY Book Scanner Forums The place to find community help and talk about scanning
- Tenrec Builders LLC Shop: A place to purchase a complete and tested electronics pack.
- If you own an Archivist book scanner or electronics pack and need help, you can mention a problem or ask a question by emailing help at tenrec dot builders
Electronics Pack Manifest
As currently designed, the electronics pack consists of the following items:
- (1) Raspberry Pi 2 (For control with Spreads)
- (1) Raspberry Pi 2 Case
- (1) 7-Port Powered USB Hub
- (2) USB Mini B Cable
- (1) USB Micro Cable
- (2) Canon Powershot A2500 Camera
- (2) AC Adapter For Camera
- (1) SD Card Reader (For writing/updating SD Card Imags and for Kiosk Mode)
- (2) 4GB SD Card (CHDK Images for Cameras)
- (1) 16GB Micro SD Card (Spreads Image for the Pi)
- (1) Power Strip (Surge protection, acts as a single power switch for everything)
- (1) Small Mirror with Alignment Cards (See the camera alignment guide for details)
- (10) Zip Ties (For cable management)
Preparing the Cameras
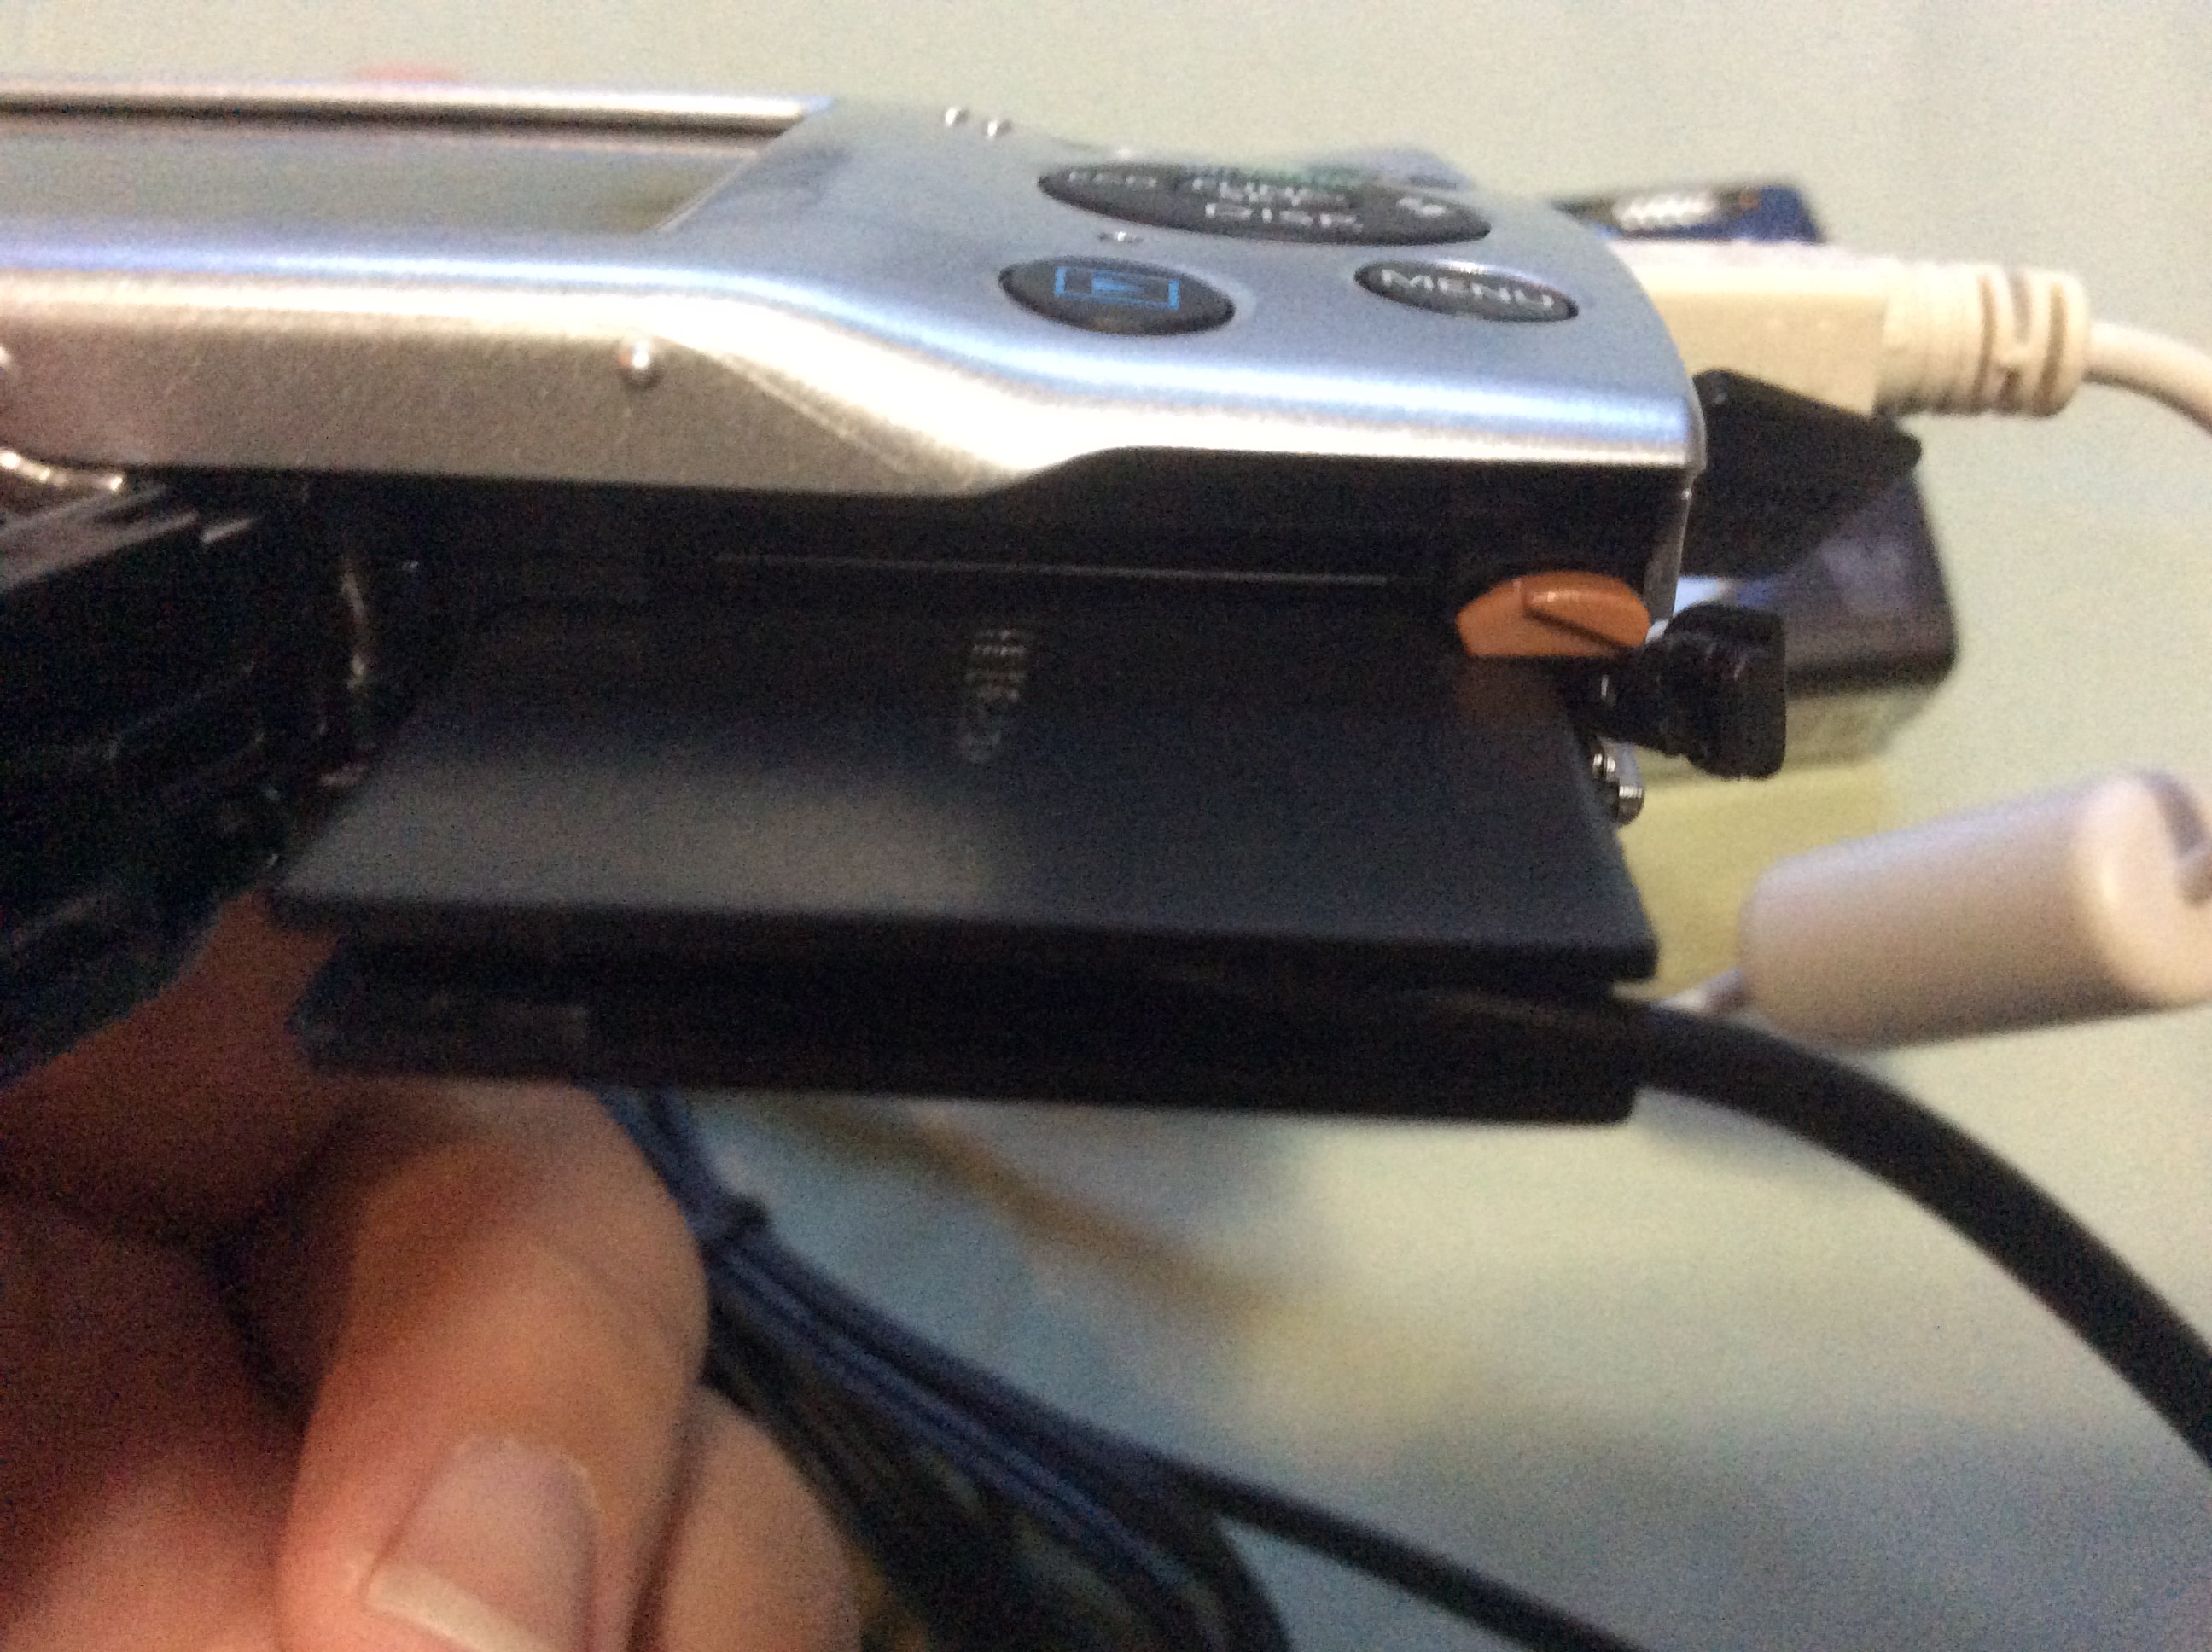
Insert an AC adapter into each camera as shown. The orange stop needs to be pushed out of the way and you can orient the adapter the correct way by looking at its contact pins and seeing where they will connect inside. The small cord connecting to the adapter can fit through a small opening in the side if you shift the small grey gasket there. If everything is done properly, you will be able to close the battery door completely with no cords getting pinched.
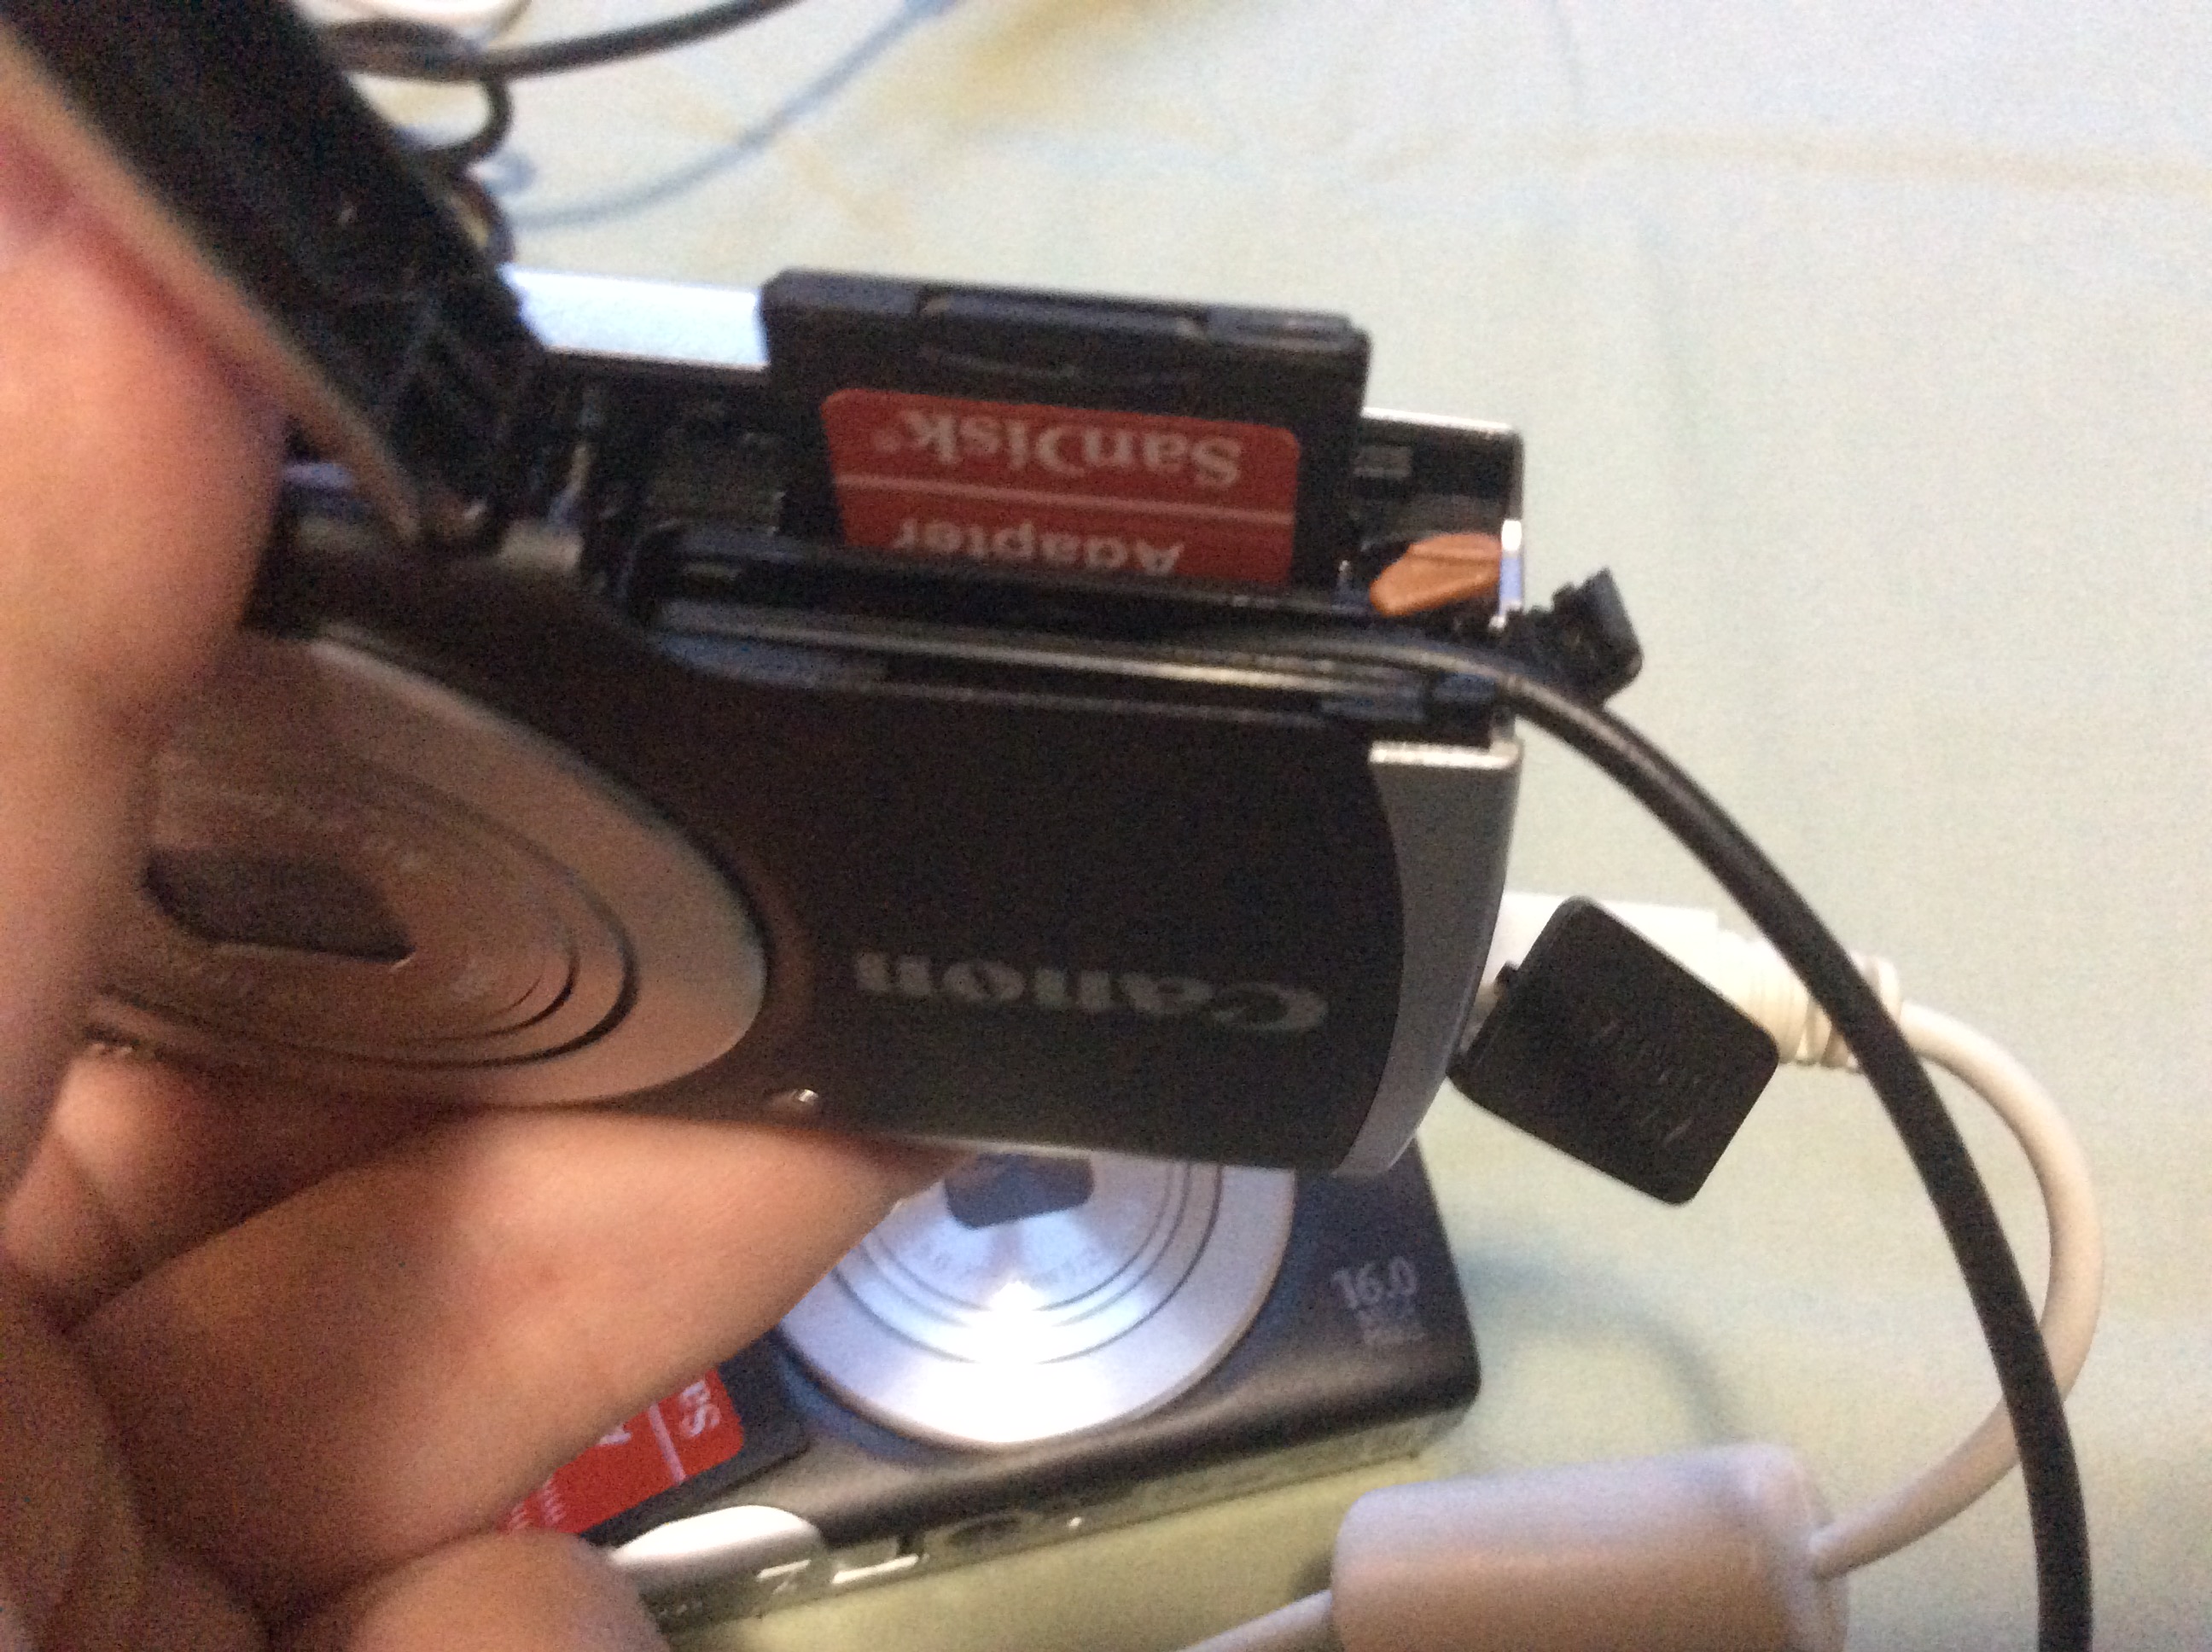
There are two camera SD cards which have different images. One is labeled 'odd' and one is 'even'. If you open a book, the odd pages are always on the same side. One of your cameras will always be pointing at the odd-numbered pages and one will always point to the even ones. Insert the SD cards in your cameras and make sure to mark which one is which. When you mount the cameras on the Archivist later on, you will want to use a book as a guide. If you mix it up, it the end of the world, though. The cameras or SD cards can simply be swapped once you have found the mistake.
Turning on the Cameras
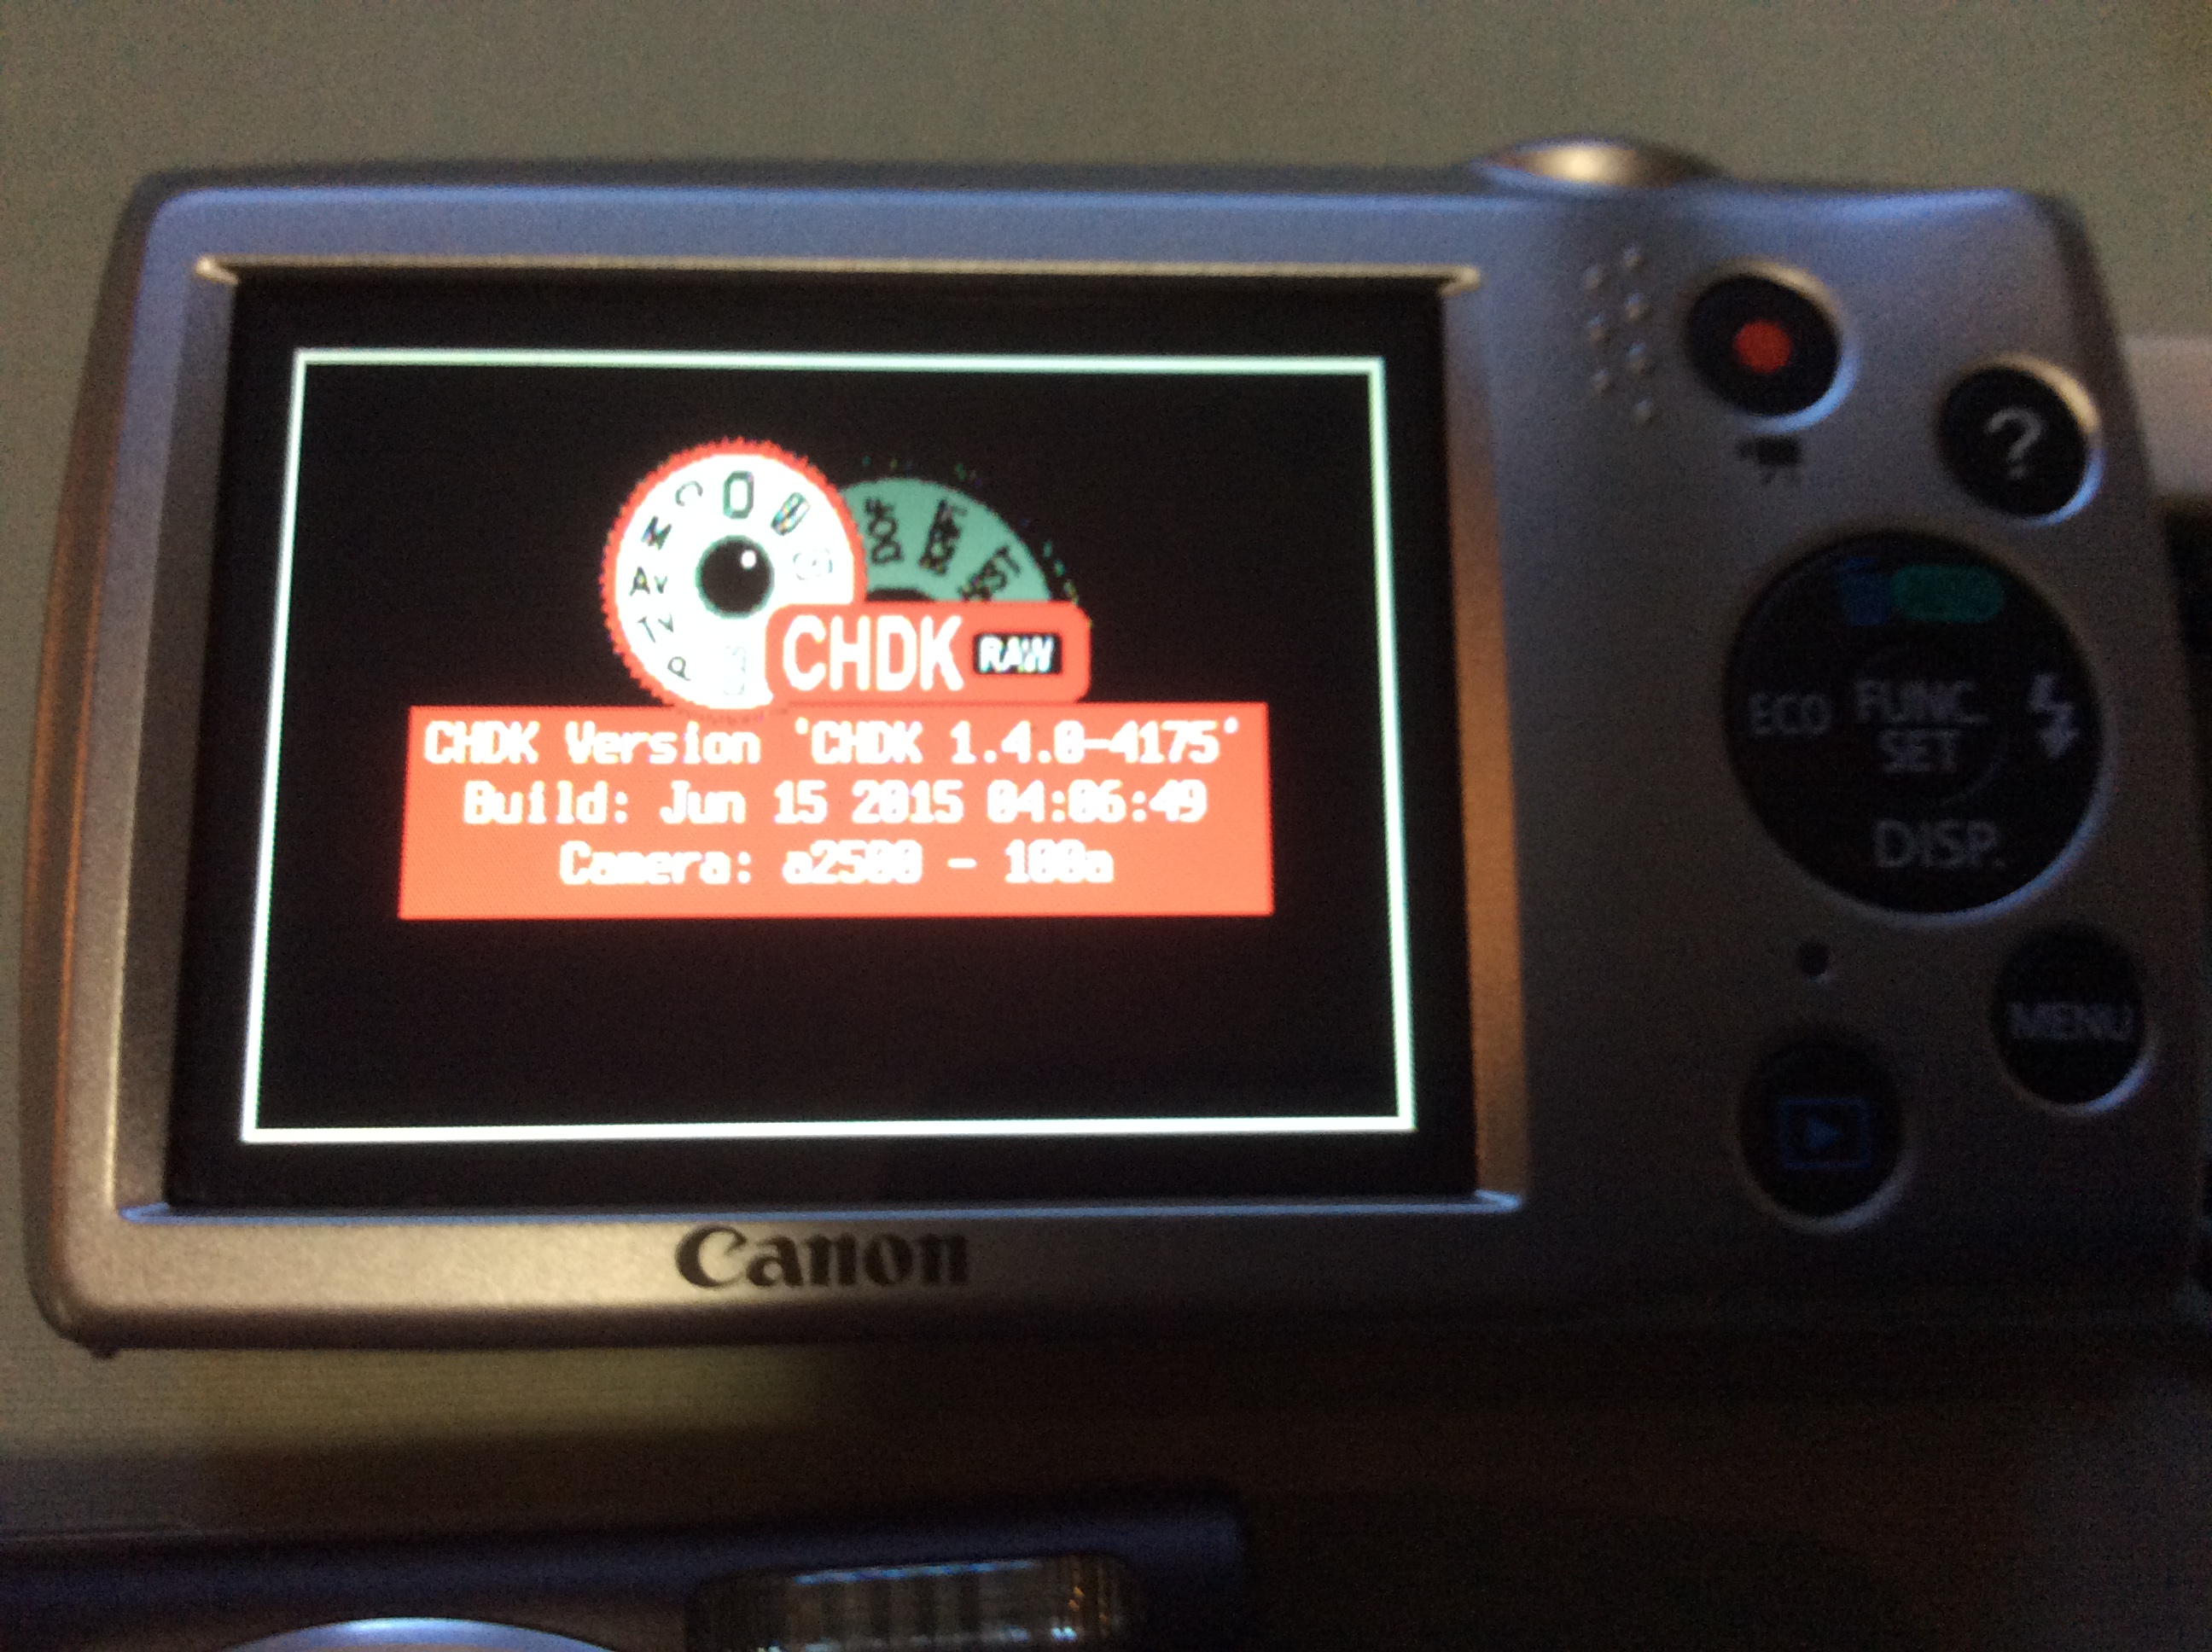
When you turn on your cameras, you should see a brief CHDK splash screen. This lets you know that CHDK is installed and working. If you don't see this splash screen, then Spreads won't be able to control your camera. You might not be using a properly imaged SD card, or your SD card might not be locked.
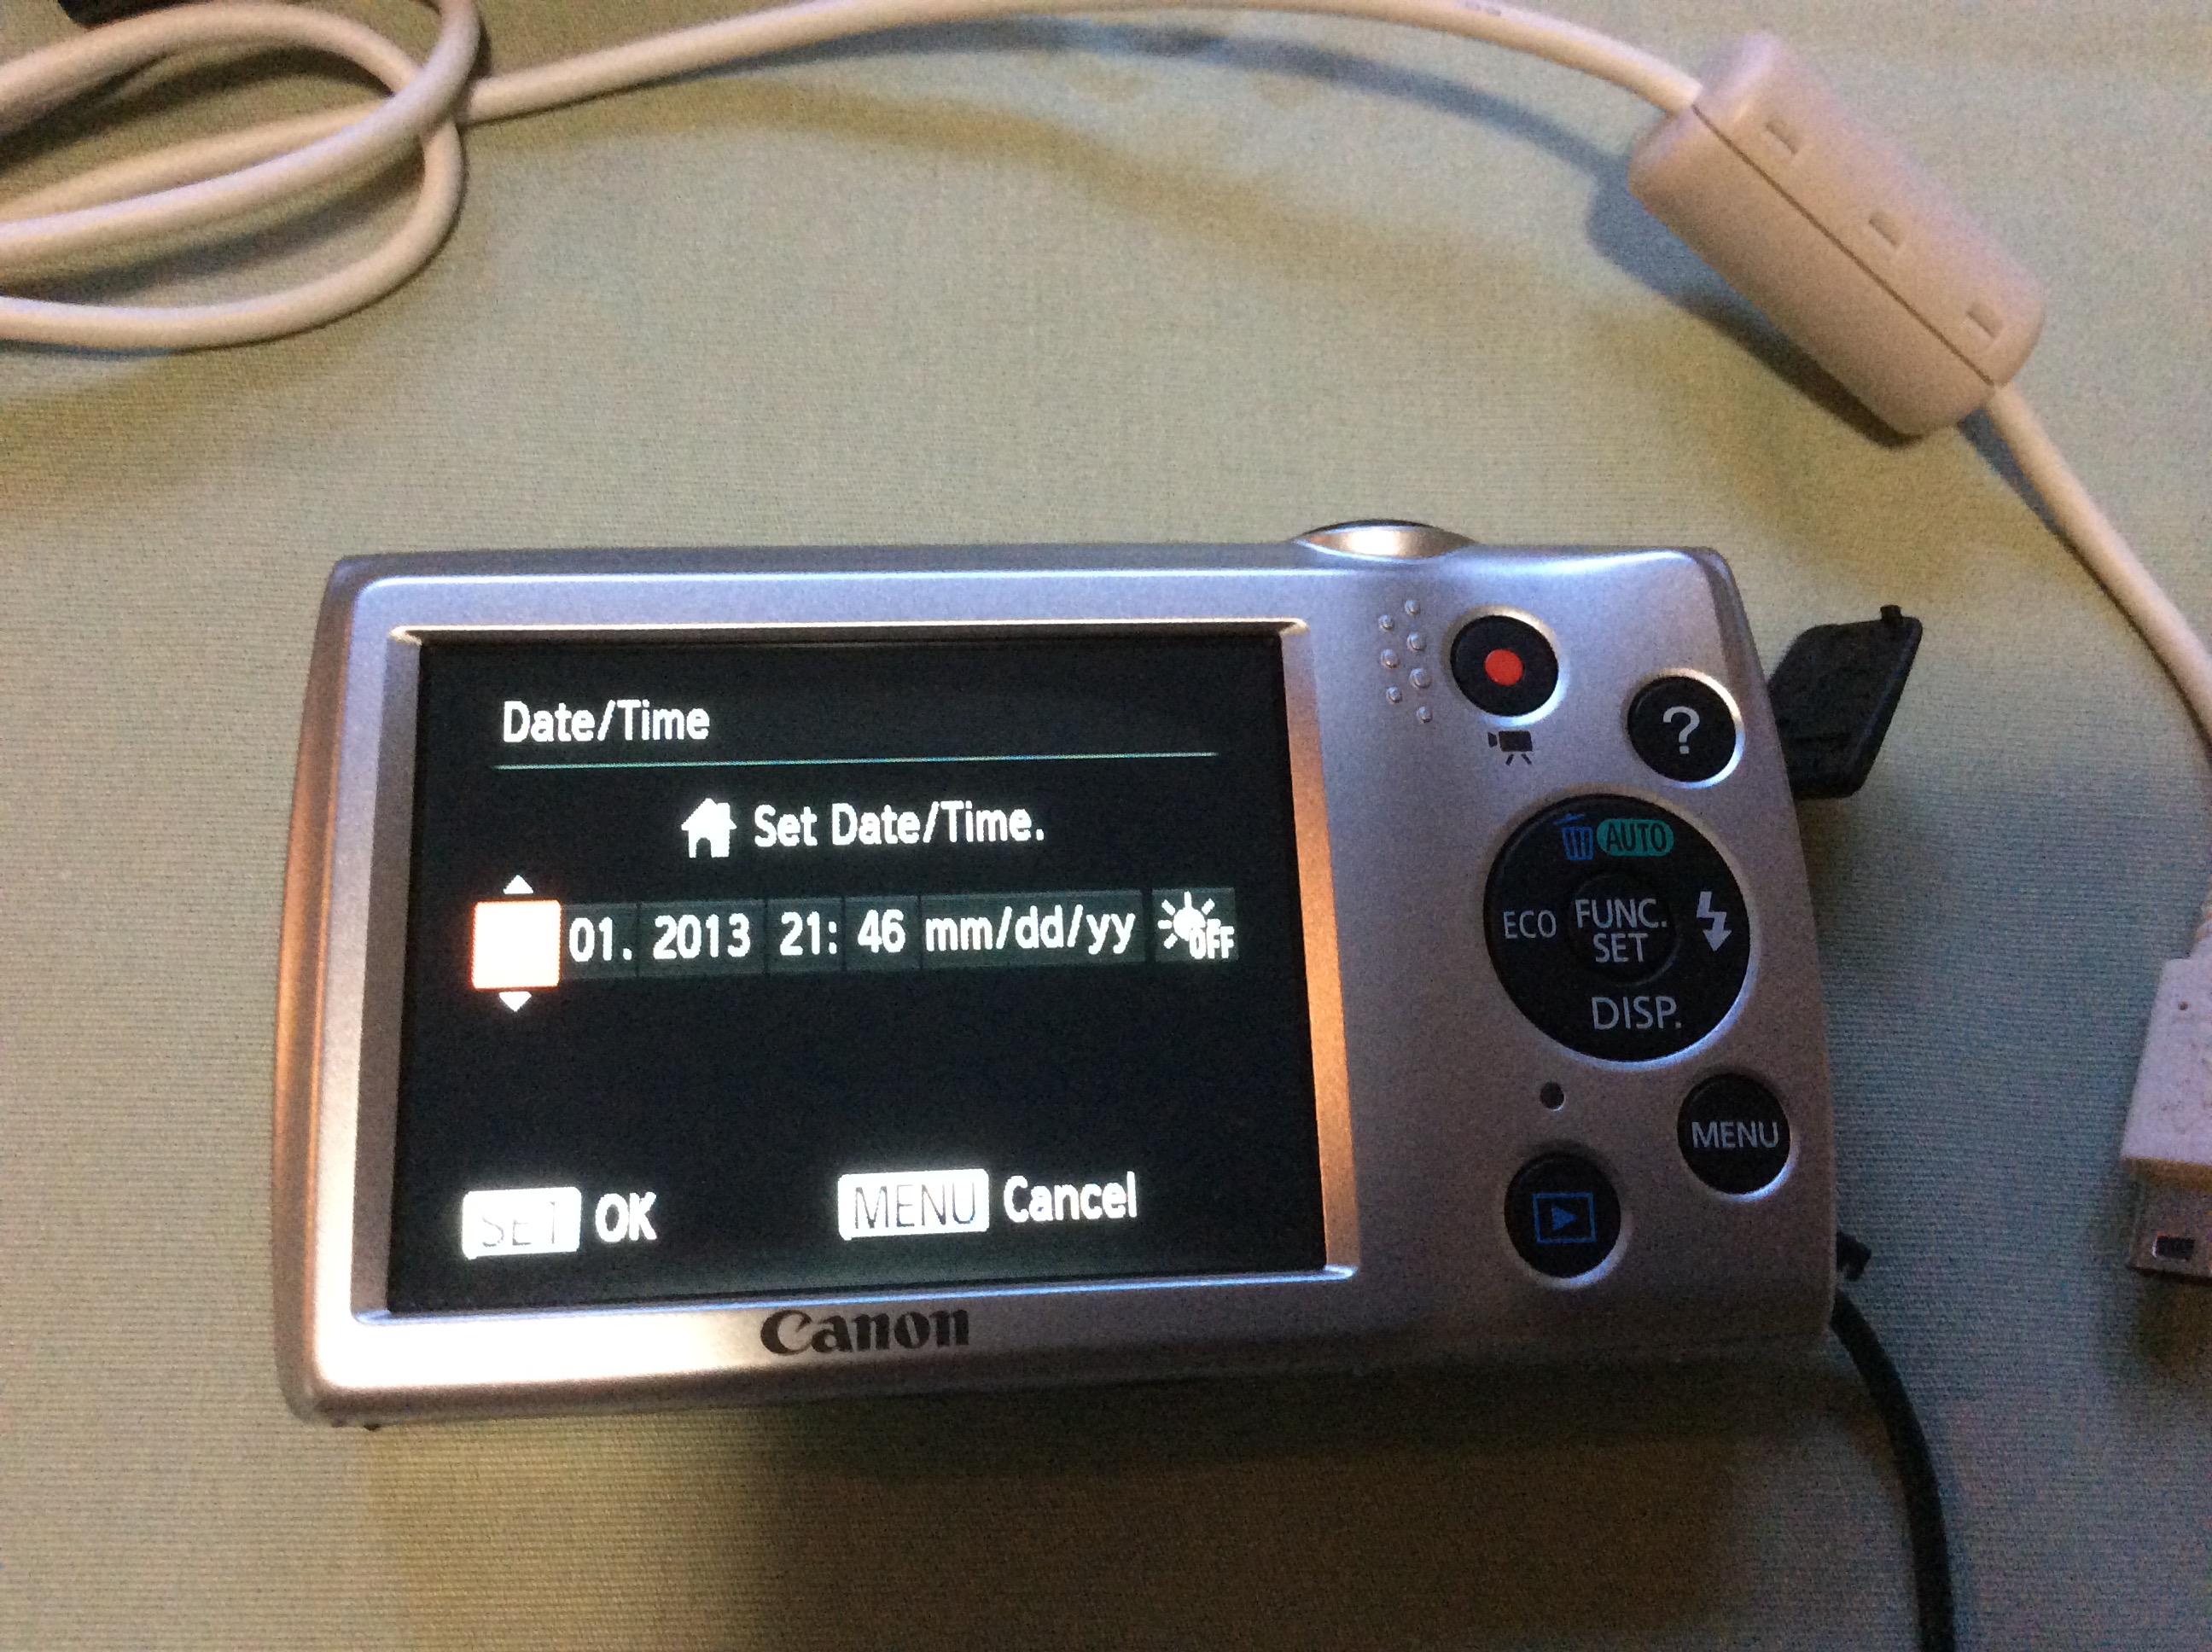
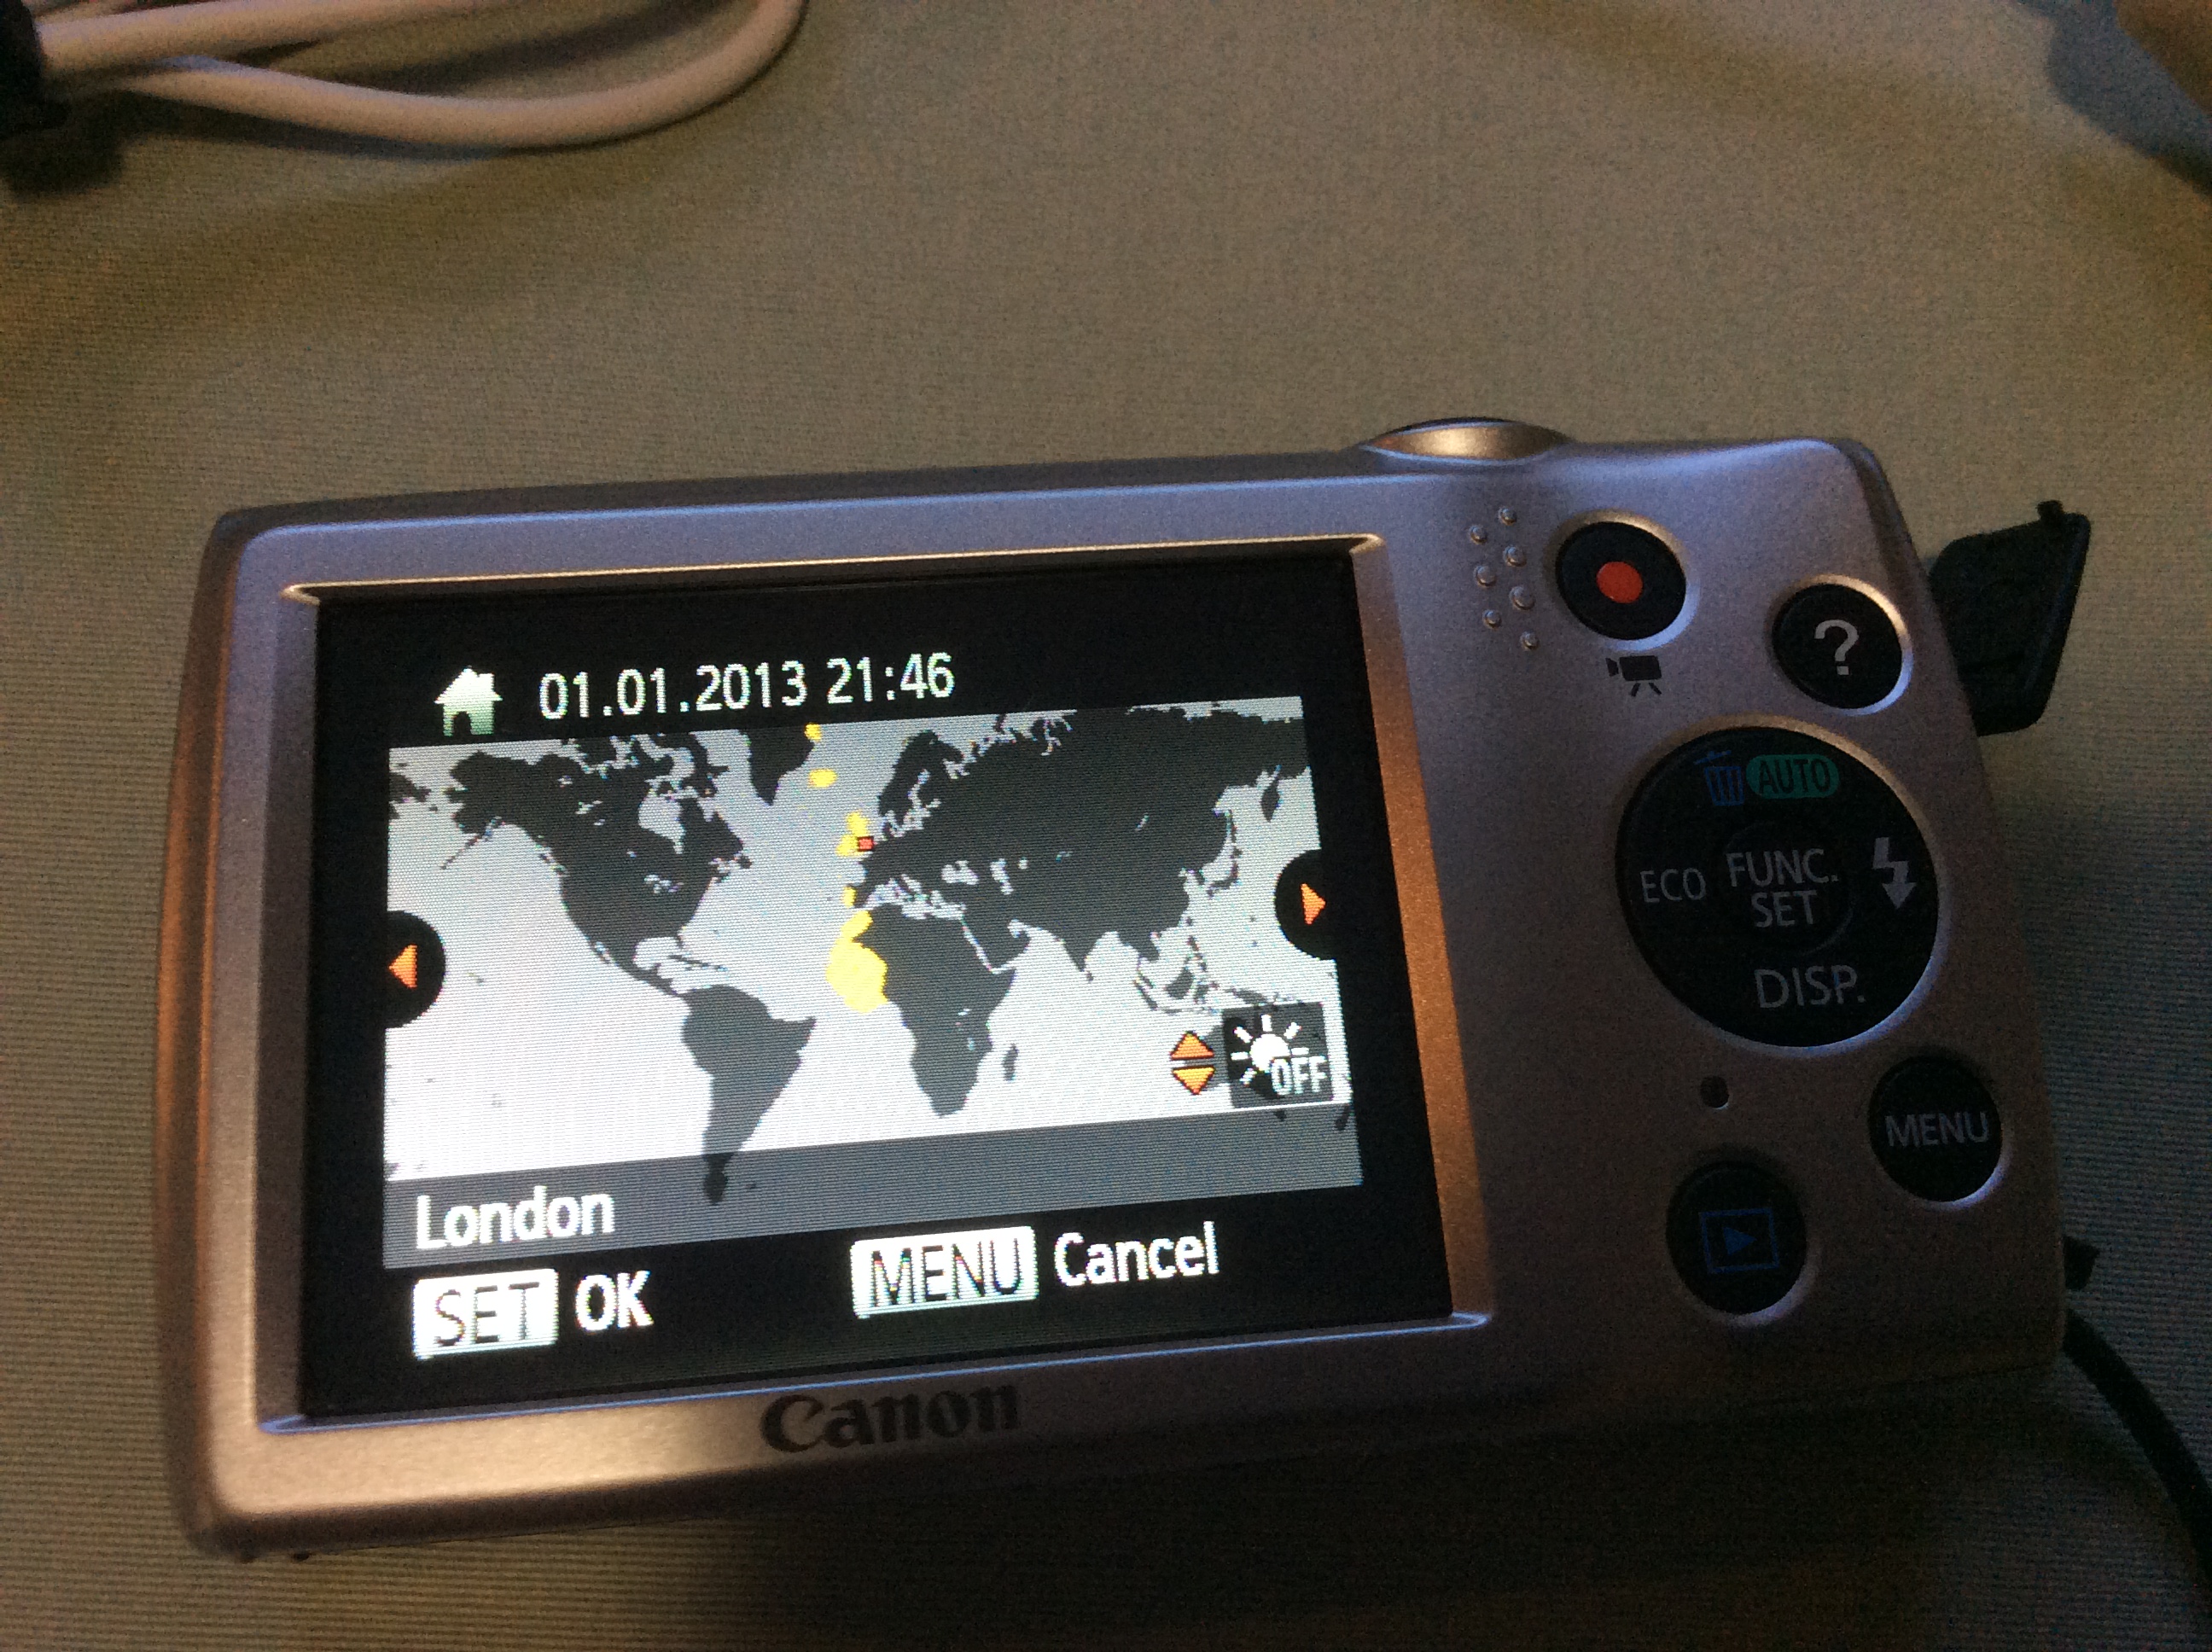
Sometimes when turning on your camera, you may need to set the time and timezone. This happens if your camera has been without power for a long time. When you get this, make sure that your camera's USB cable is disconnected or that the Raspberry Pi is turned off. Then set your time/timezone and plug the USB cable back in.
If your camera is connected to the Pi, it won't accept keypad input. If the camera is in the time/timezone settings screen, it won't respond to commands issued by Spreads. This can be a frustrating catch-22.
Plugging it all Together
Everything plugs into the USB hub:
The Raspberry Pi plugs into the USB hub *twice*. The Micro USB cable lets the USB hub power the Pi. And the other USB cable lets it control everything else that connects to the USB hub.
Both cameras plug into the USB hub using the USB Mini B connectors
The SD Card Reader plugs into the USB hub to provide an external removable disk drive that lets you copy your scans onto SD cards.
If you plan to use Kiosk Mode, both the mouse and keyboard can be plugged into the USB hub as weel
Only three parts need independent AC power: The two cameras and the USB hub. Plug all of them into the power strip and you can use it as an overall power button for the whole system.
Using SpreadPi on a Network
The SpreadPi image that comes with the electronics pack automatically runs Spreads as a network service. If you plug it into your network with an Ethernet cable or a Wifi USB adapter, then it will automatically use DHCP to get a network address.
If you plan on using Spreads over the network, there is no need to connect up a monitor, keyboard, or mouse. You can run it completely headless. When it starts up, it will print out the URL you need to use to use the Spreads interface on the screens of the cameras that are connected to it.
If the SpreadPi will be connected to the open Internet, you should log in with user 'pi' and password 'raspberry' via SSH and then change the password so that others cannot login.
When finished scanning, Spreads provides the option to download your scan over the network. If that is too slow, you can copy the files off using the SD card reader.
Using SpreadPi as a Kiosk
The electronics pack SpreadPi image also supports running Spreads completely standalone. You can attach a keyboard, mouse, and HDMI-compatible monitor. The Spreads interface will come up automatically. Note that this is not a hardened environment, so it might not be suitable for untrained or potentially malicious users.
When used in standalone mode, the only way to get scans off of the device is using the SD card reader. In a shared environment, each user could bring their own SD card and copy off their scans when complete.
If you need to break out of the Spreads environment for any reason, you can use the Ctrl-Alt-Fkey combination to switch to a different tty and login. Username is pi and password is raspberry. This is a standard graphical Raspbian image with Spreads installed on top.
Finishing Up
First, mount your cameras and align them using the camera guide.
Place your power strip, hub, and Raspberry Pi next to the scanner. Route the wires from your cameras to the hub and power strip. Avoid the cradle lifters and arms. Make sure they won't cast a shadow or photo bomb your scans. Use zip ties to secure them in place.
Remember:
Do not remove power from the Raspberry Pi without first turning it off. If you do this and later notice problems, you can copy your scans off and re-image the Raspberry Pi with a fresh image.
You need to turn on and off the cameras by hand.
Always check to make sure that you aren't in the time/date screen when powering on the cameras. See above instructions about how to dismiss this screen if you see it.
Re-Imaging Your SD Cards
This section is not necessary if you are setting up a Tenrec Builders LLC electronics pack for the first time. This is only necessary if you are building your own pack or if you need to upgrade or reset your software.
There is software called CHDK which you load onto the SD card and which runs on each camera. This software lets the cameras be controlled by the Spreads itself which you load onto an SD card for the Raspberry Pi. You install that software by downloading and then writing images to the SD cards.
There are instructions for how to install images using a Mac, Windows, or Linux on the Raspberry Pi site. You will need to do this for all three of the images linked below, not just the Raspberry Pi one.
Camera Images
The pair of images for the Canon Powershot A2500 camera SD cards can be downloaded here:
One of these goes on an SD card for each camera. The 'odd' one goes on the camera that will be facing the odd numbered pages when scanning a book. And the 'even' one is for the camera facing the even-numbered pages.
- Unzip these to get the image files inside (on Windows, you can double click, then copy/paste the .img file).
- Remove your SD cards from the cameras and unlock them (switch on the side in the UP position).
- Write one of the above images to each of the two cards.
- Lock the two cards (switch on the side in the DOWN position).
- Replace the cards in the appropriate cameras.
Raspberry Pi Image
You can get the current Archivist Raspberry Pi image here. This is the image that allows both kiosk mode and network mode as described above. This has been specifically tested with the A2500 cameras, though it may work with others.
- Unzip the file to get the image file.
- Remove the SD card from the Pi.
- Write the image to the SD card.
- Replace the SD card in the Pi.
Now turn on the cameras but leave the Pi *off*. The cameras should pop up a brief splash screen with the CHDK logo and version on it. After this, the cameras might show a screen asking you to input a new date/time and timezone. Set them to any value (unless you care about the photos having the right timestamps, in which case set them to the actual date/time).
Now turn on the Pi. You should be able to connect to it after a short time. If you connected a keyboard/mouse/monitor to it, then you will be able to see the Spreads interface come up and will be able to create a new workflow. Create a workflow, leave the settings default for now, and try to capture some photos.