Back Enclosure Assembly
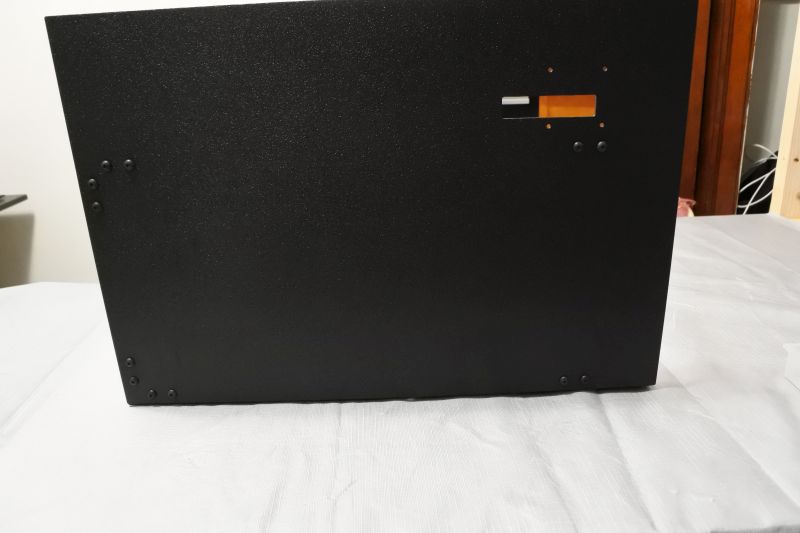
The Back Enclosure has a top window and cutouts for back handles (for ease of transportation), the TAZ6 filament guide on the side, two fans, and an extra spool holder.
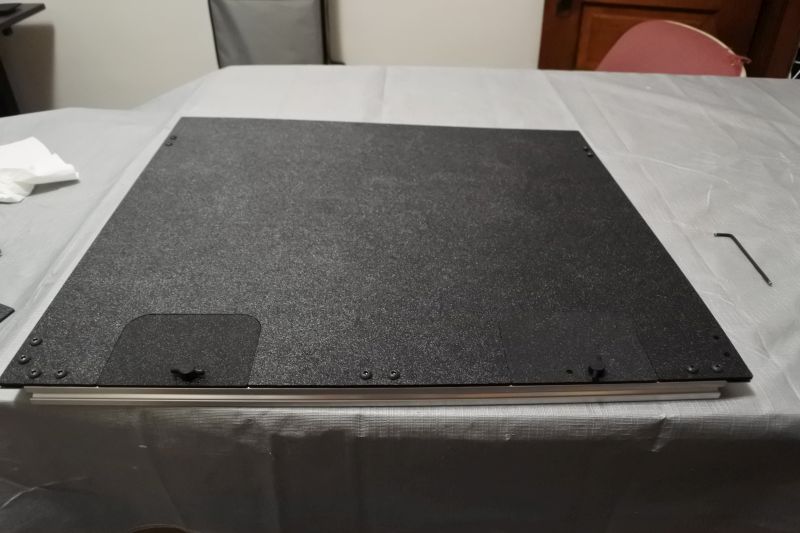
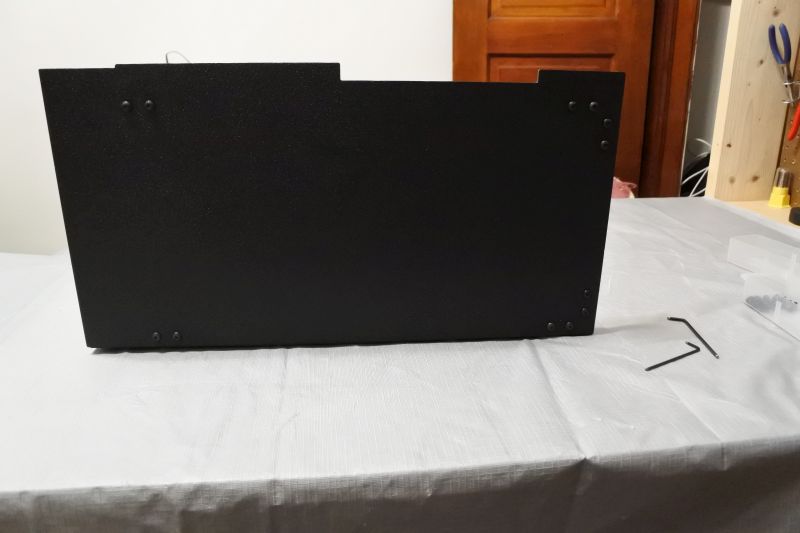
Attach Back Plate
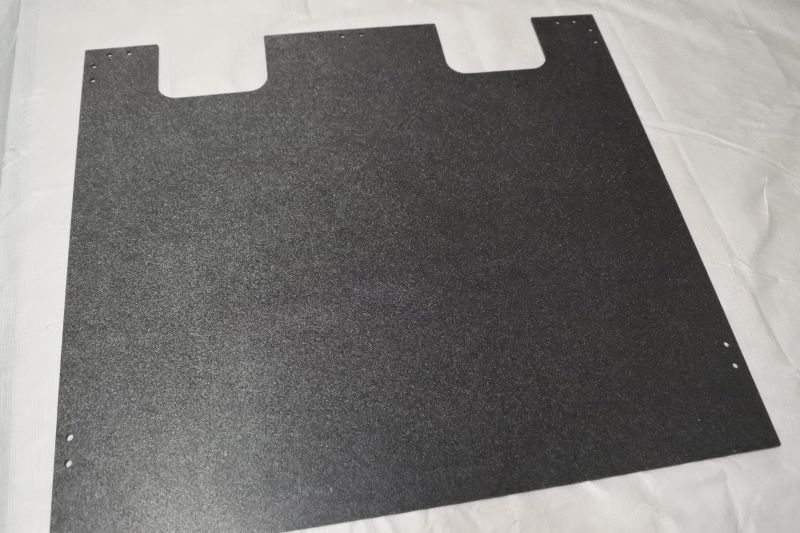
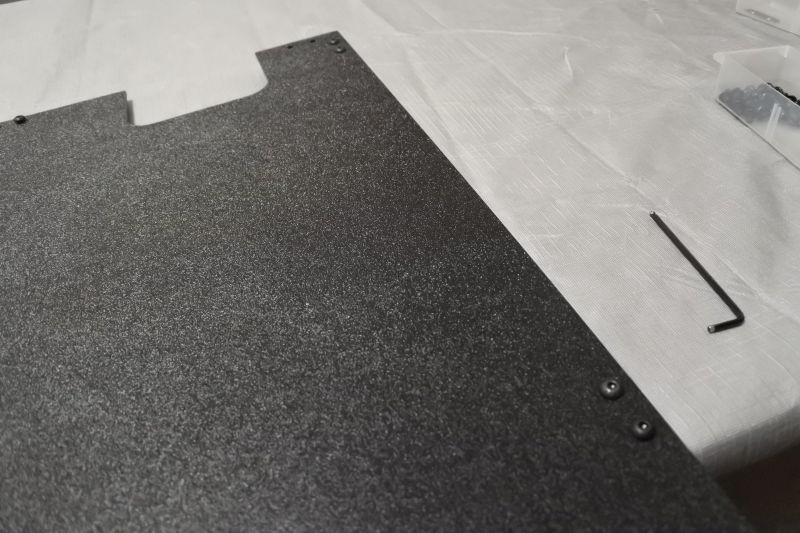
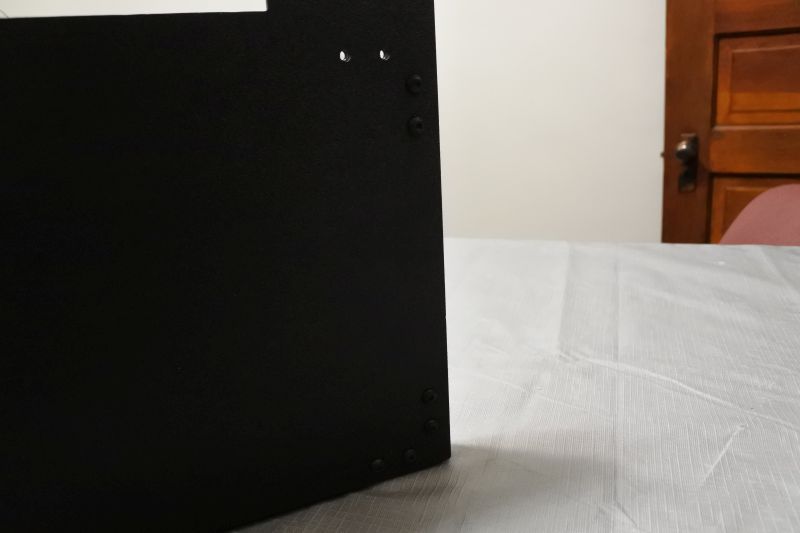
Find the Back Plate.
Preload (3) Double T-Nuts and (6) M5 x 8mm Screws onto the Back Plate.
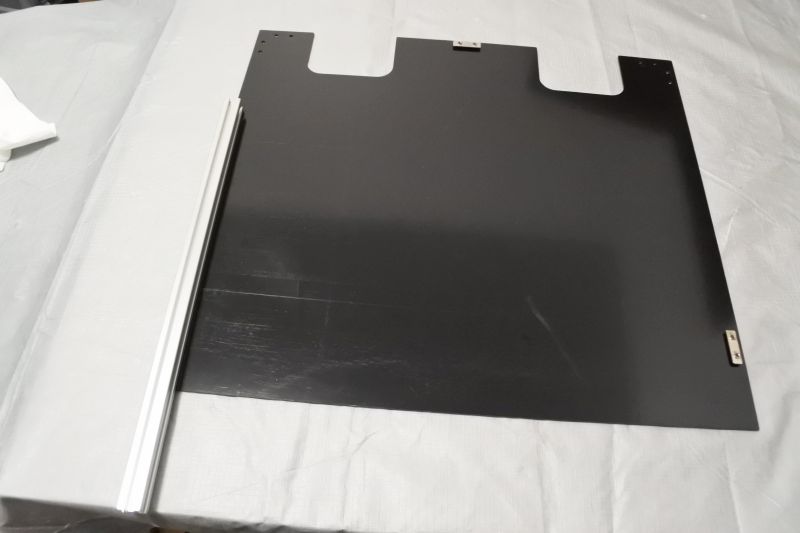
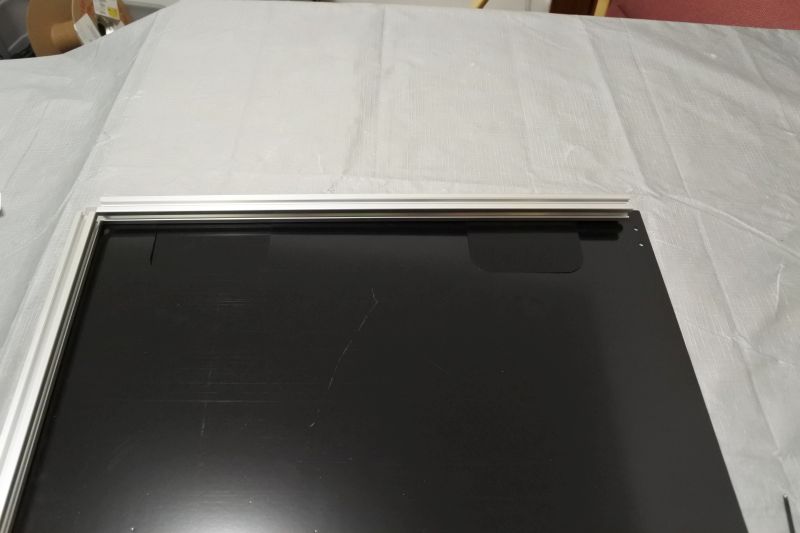
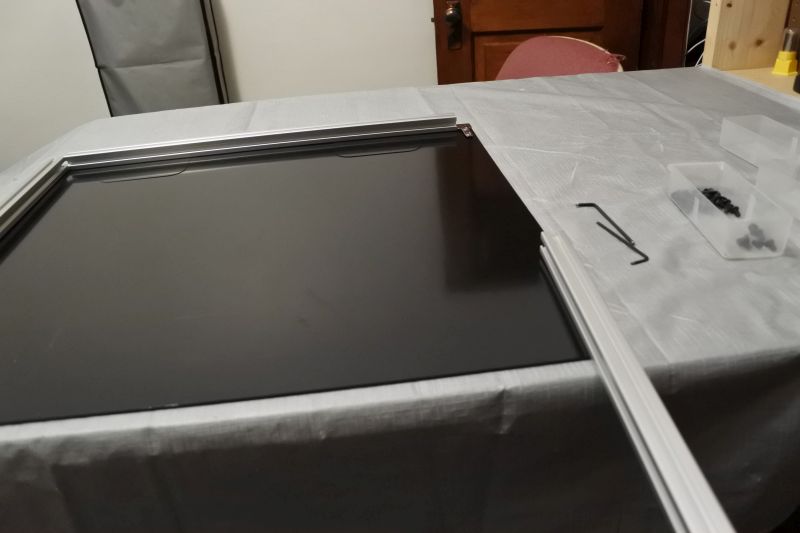
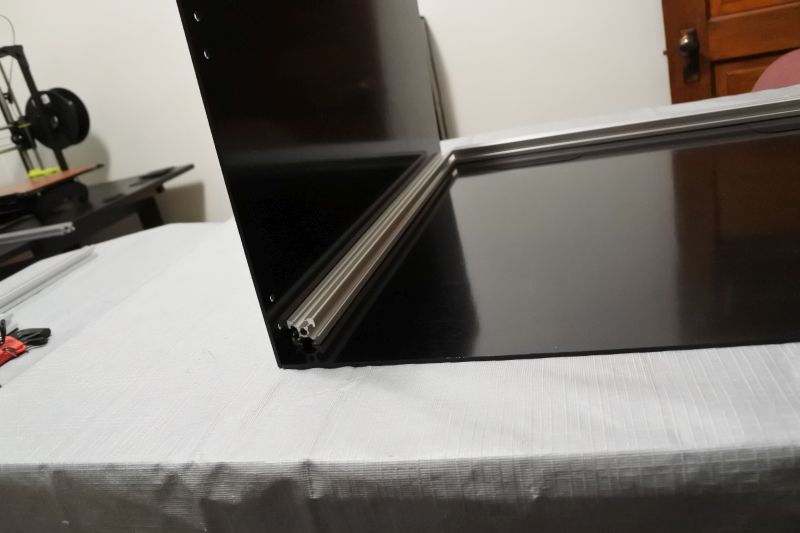
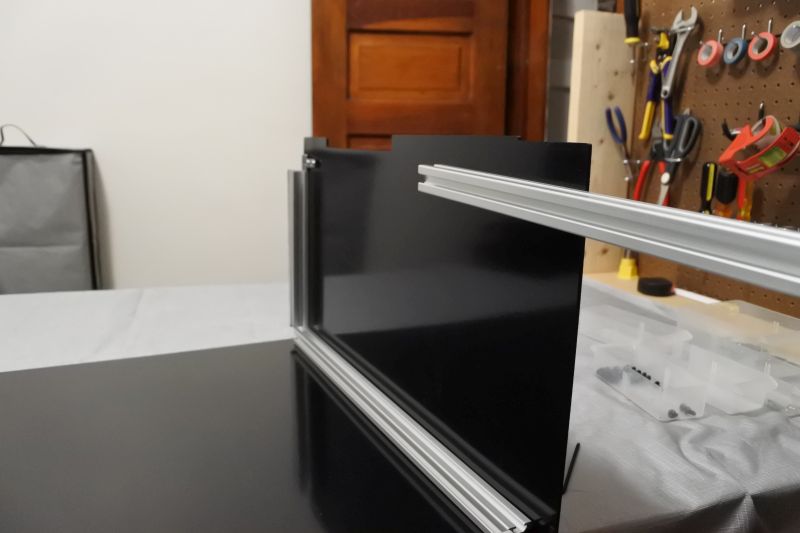
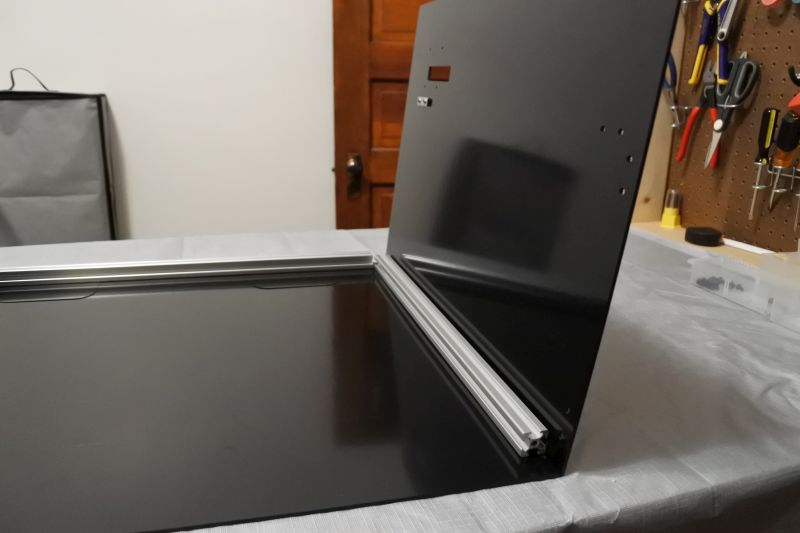
Slide T-Slot Column onto Back Plate.
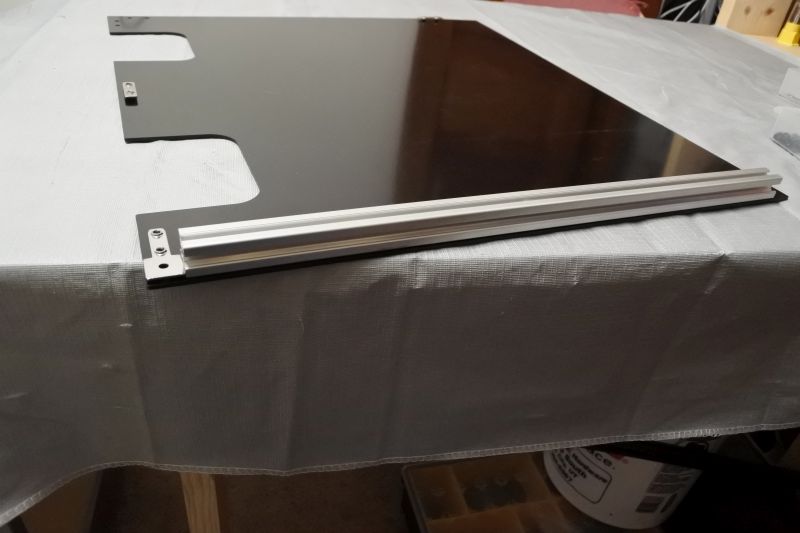
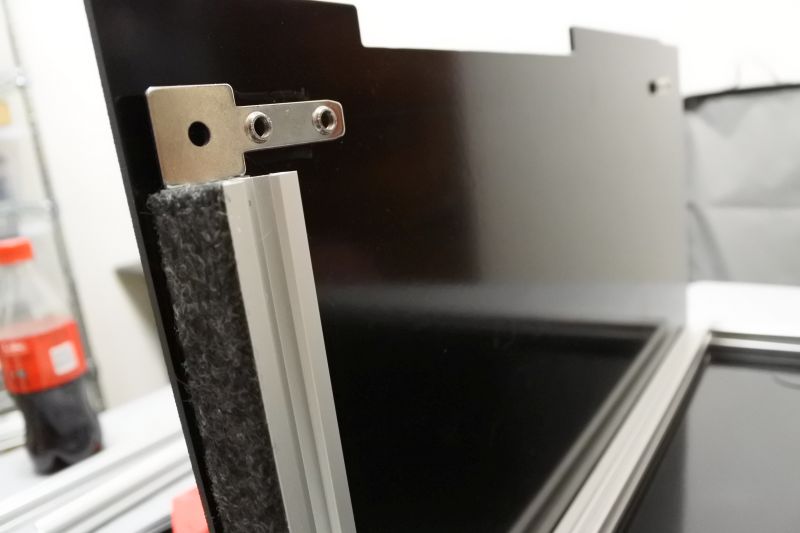
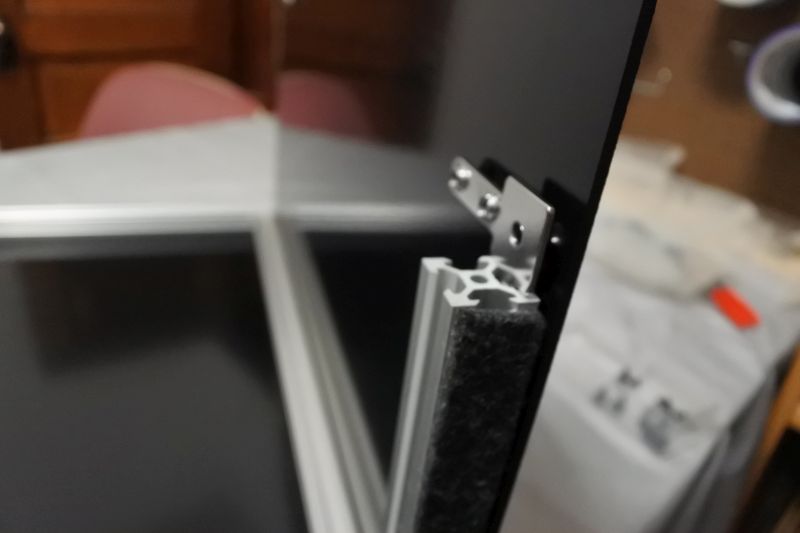
When T-Slot Column reaches the corner holes, slide a Makerlink 2-Way into the end.
Use (2) M5 x 8mm Screws to attach Makerlink 2-Way and T-Slot Column. Make sure it is aligned along he edge and snug against the Makerlink 2-Way then tighten all screws along this edge.
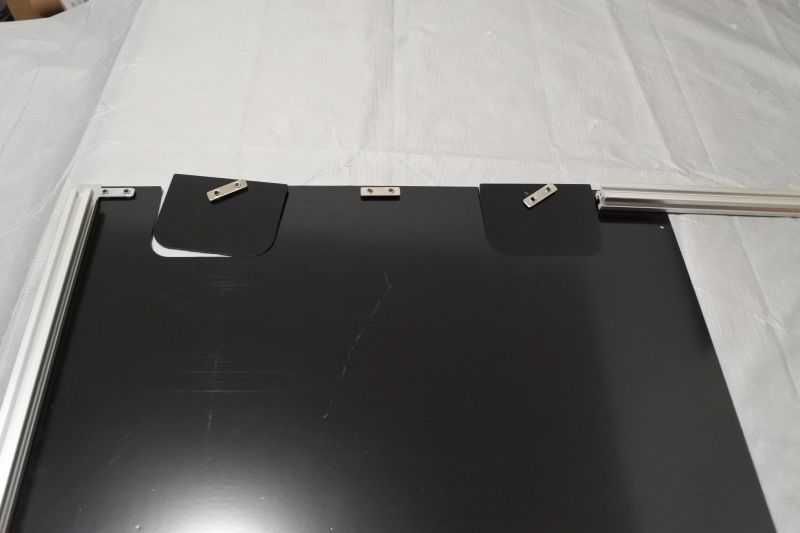
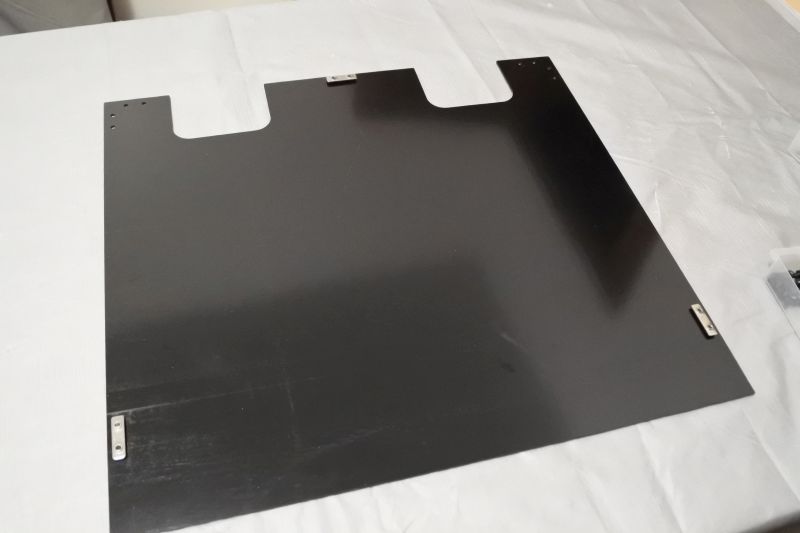
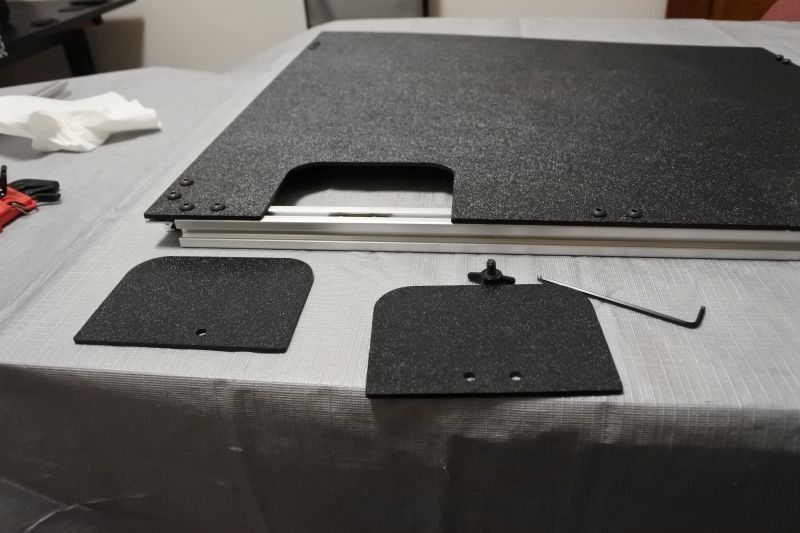
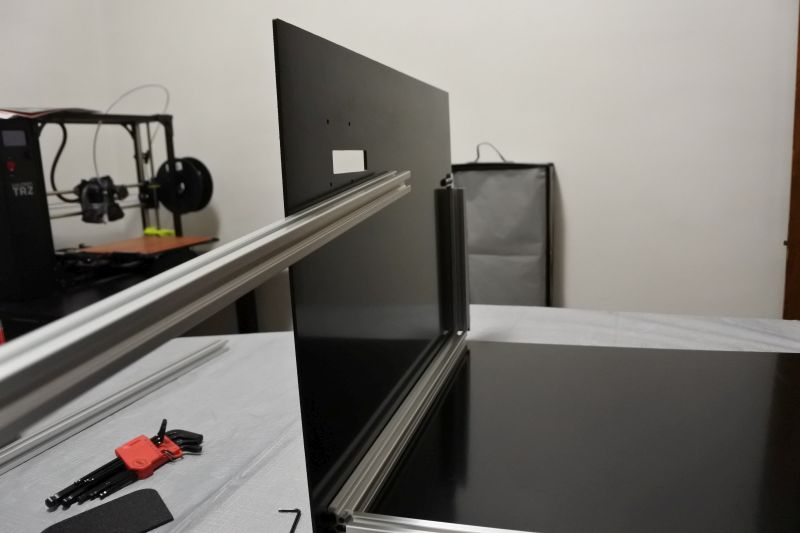
Slide T-Slot Back Strut onto the top of the Back Plate. Start from the direction opposite the T-Slot Column. Have a preloaded Handle Cover Template and a preloaded Handle Cover ready to slide on as well.
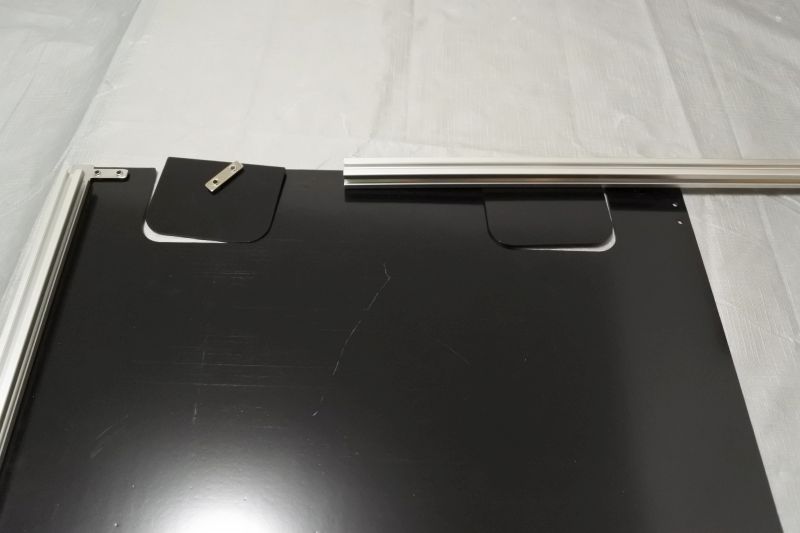

Slide the T-Slot Back Strut onto all of the preloaded hardware until it is snug against the other side of the Makerlink 2-Way.
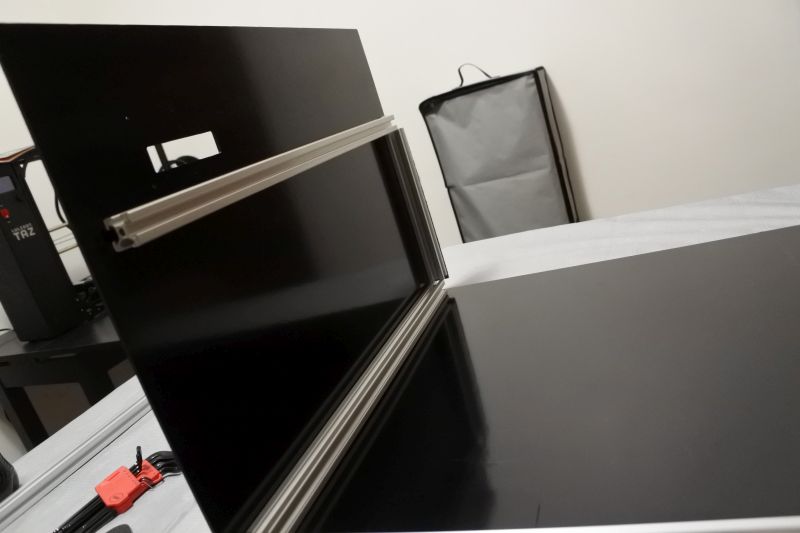
Slide a Makerlink 2-Way into the free end of the T-Slot Back Strut.
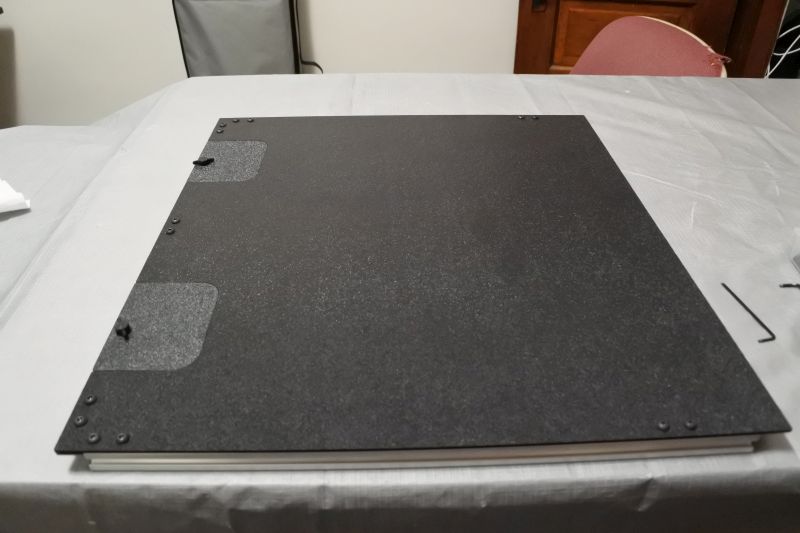
Carefully flip Back Plate over, making sure that none of the loose hardware slips out.
Use (4) M5 x 8mm Screws to attach the Makerlink 2-Way and T-Slot Back Strut. Make sure the beam is aligned and snug between the Makerlink 2-Way then tighten all screws along this edge.
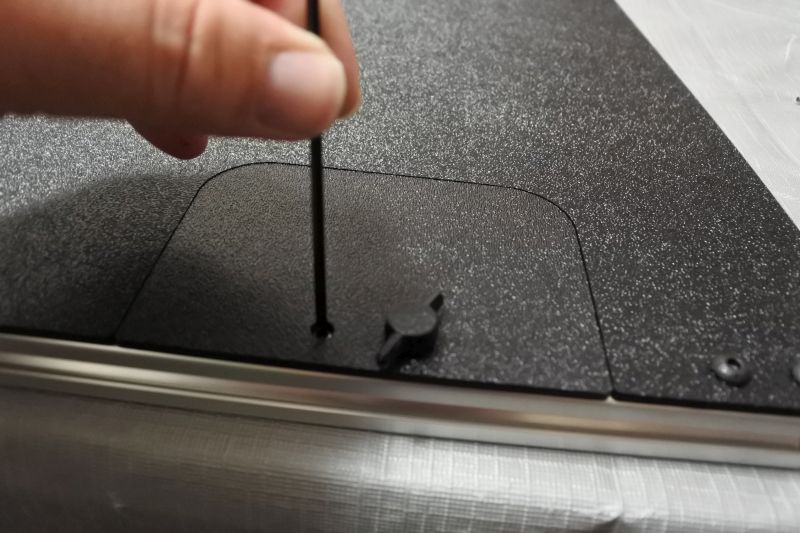
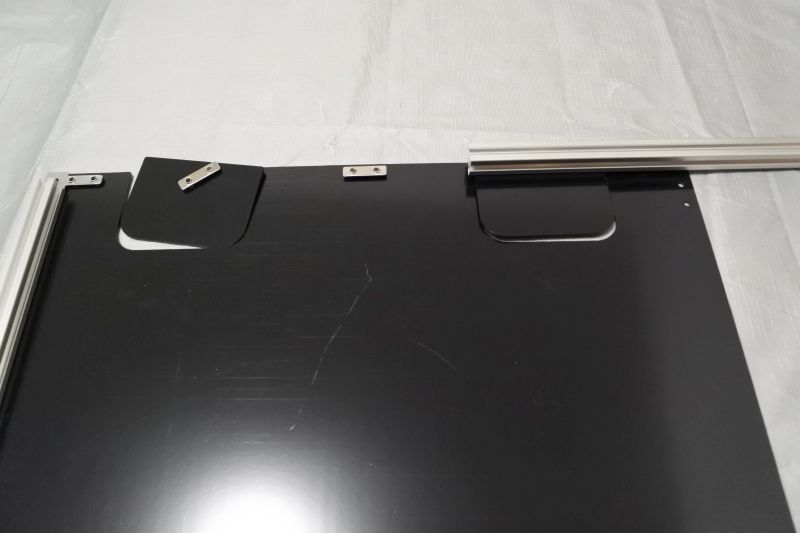
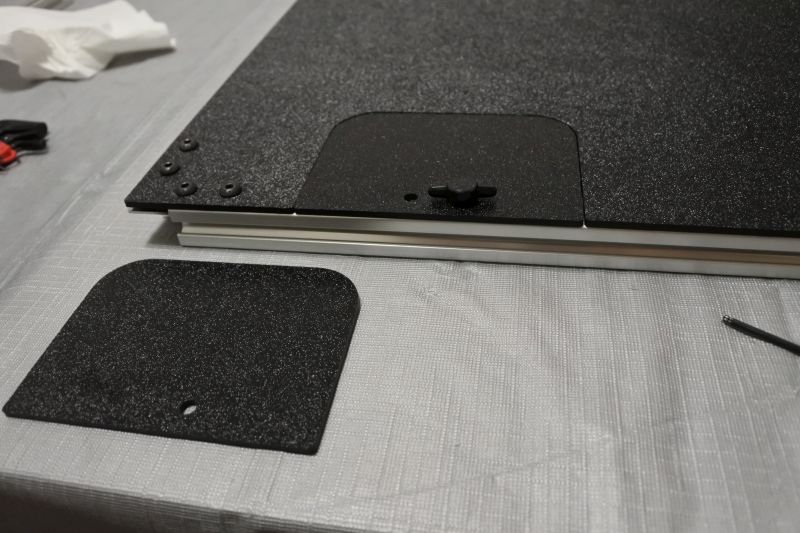
Insert Set Screw into free Handle Cover Template hole and tighten.
Remove Handle Cover Template and replace with a Handle Cover.
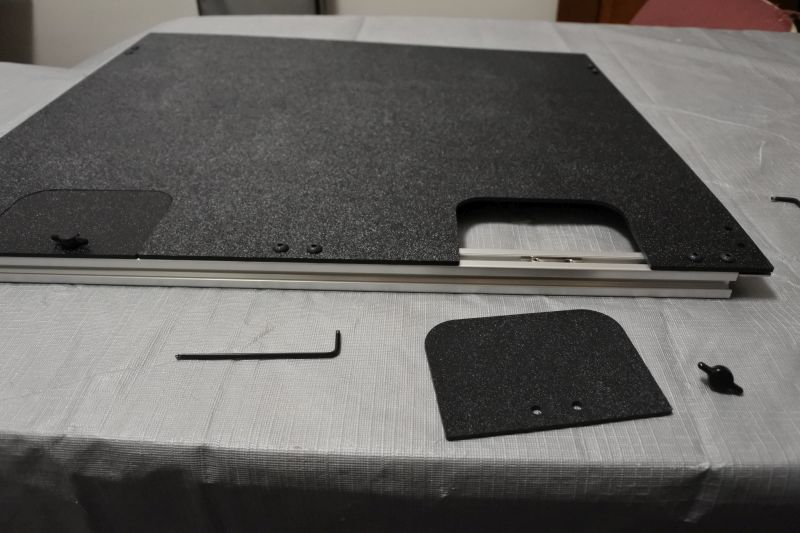
Remove second Handle Cover. Be careful as the Double T-Nut will be loose in the slot.
Attach the Handle Cover Template to give access to the other hole on the Double T-Nut.
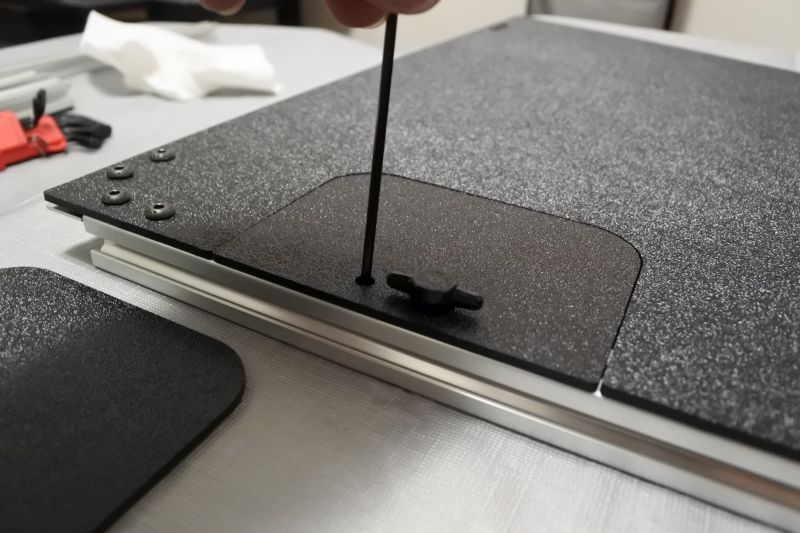
Insert a Set Screw into the free Handle Cover Template hole and tighten.
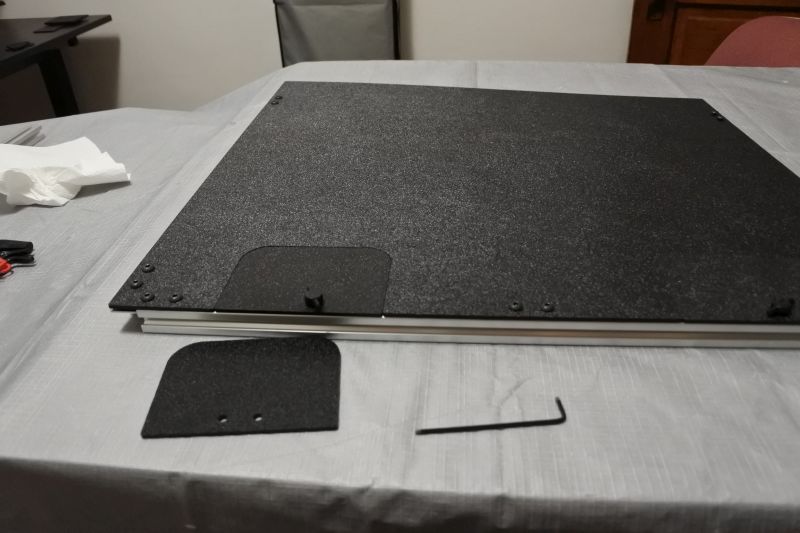
Re-attach the Handle Cover. Set aside the Handle Cover Template to use as a spare.
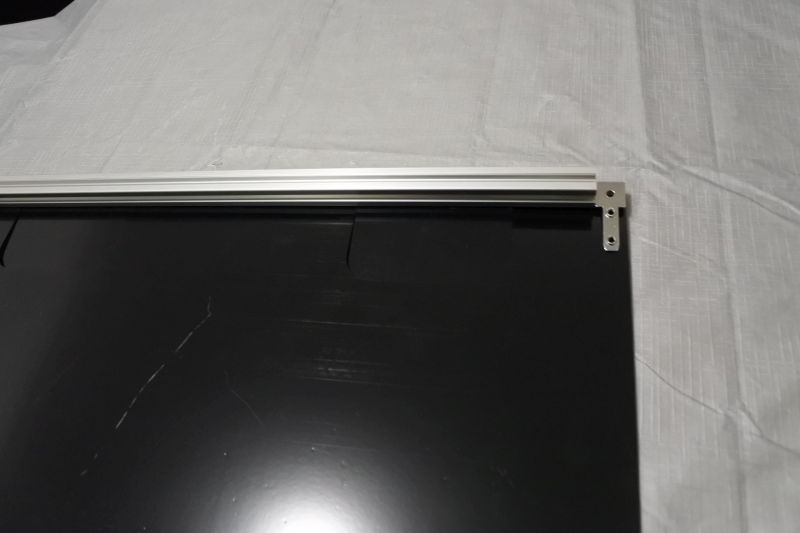
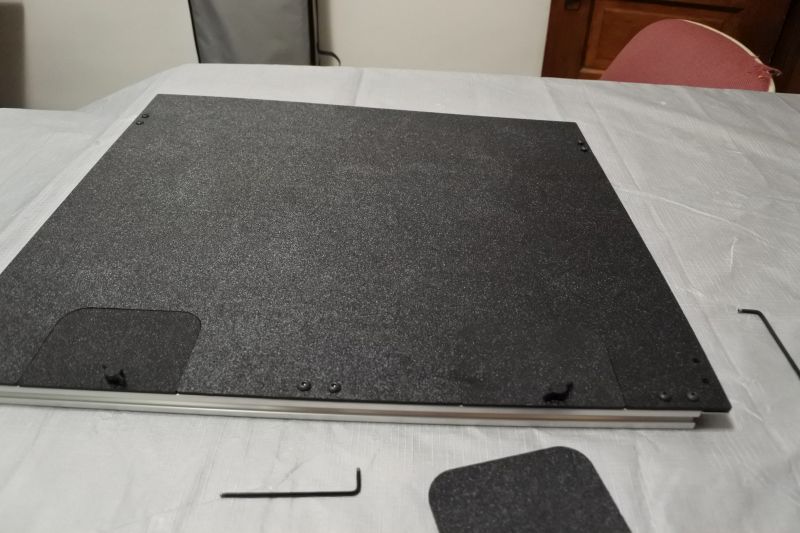
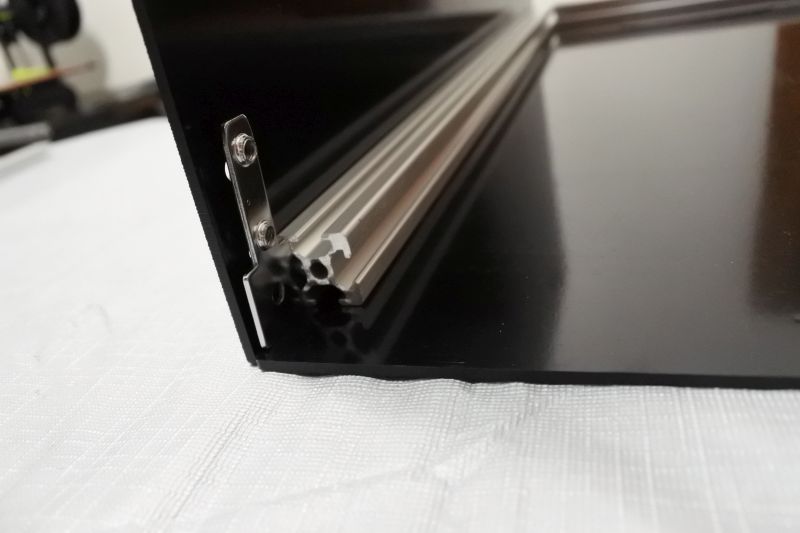
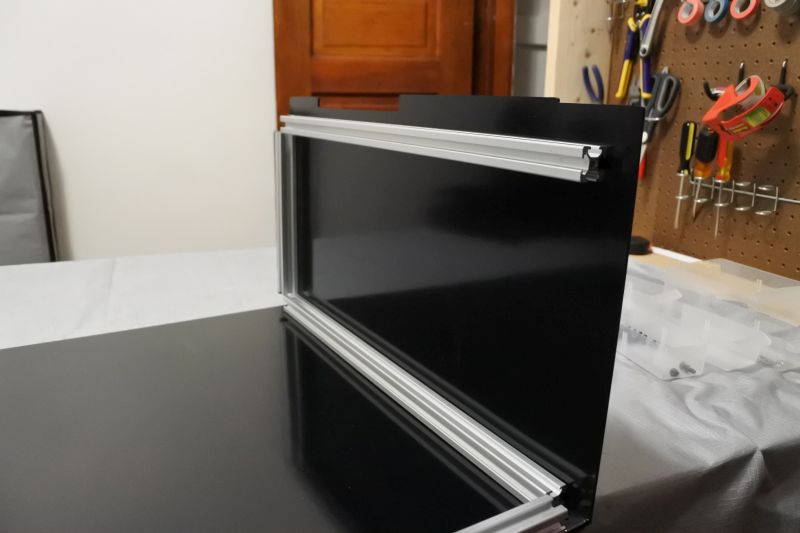
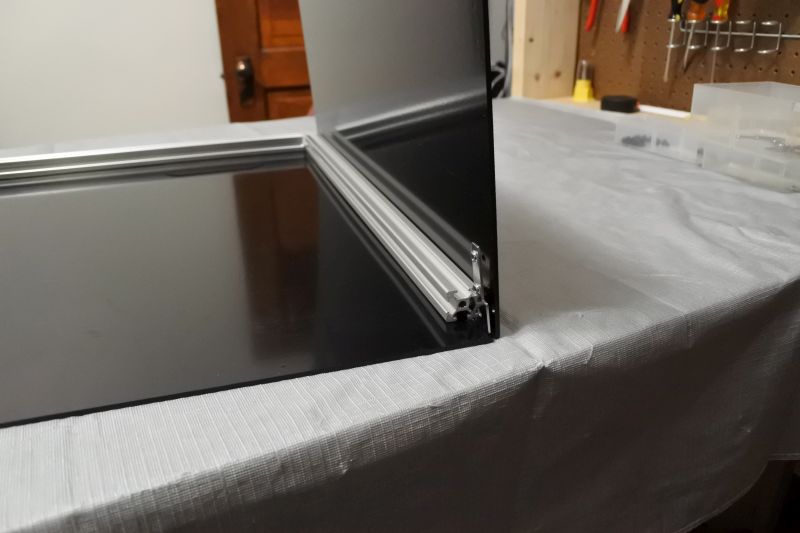
Slide a T-Slot Column onto the right edge of the Back Plate.
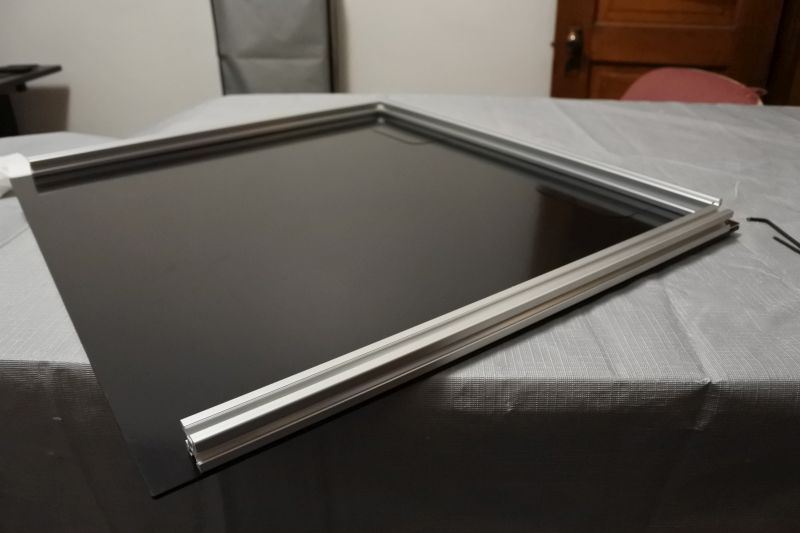
Slide the T-Slot Column onto the free end of the Makerlink 2-Way. Use (2) M5 x 8mm Screws to attach it. Ensure it is snug against the Makerlink 2-Way and aligned to the edge of the Back Plate then tighten all the screws along this edge.
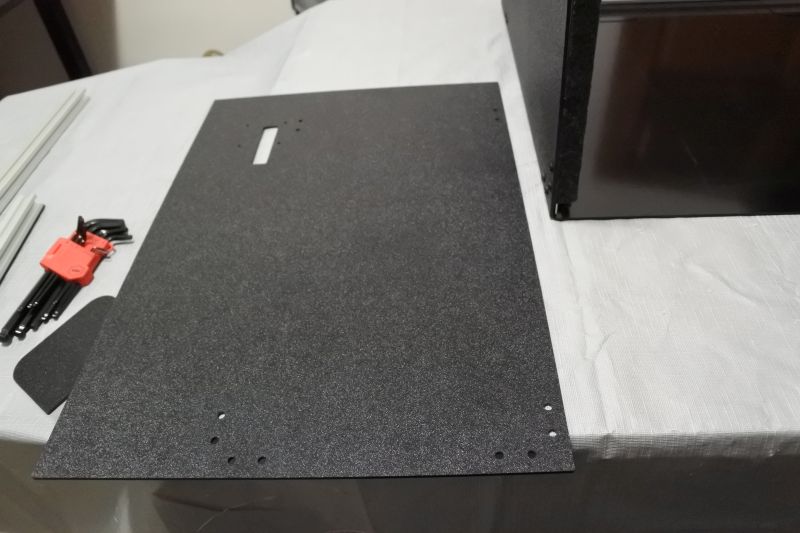
Attach Back-Left Plate

Find Back-Left Plate. Preload it with (2) Double T-Nuts and (4) M5 x 8mm Screws.
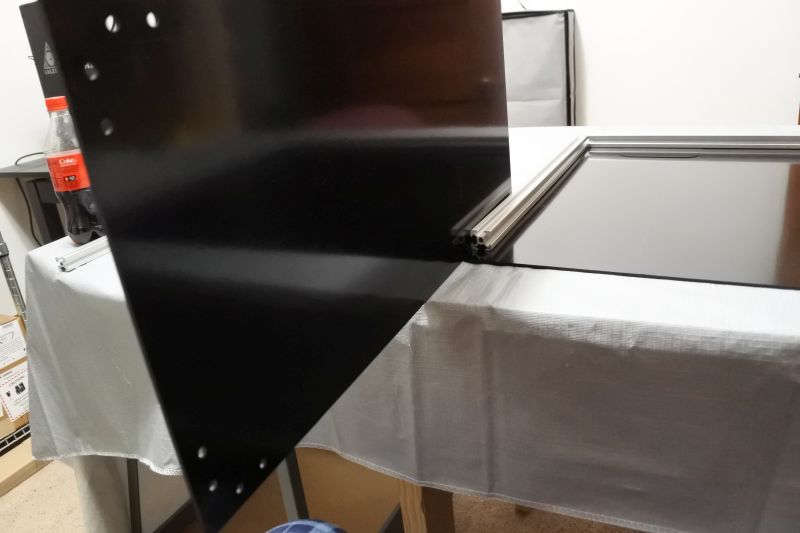
Slide Back-Left plate onto T-Slot Column on left side of Back Plate.
Add Makerlink 2-Way onto the end of the T-Slot Column.
Attach Back-Left Plate to Makerlink 2-Way with (2) M5 x 8mm Screws. Ensure that it is aligned and that the T-Slot Column is snug against the Makerlink 2-Way and tighten screws along this edge.
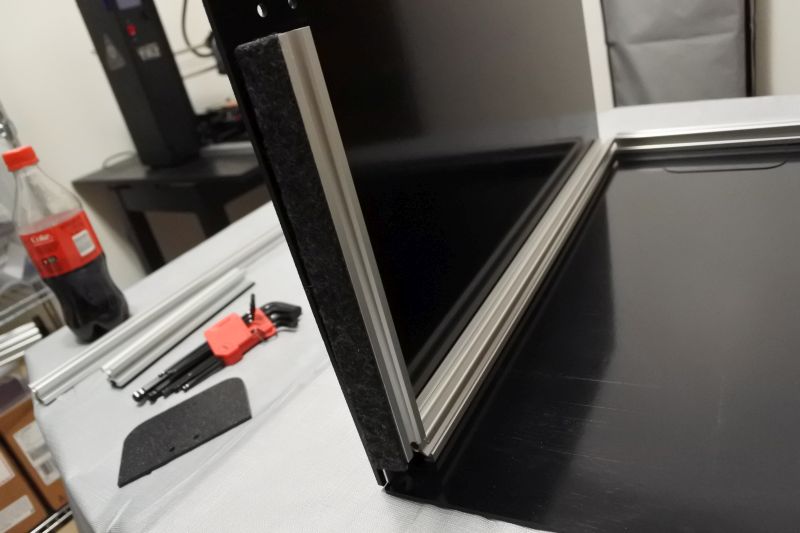
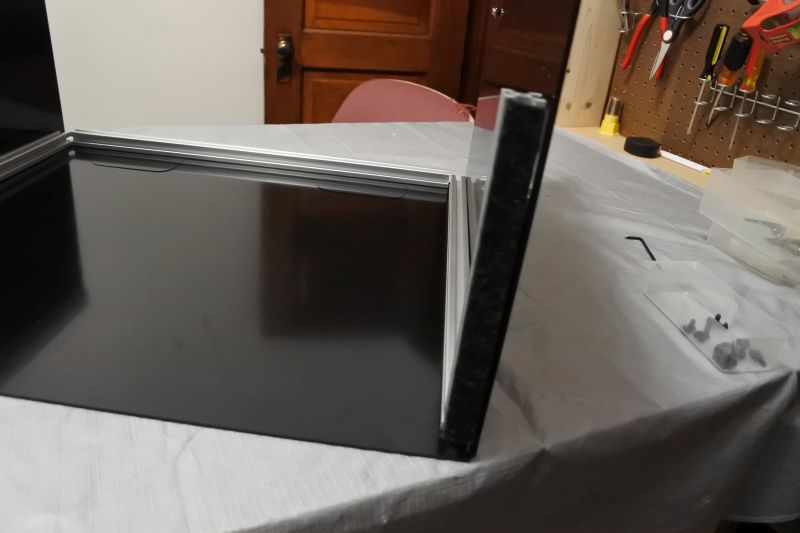
Attach a Long Felt Strip along one side of a T-Slot Back Base. Plase T-Slot Back Base on the end of the Makerlink 2-Way. Make sure the felt is pointing outward.
Add Makerlink 2-Way to the other end of the T-Slot Back Base.
Attach T-Slot Back Base using (4) M5 x 8mm Screws. Ensure that it is aligned and snug between the Makerlink 2-Ways and tighten screws along this edge.
Slide a T-Slot Column onto the Back-Left Plate from the opposite end.
Attach the T-Slot Column with (2) M5 x 8mm Screws. Ensure that it is aligned and snug against the Makerlink 2-Way and tighten the screws along this edge.
Attach Back-Right Plate
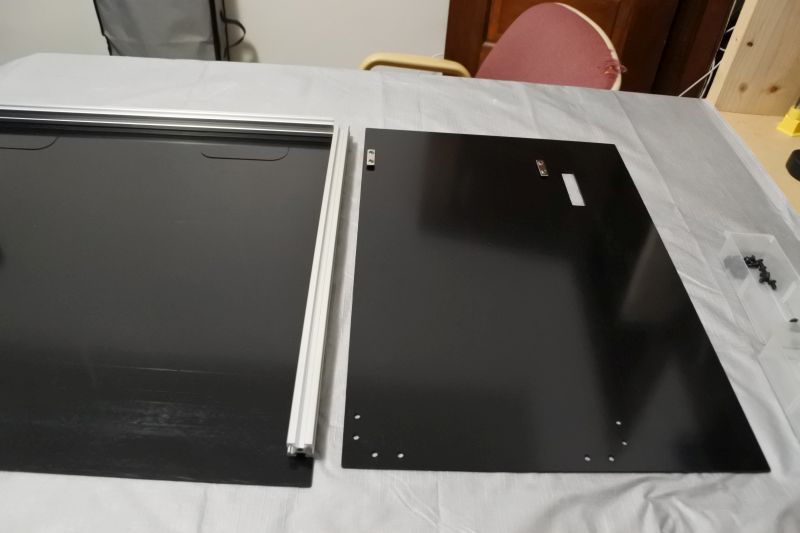
Find Back-Right Plate. Preload it with (2) Double T-Nuts and (4) M5 x 8mm Screws.
Slide Back-Right Plate onto T-Slot Column on the right side.
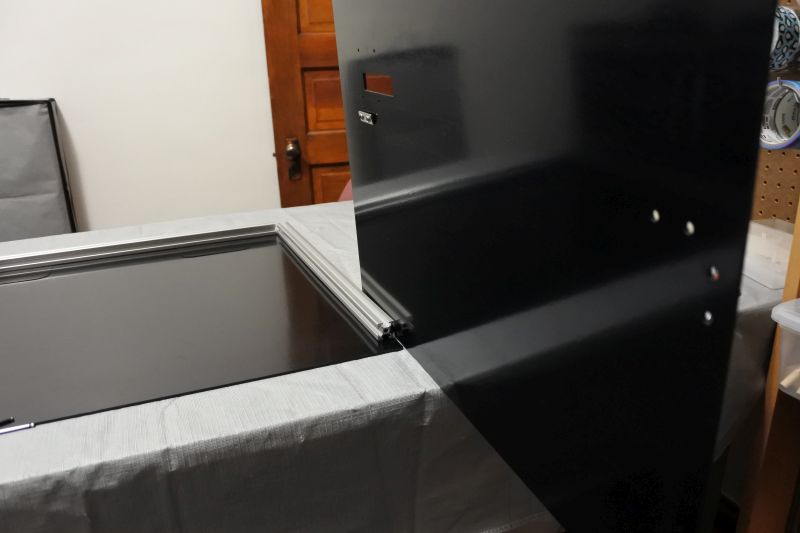
Add Makerlink 2-Way to end of T-Slot Column.
Attach Back-Right Plate with (2) M5 x 8mm Screws. Ensure that the Back-Right Plate is aligned and that the Makerlink 2-Way is snug against the end of the T-Slot Column, then tighten all screws on this edge.
Attach Long Felt Strip to a side of the T-Slot Back Base. Then slide T-Slot Back Base onto the end of Makerlink 2-Way with the felt facing outward.
Insert Makerlink 2-Way onto the other end of the T-Slot Back Base.

Use (4) M5 x 8mm Screws to attach T-Slot Back Base. Ensure that it is aligned and snug between the Makerlink 2-Ways and then tighten screws along this edge.
Slide T-Slot Column onto the opposite side of the Back-Right Plate.
Use (2) M5 x 8mm Screws to attach T-Slot Column. Ensure that it is aligned and snug against the Makerlink 2-Way and then tighten screws along this edge.
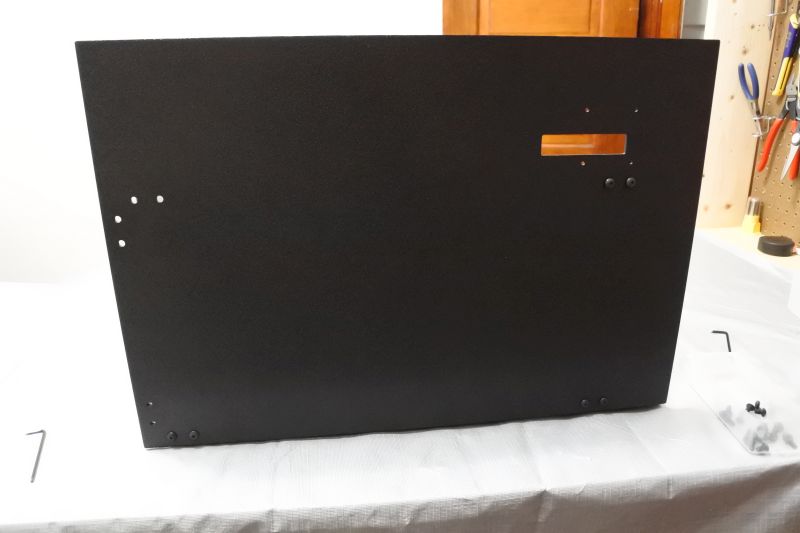
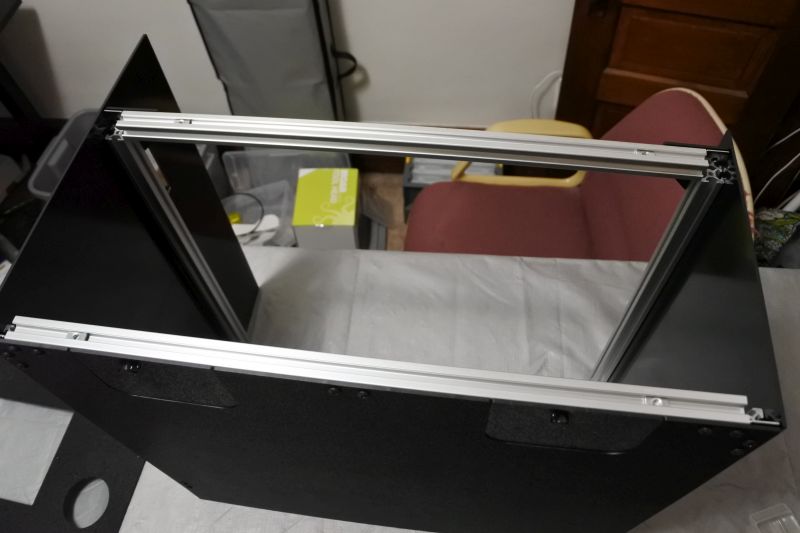
Complete Back Structure
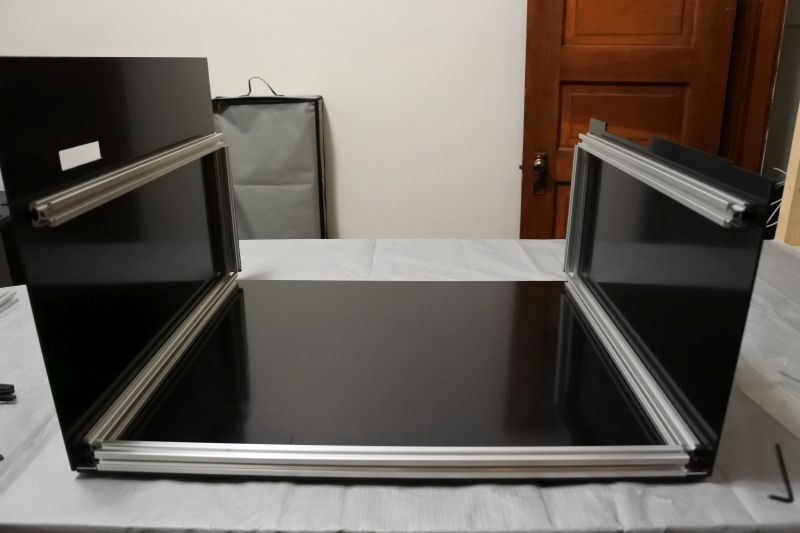
Here is the back assembly with the two free ends of the T-Slot Columns pointed at the camera.
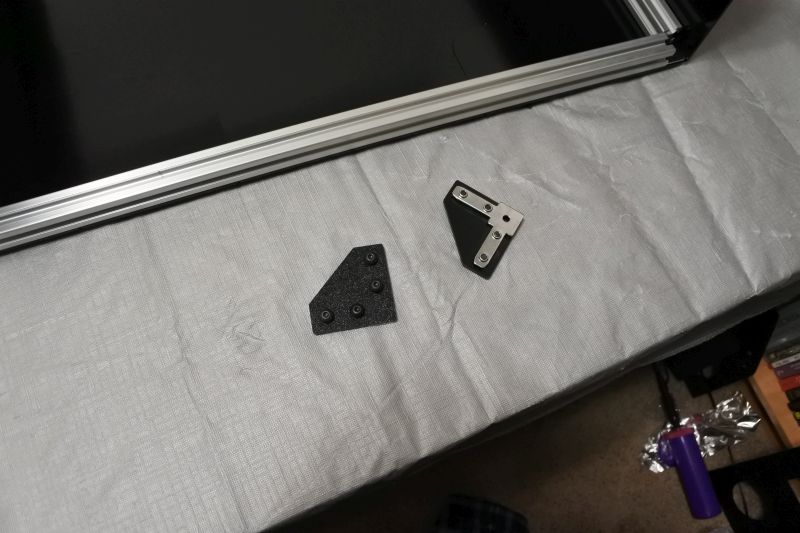
Preload (2) Corner Brackets with (2) Makerlink 2-Way and (8) M5 x 8mm Screws.
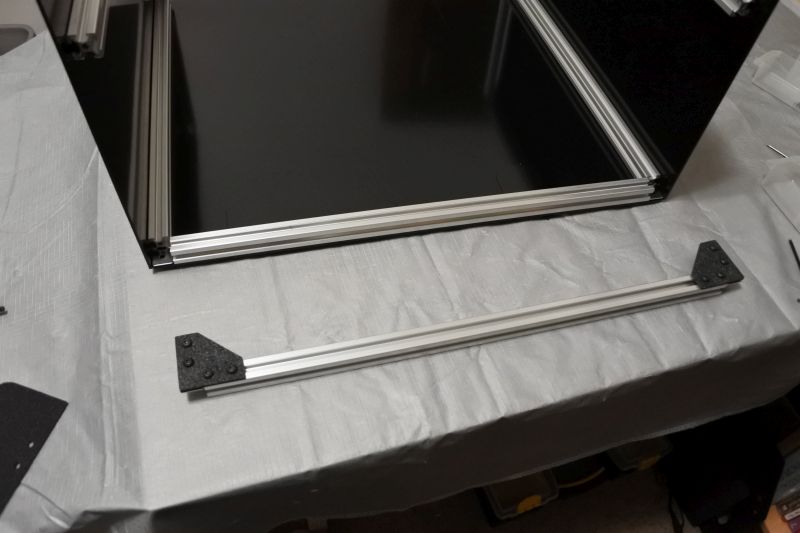
Slide preloaded Corner Brackets onto the ends of a T-Slot Back Strut.
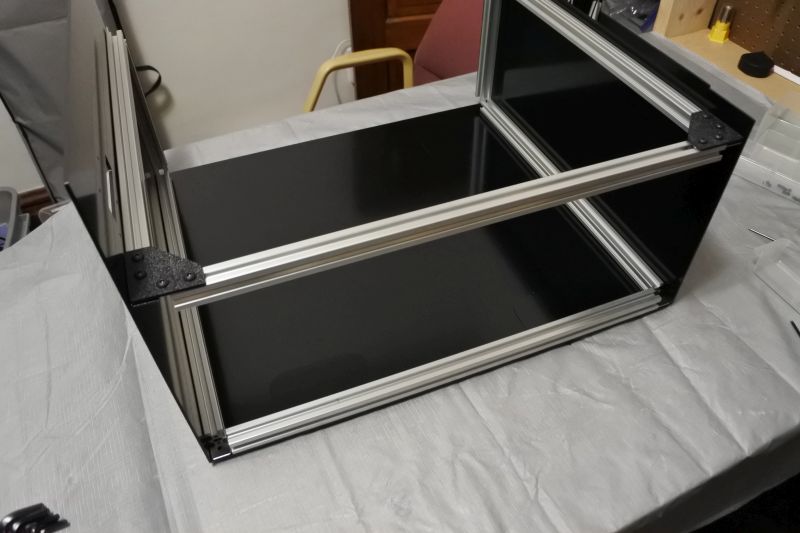
Slide the other ends of the Makerlink 2-Way onto the two free ends of the T-SLot Columns. Ensure that all beams are snug against the Makerlink 2-Way and then tighten all screws.
Attach Back-Top Plate
Flip Back Assembly upright. Add (4) Single T-Nuts in the top channels near the corners.
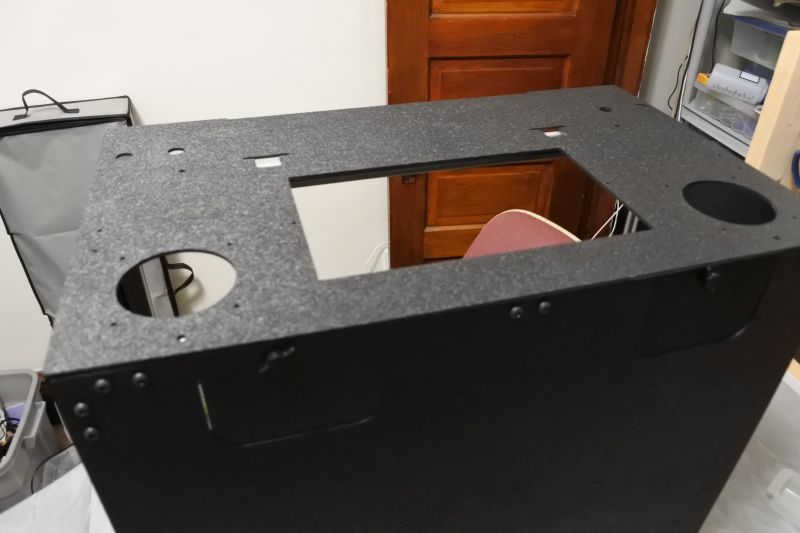
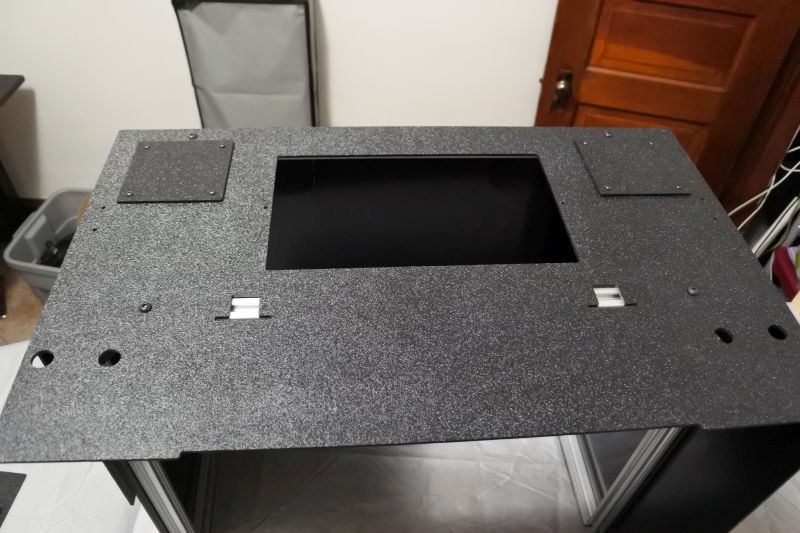
Find Back-Top Plate. Place it loosely on top of the back assembly.
Attach the Back-Top Plate to the T-Slot Back Struts using (4) M5 x 8mm Screws. Move the Single T-Nuts in their slots and the Back-Top Plate to connect it to each one. Only screw it in very loosely to allow it to still move around until all Single T-Nuts are connected.
Align the Back-Top Plate on the T-Slot Back Struts, then tighten the screws.
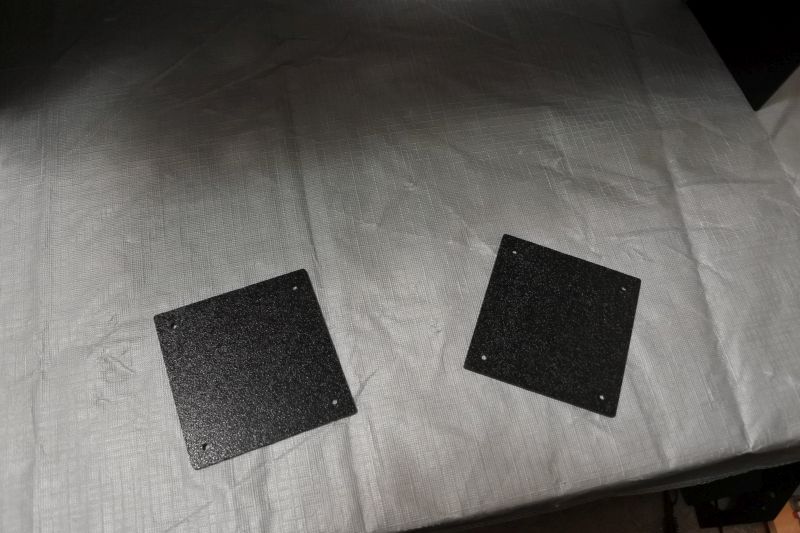
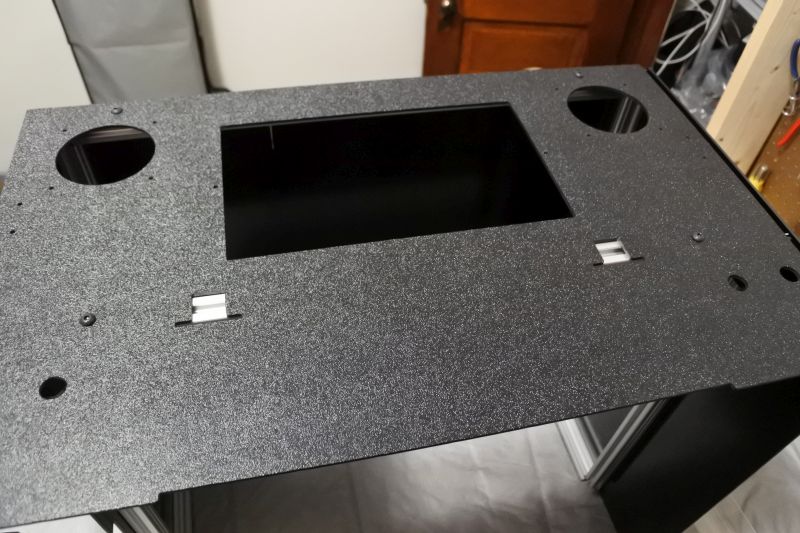
Find the Fan Covers. Attach one or both Fan Covers to any unused mounting points for fans. If you do wish to use a fan, the mounting points are designed to work with 80mm computer case fans. There are two small holes near the fan mounting points to let you mount a controller or power plug for the fan.
Each Fan Cover is attached with (4) M3 x 14mm Screws and (4) M3 Nuts.
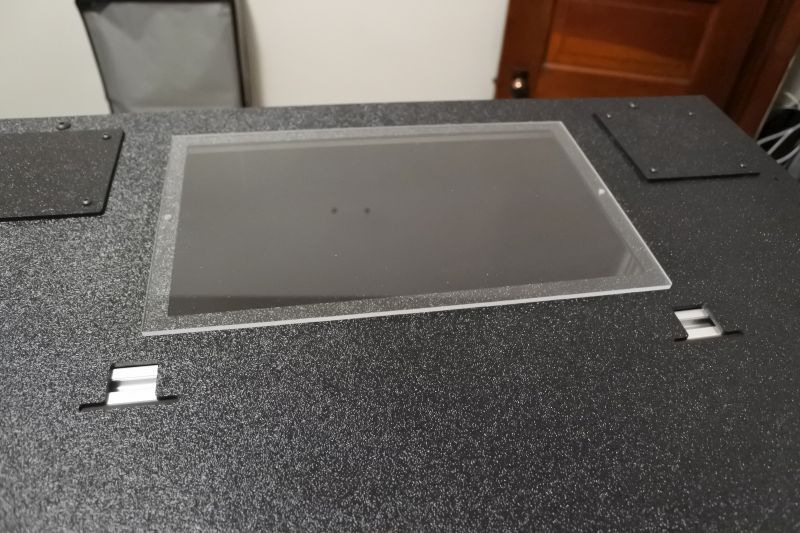
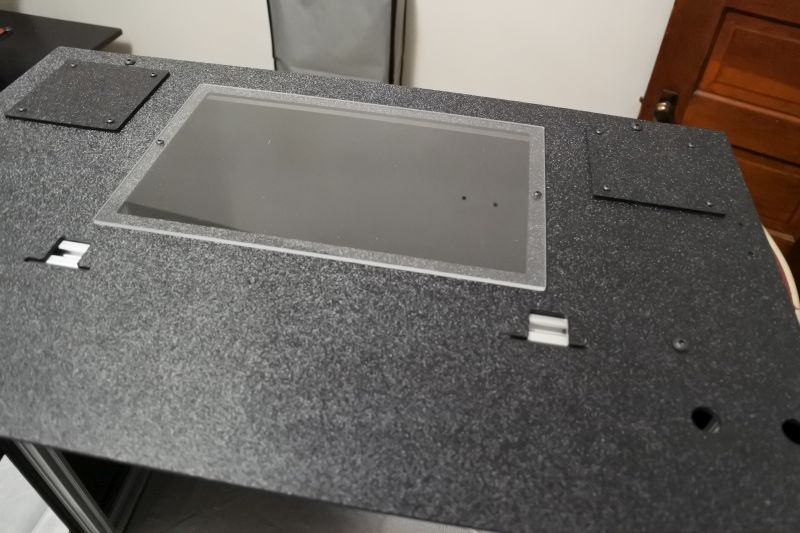
Find Back-Top Window. Attach it to the Back-Top Plate using (2) M3 x 14mm Screws and (2) M3 Nuts.
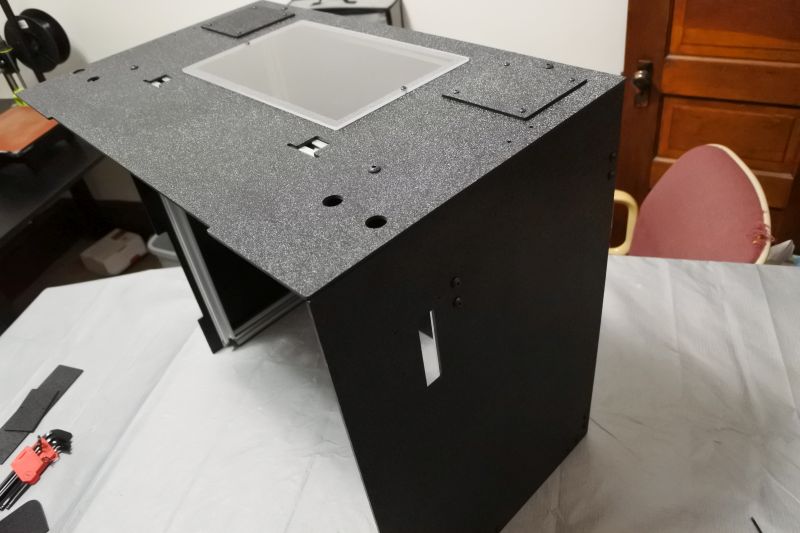
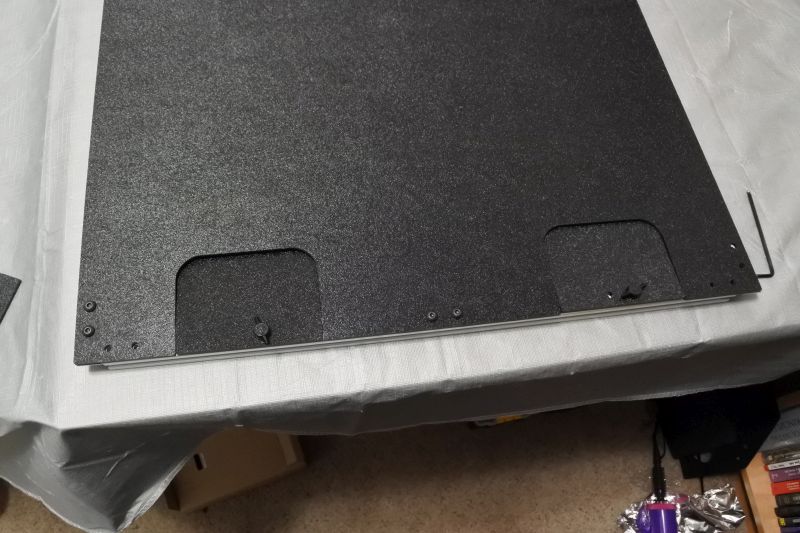
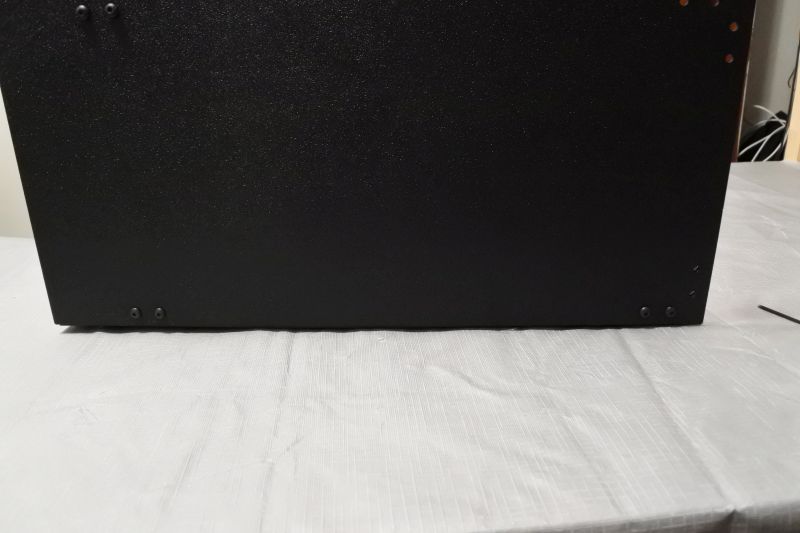
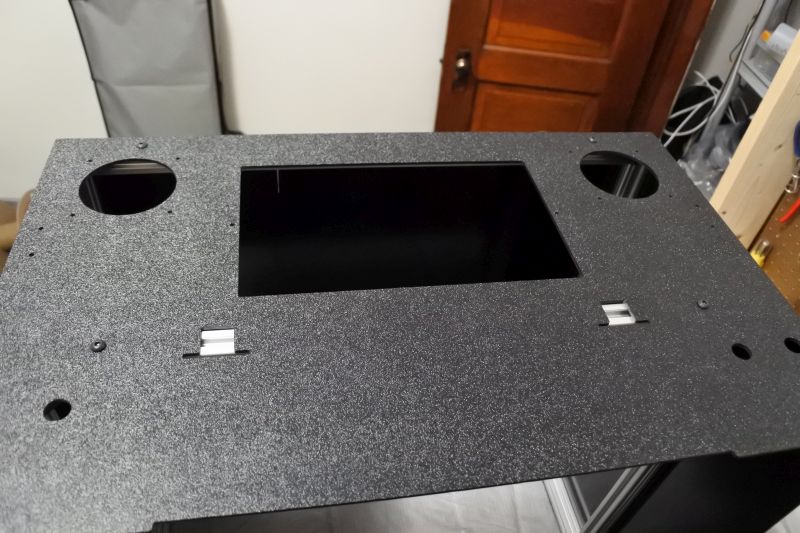
Completed Back Enclosure

The Back Enclosure is now complete. Continue to Installation and Usage.