Installation and Usage
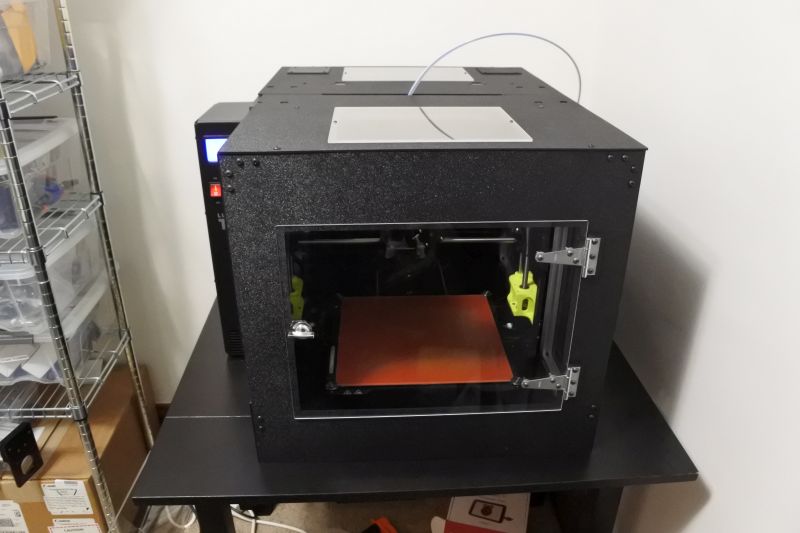
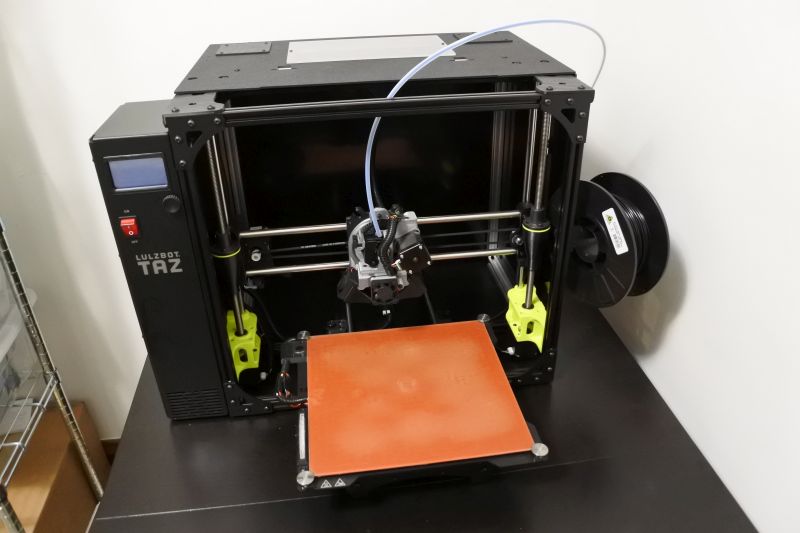
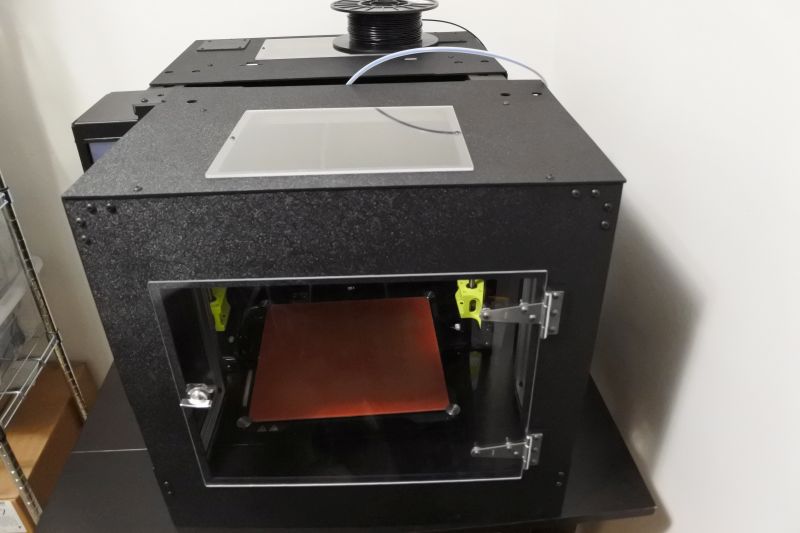
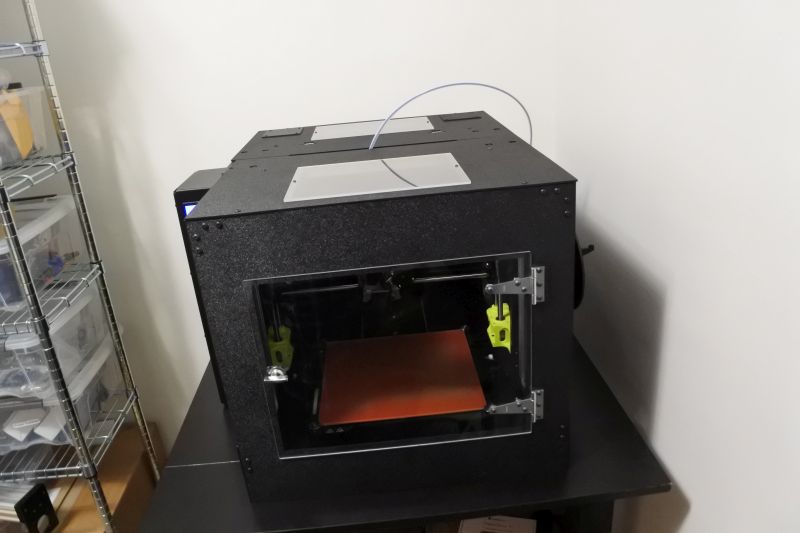
Once installed, the enclosure rests on the desk surrounding the work area of the 3d Printer but not the eletronics. Cutouts for screws and other features on the surface of the 3d Printer allows for a relatively snug fit.
Installing Back Enclosure
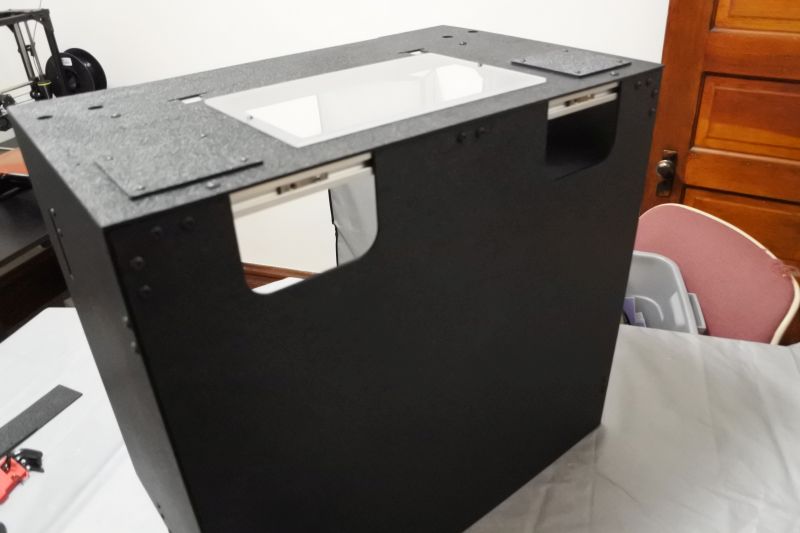
Remove the handle covers from the Back Enclosure. This will give you reasonable handholds as you maneuver it into position.
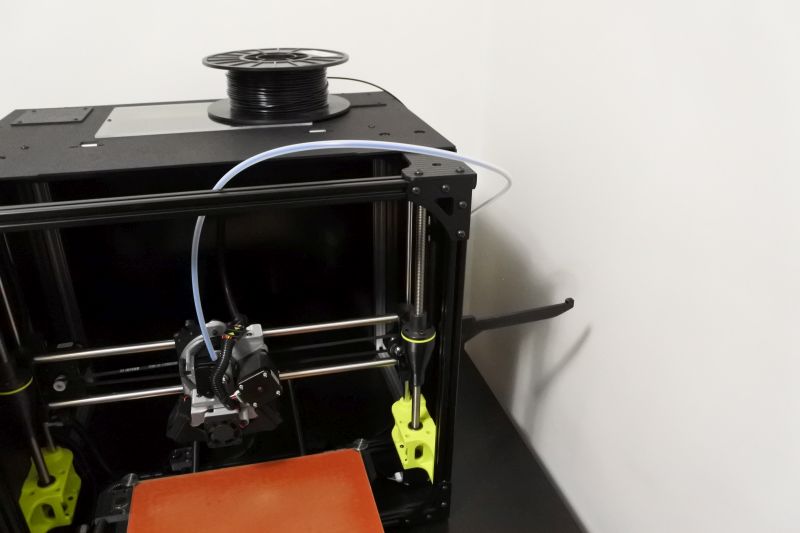
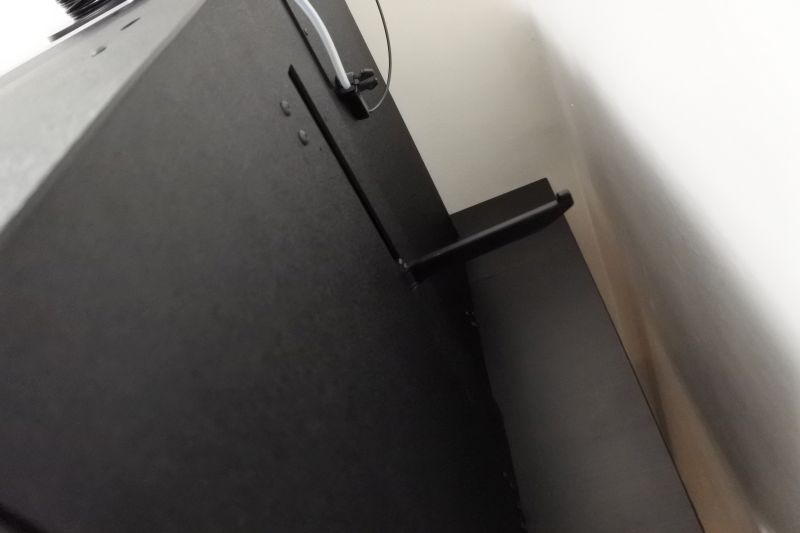
Remove the tippy filament guide from the back bracket of the 3d printer.
Move the Back Enclosure near the 3d Printer. It should be close to its final position.
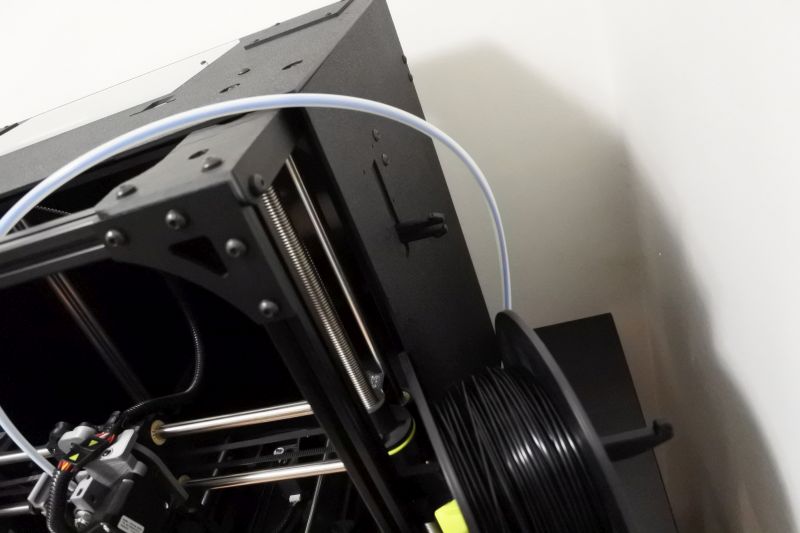
The back bracket for the filament guide should go through its cutout. You may need to adjust its position up and down and fold in and back out in order to get it to fit. It should be near the bottom of the cutout.
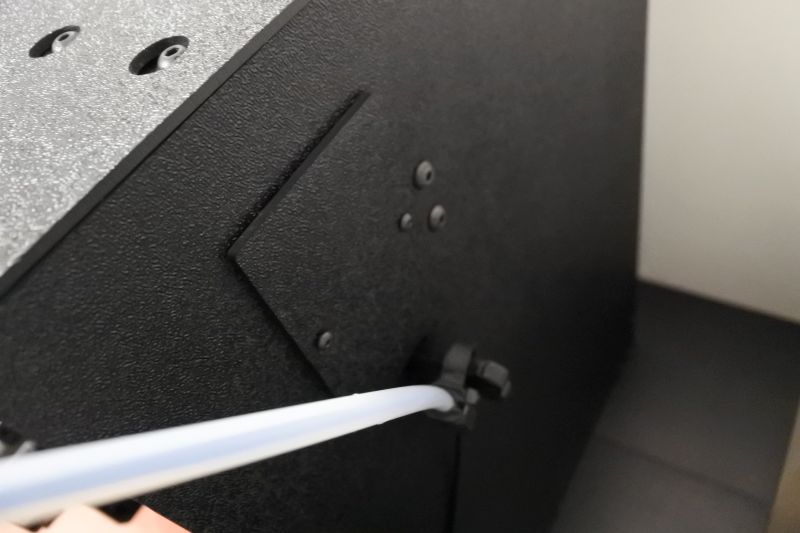
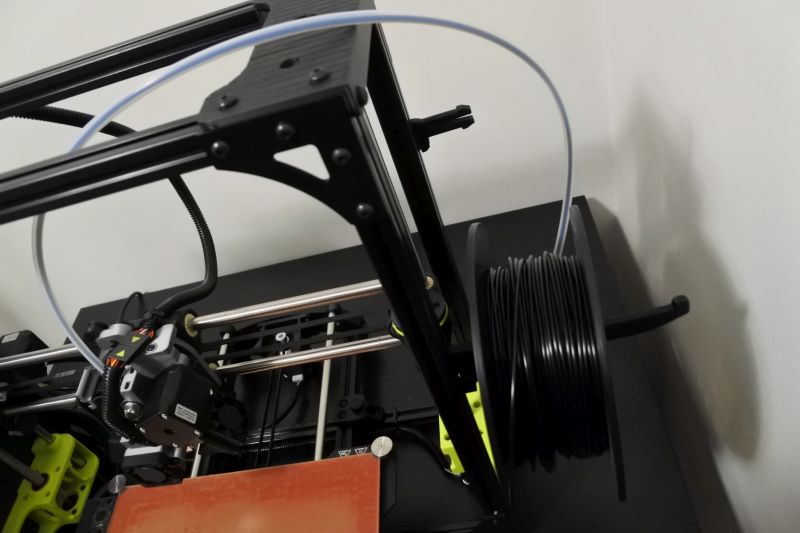
Attach the Back Spool Cover using (2) M3 x 14mm Screws and (2) M3 Nuts. Use the top pair of holes (the bottom pair is used when you want to completely seal this cutout if yo uaren't using it). The space is tight so this may be somewhat tricky. Afterwards, replace the tippy filament guide.
Re-attach the Handle Covers. The Back Enclosure is now installed.
Installing Front Enclosure
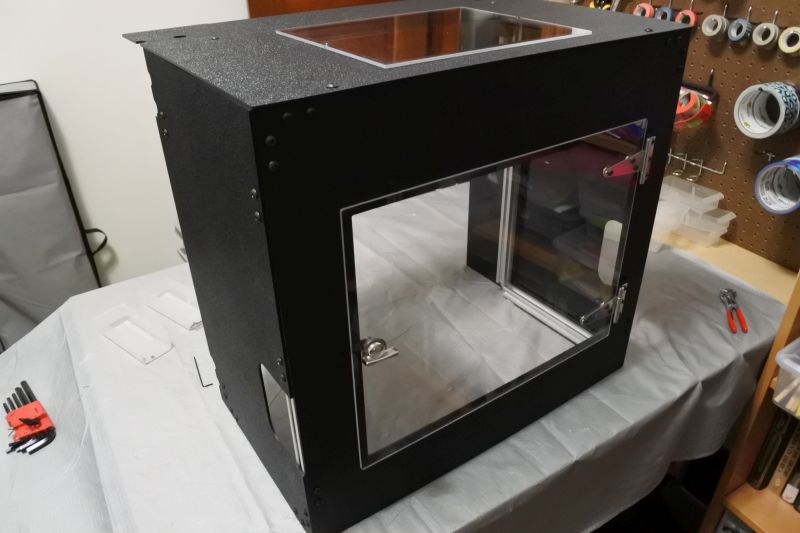
Remove the Handle Covers from the Front Enclosure to allow easy grab points during installation.
Remove your filament spool from the spool holder.
Move the Front Enclosure near the 3d Printer.
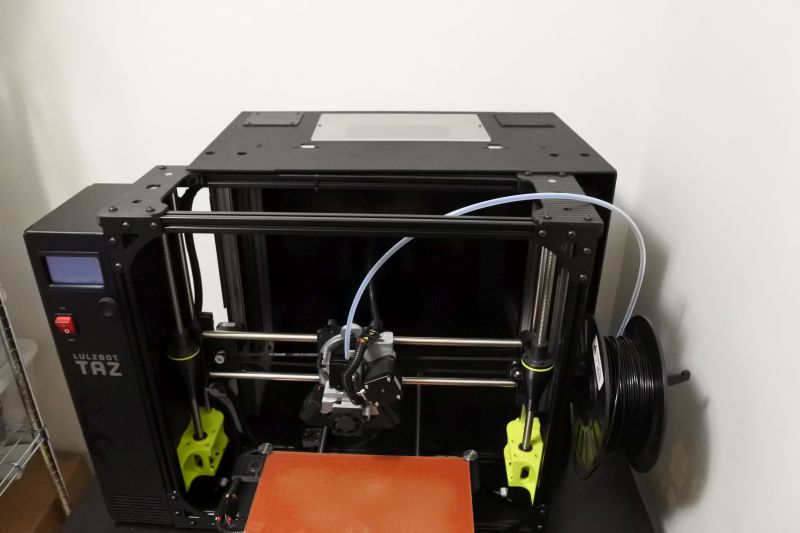
The Spool Holder should go through the cutout in the enclosure and be near the bottom. You may need to loosen and adjust its position or fold it in and out.
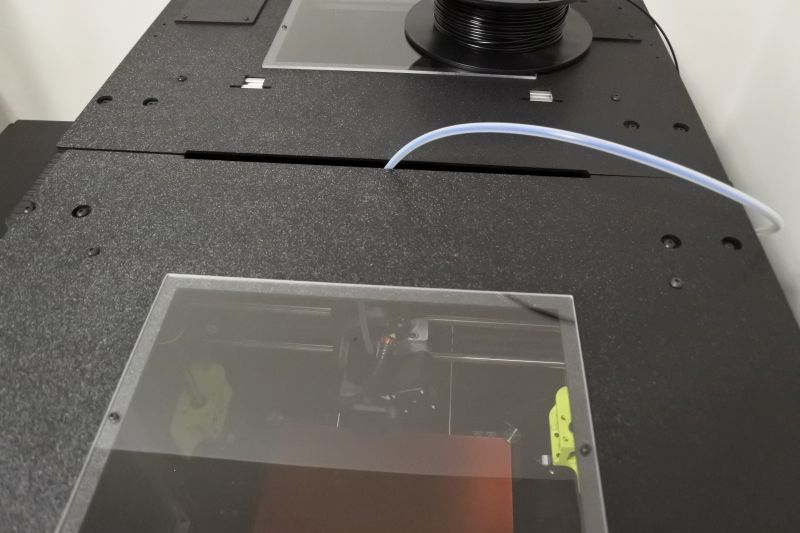
The cutouts for screws and other projects should all line up on the top. Re-attach Handle Covers.
Replace the filament spool on the holder. The enclosure is now complete.
Usage
Before running your 3d printer, verify that the build plate can move along its entire travel and hit both limit switches.
Since the controls and electronics are outside the enclosure, there is no difference when actually using the 3d printer. When the print is running, the enclosure will heat up due to the nozzle and bed heaters. When the print is complete, it will cool.