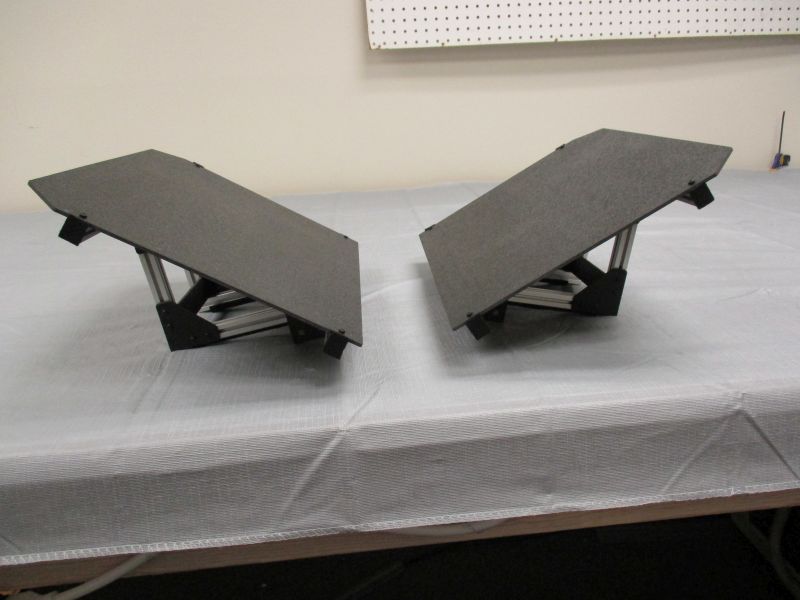
Cradle Wing Assembly
Special Notes
There are (8) M3 x 6mm Nylon Screws in a separate bag. They have a cross head instead of a hex head. Do not mix them up with the standard M3 x 6mm Screws. Be very gentle with them. They are very easy to strip.
The M5 x 8mm Screws and M5 Finger Clamps included in this assembly are used to attach the Cradle Wings to the Cradle Base later on.
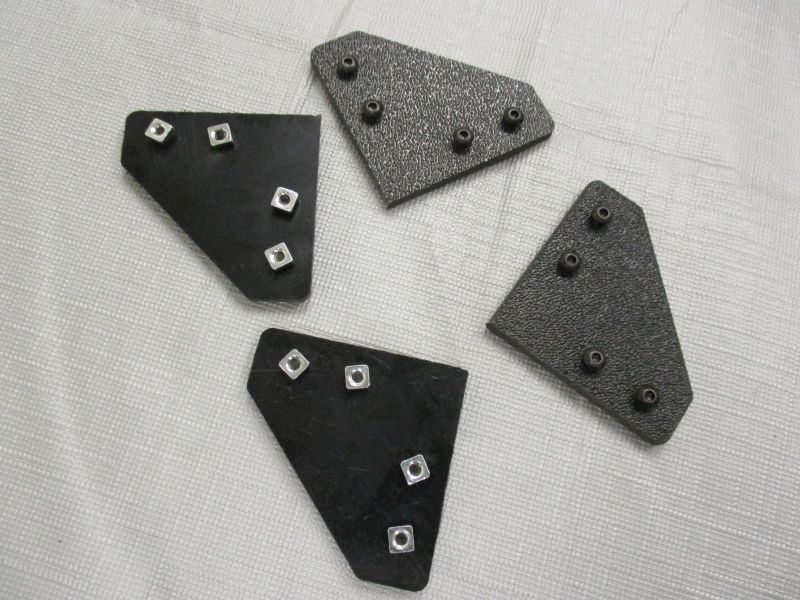
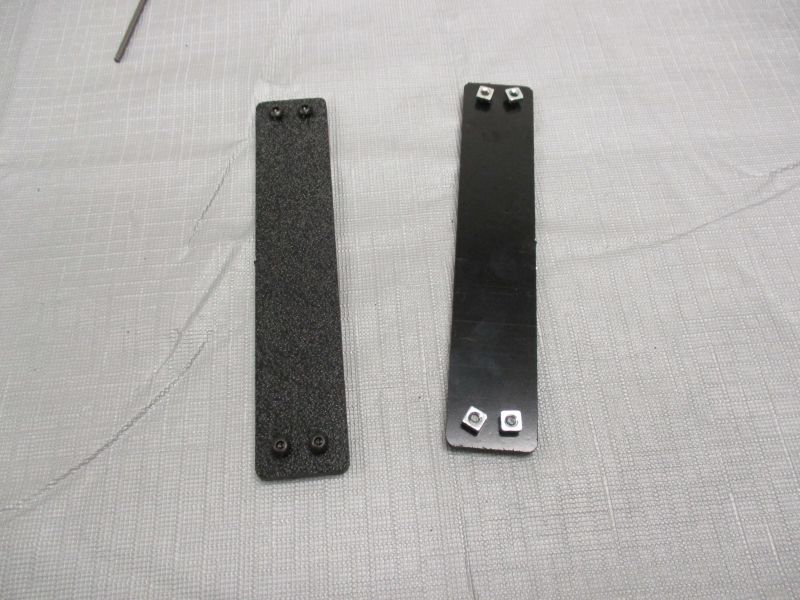
When preloading the ABS plastic plates, the screw head should always be on the rough side and the M3 Square Nut should always be on the shiny side.
Inventory
Tools Needed:
- 3mm Hex Key
-
1 Screwdriver
Parts Needed:
- (1) Cradle Wing Aseembly Bag
- (2) Cradle Wing Plate
- (4) Cradle Column
- (4) Cradle Strut
- (4) Cradle Diagonal
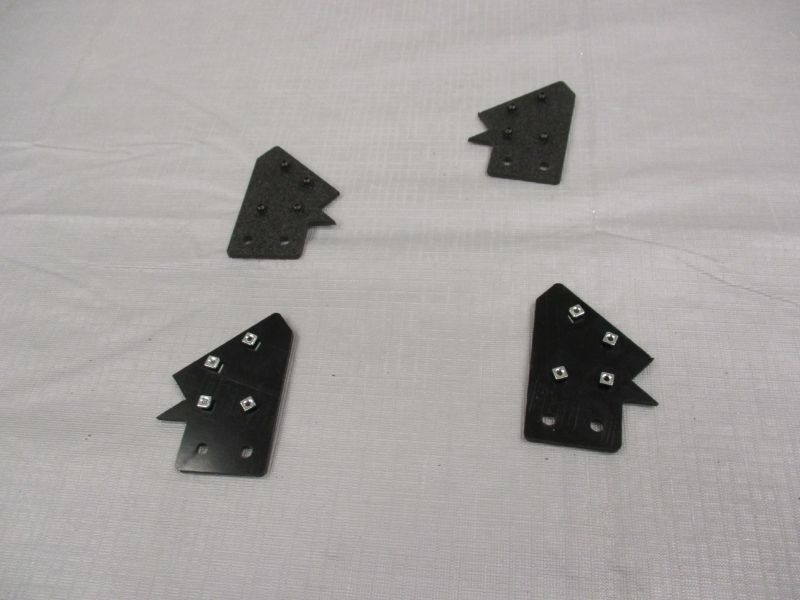
- (4) Cradle Wing Support
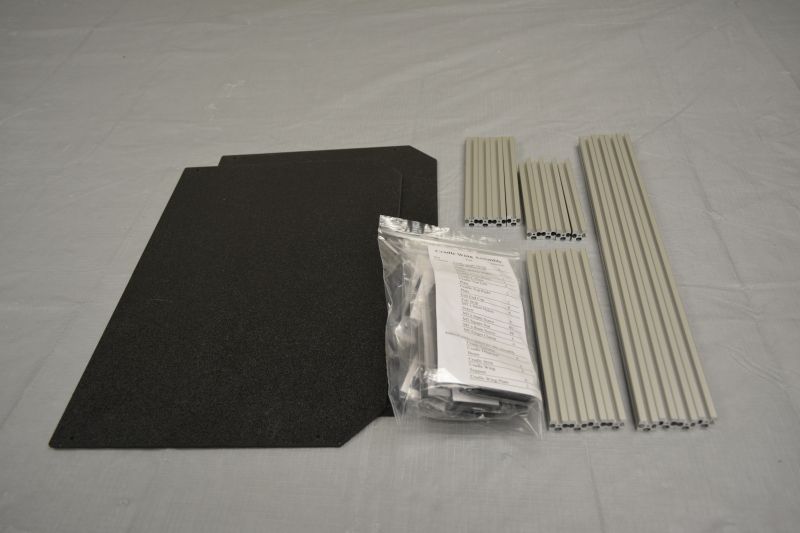
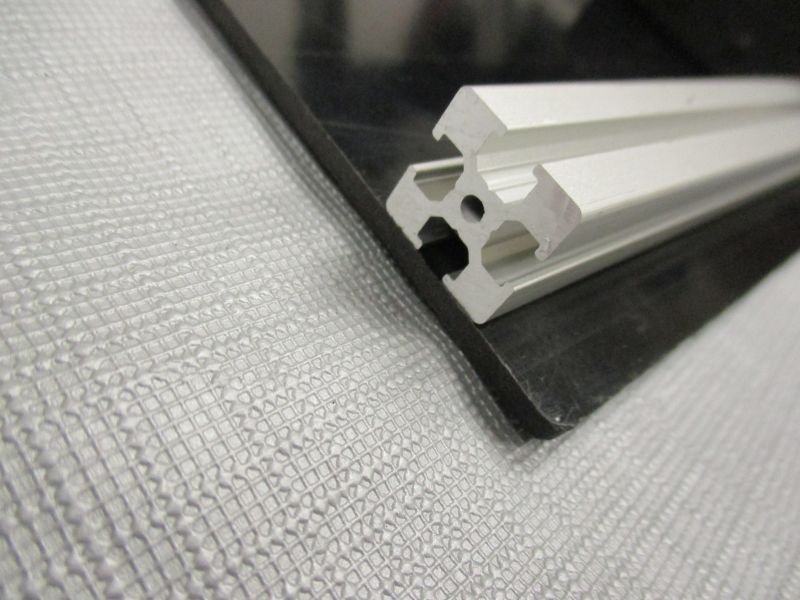
Gather parts together and remove plastic coating from extrusion pieces if necessary. Use the part list in the Cradle Wing Assembly Bag to verify that all parts are present before beginning. Notify help@tenrec.builders if any parts are missing.
Preload (4) Cradle L-Plates
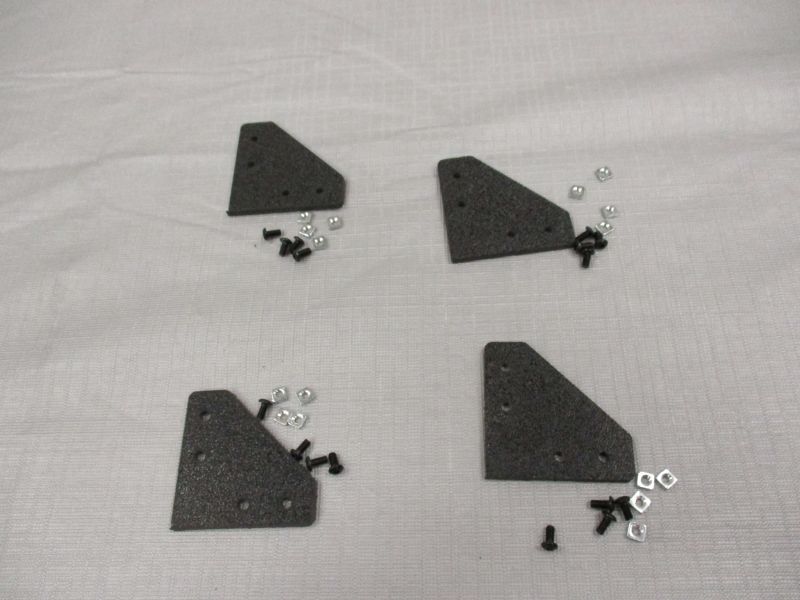
Each Cradle L-Plate uses (4) M3 x 6mm Screws and (4) M3 Square Nuts.
Preload (4) Cradle Angle Beams
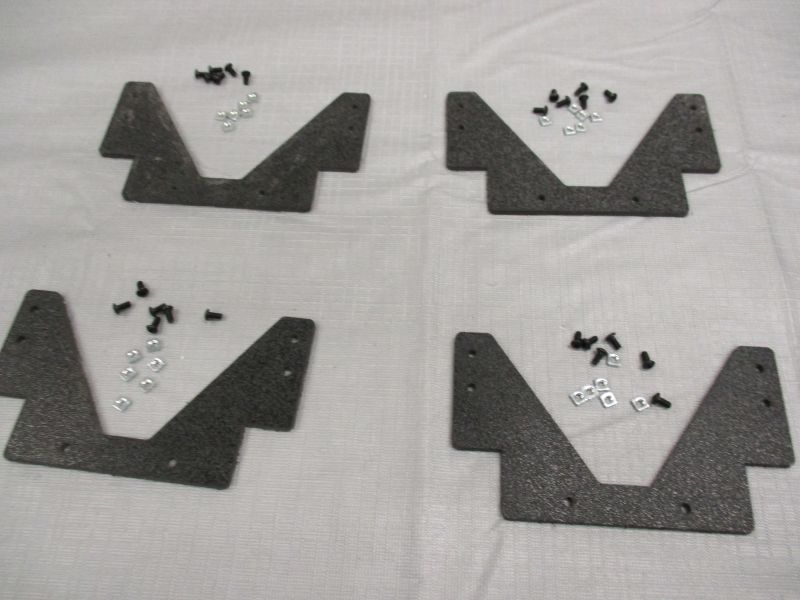
Each Cradle Angle Beam uses (6) M3 x 6mm Screws and (6) M3 Square Nuts.

Preload (2) Cradle Cross Beams
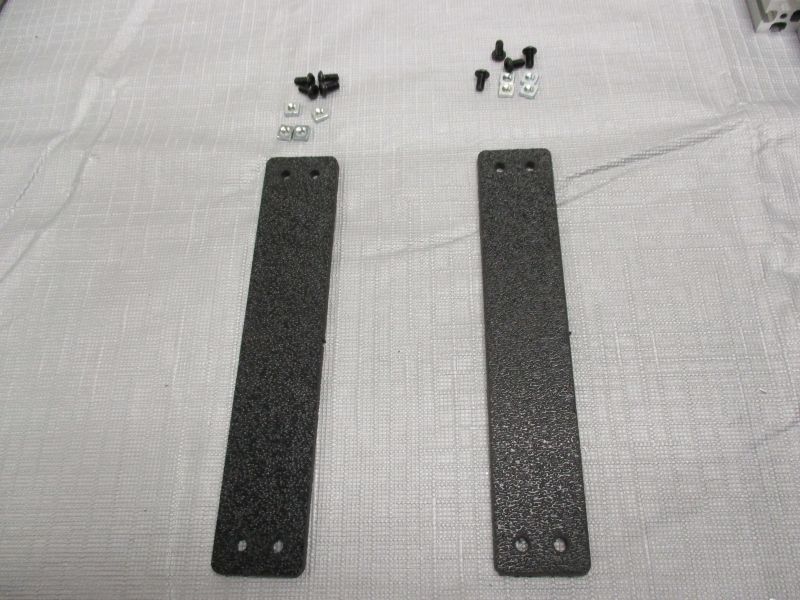
Each Cradle Cross Beam uses (4) M3 x 6mm Screws and (4) M3 Square Nuts.
Preload (4) Cradle Bottom Plates (2 Left and 2 Right)
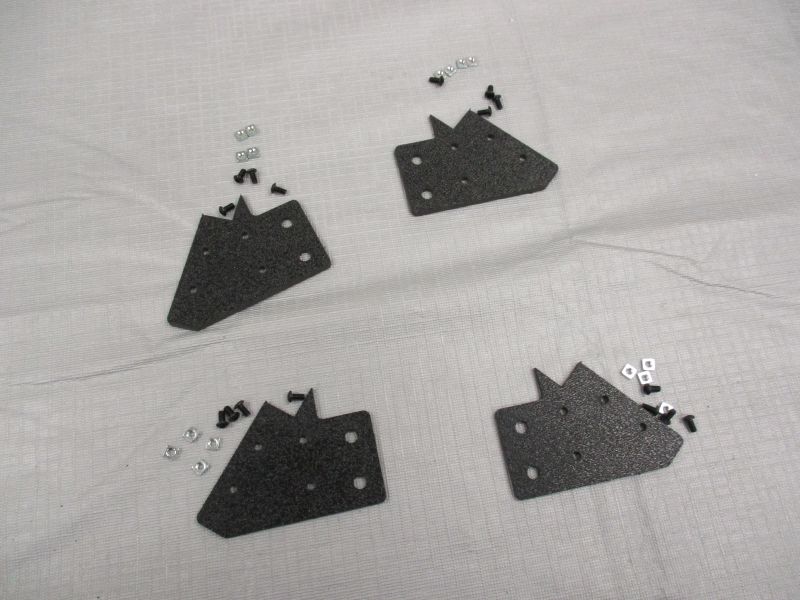
Each Cradle Cross Beam uses (4) M3 x 6mm Screws and (4) M3 Square Nuts.
Preload (4) Cradle Top Plates (2 Left and 2 Right)
Each Cradle Cross Beam uses (4) M3 x 6mm Screws and (4) M3 Square Nuts.
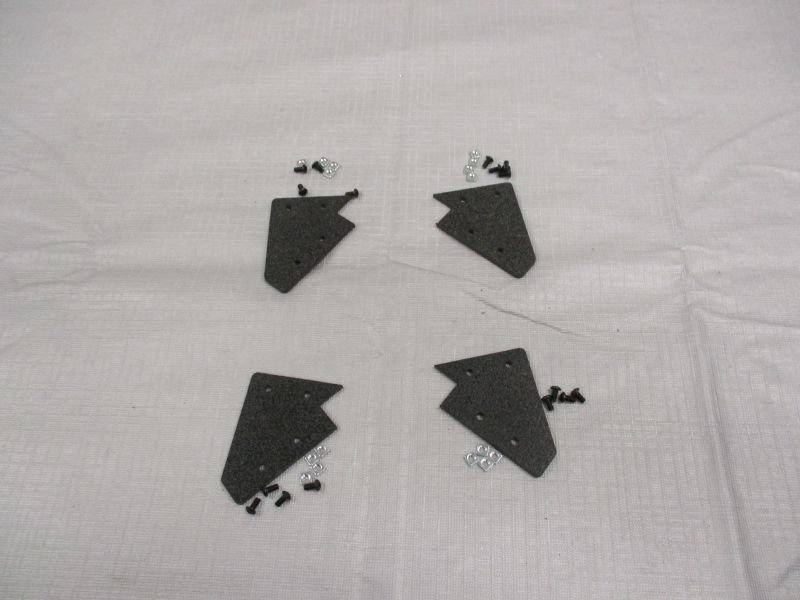
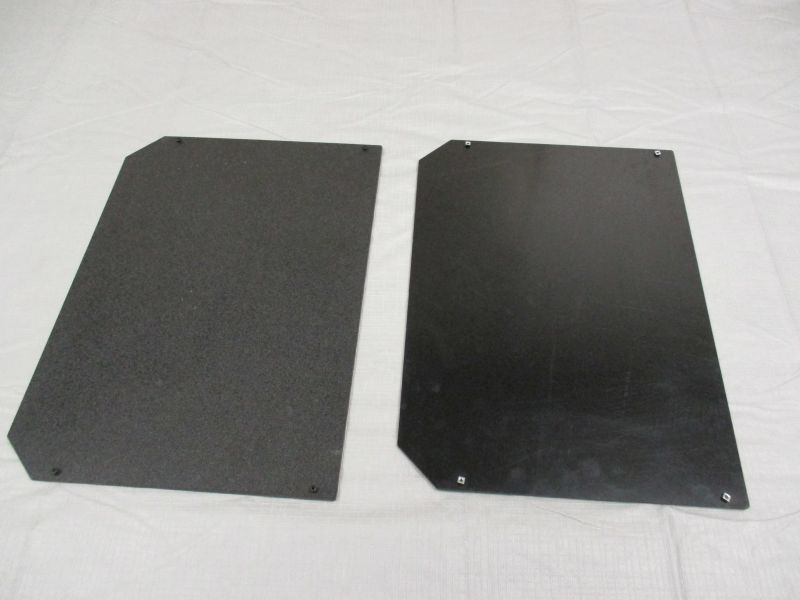
Preload (2) Cradle Wing Plates

Each Cradle Wing uses (4) M3 x 6mm Nylon Screws and (4) M3 Square Nuts
Make sure that you are using M3 x 6mm Nylon Screws here. They are plastic and so will not scratch the glass. If you use normal metal screws, you will be sad.
Make the Cradle Wings
Slide a Preloaded Cradle Angle Beam onto a Cradle Diagonal Beam. The M3 Square Nuts slide into the slots of this T-Slot extrusion in the same way that T-Nuts do in the larger extrusion used for the main structure.
Slide a second Prealoaded Cradle Angle Beam onto the Cradle Diagonal Beam facing the other way.

Slide a second Cradle Diagonal Beam onto the other side of the two Cradle Angle Beams.
Gather a Preloaded Cradle Top Left Plate and a Preloaded Right Cradle Top Plate. Slide a Preloaded Cradle Top Plate onto a Cradle Diagonal Beam. Make sure it is oriented as shown. The rough side of the plastic faces outside.
The end of the notch in the Cradle Top Plate should be flush with the end of the Cradle Diagonal Beam. Tighten the screws.
Slide a second Cradle Top Plate on the opposite side. Once it is flush with the end of the Cradle Diagonal Beam, tighten the screws.

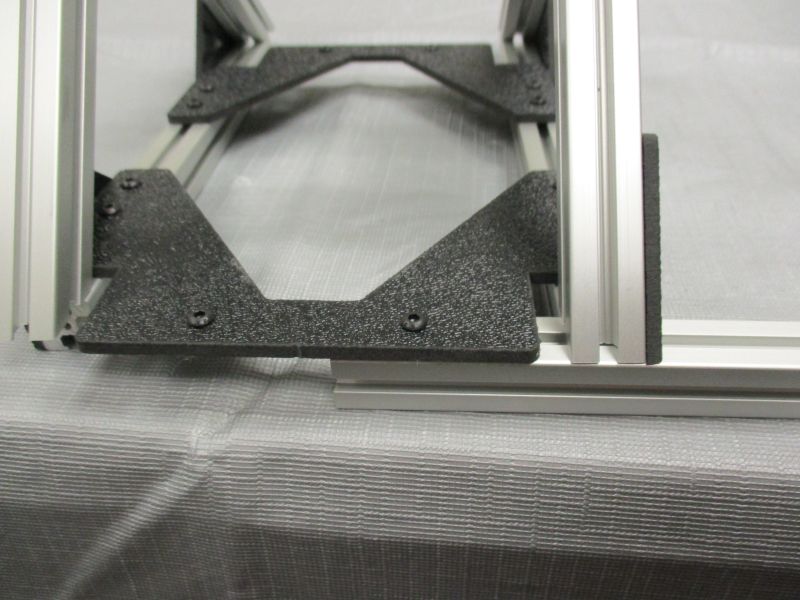
Gather a Preloaded Cradle Bottom Left Plate and a Preloaded Cradle Bottom Right Plate. Slide a Cradle Bottom Plate onto a Cradle Diagonal Beam. Make sure it is oriented as shown. The rough side of the plastic faces outside.
Slide Preloaded Cradle Bottom Plate onto the opposite Cradle Diagonal Beam. Ensure that the notch on each Cradle Bottom Plate is flush with the end of the Cradle Diagonal Beam and tighten the screws of both plates.
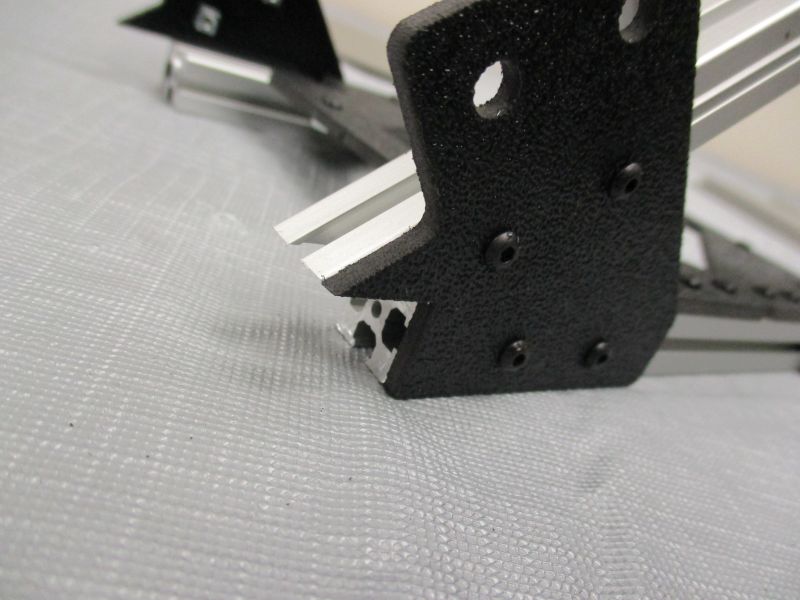
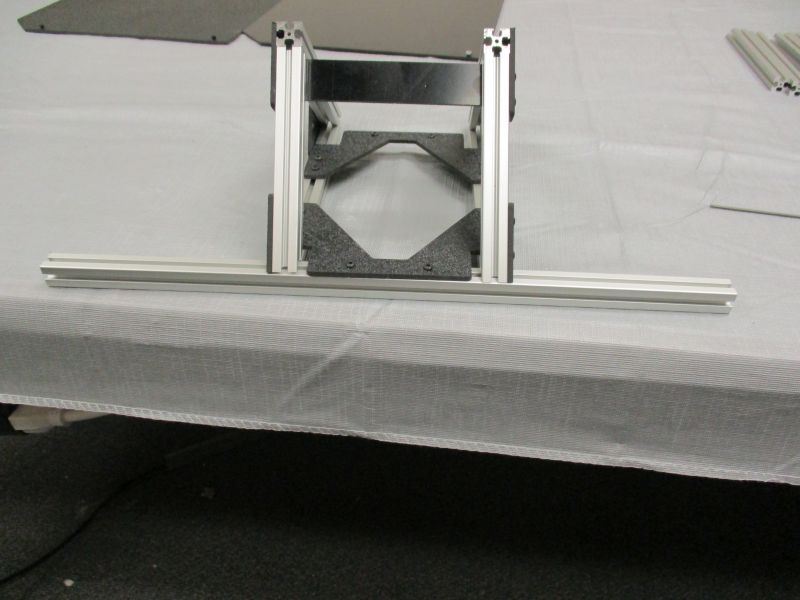
Slide a Cradle column onto a Cradle Top Plate.
The angled end of the Cradle Column should lie flush with the Cradle Top Plate. Tighten screws.
Repeat with the other side.
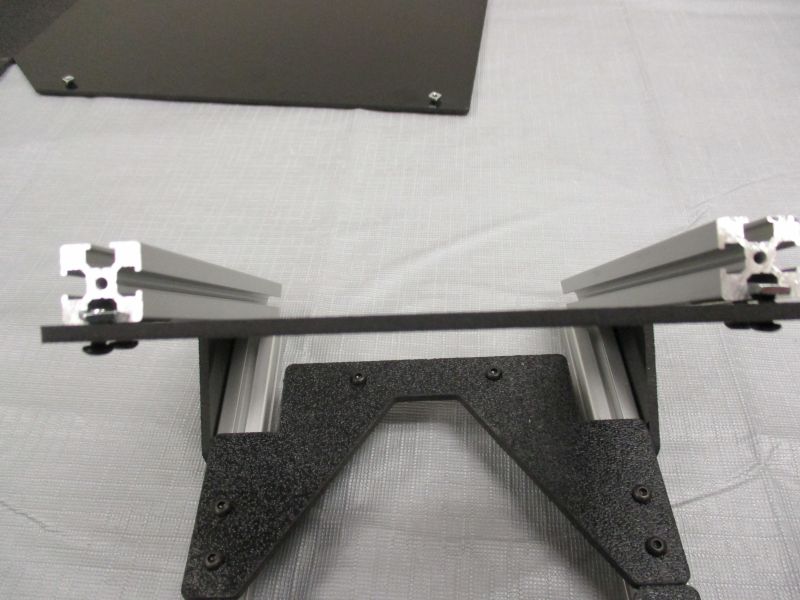
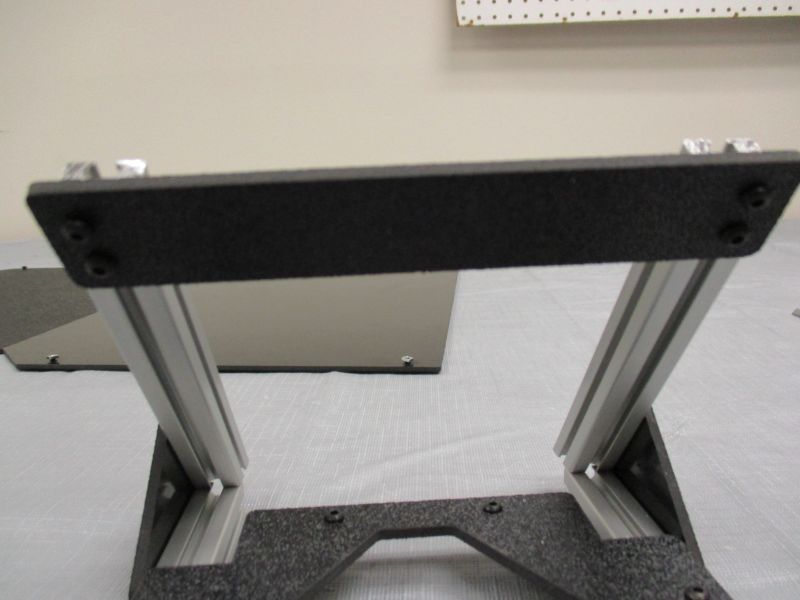
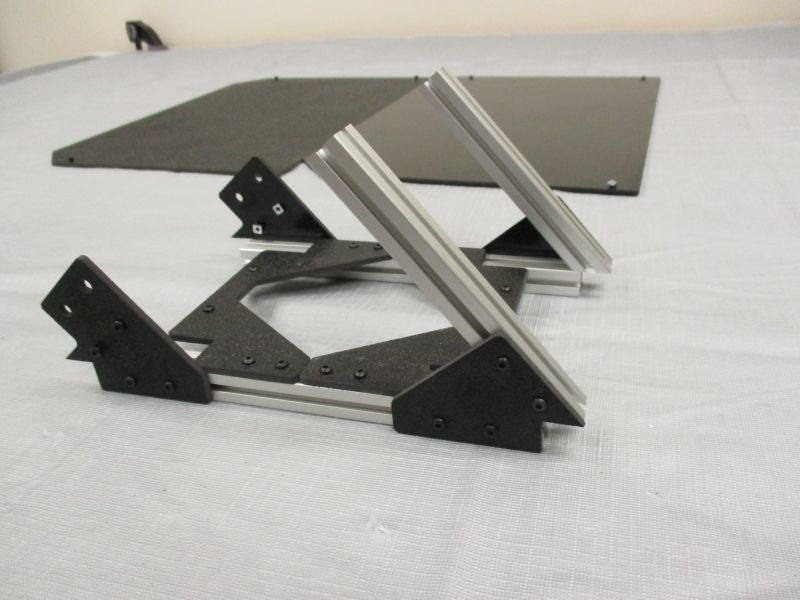
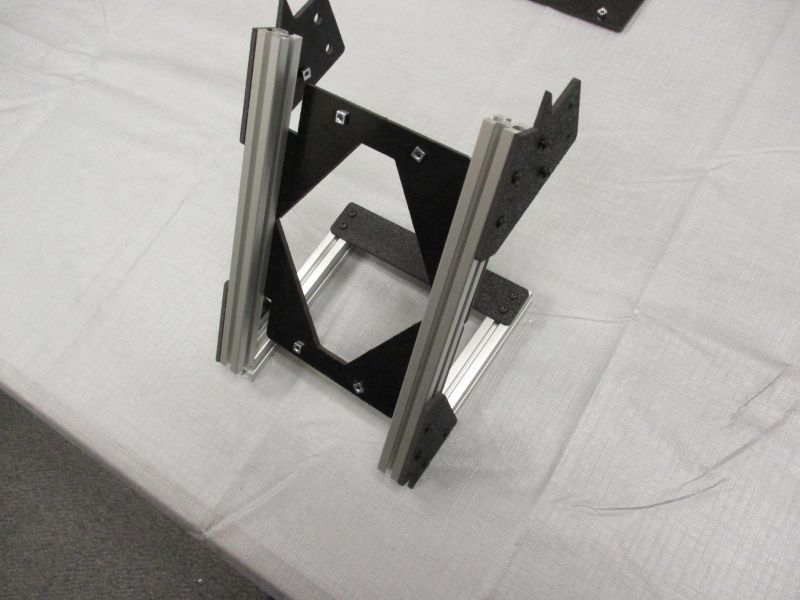
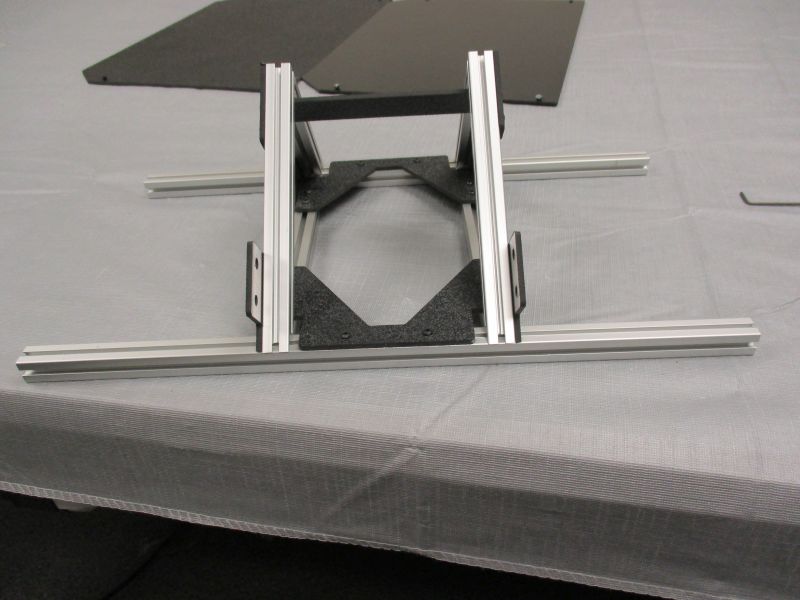
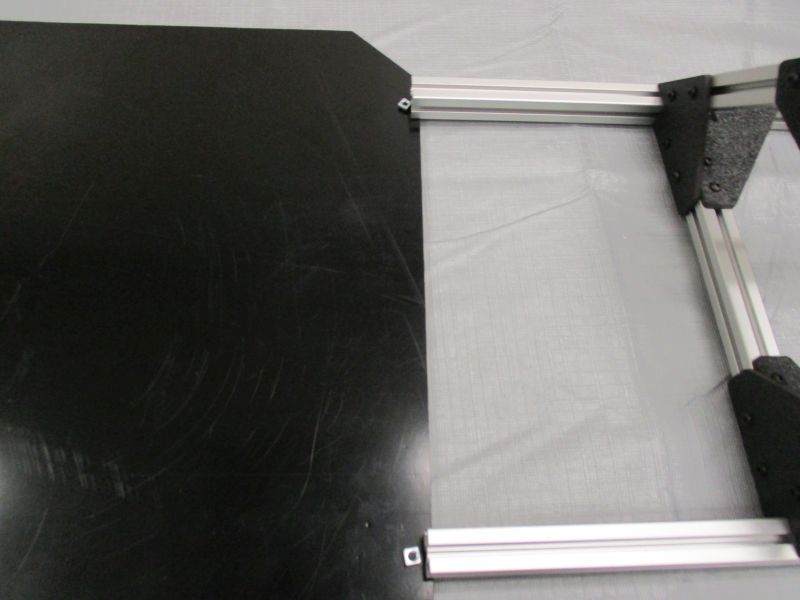
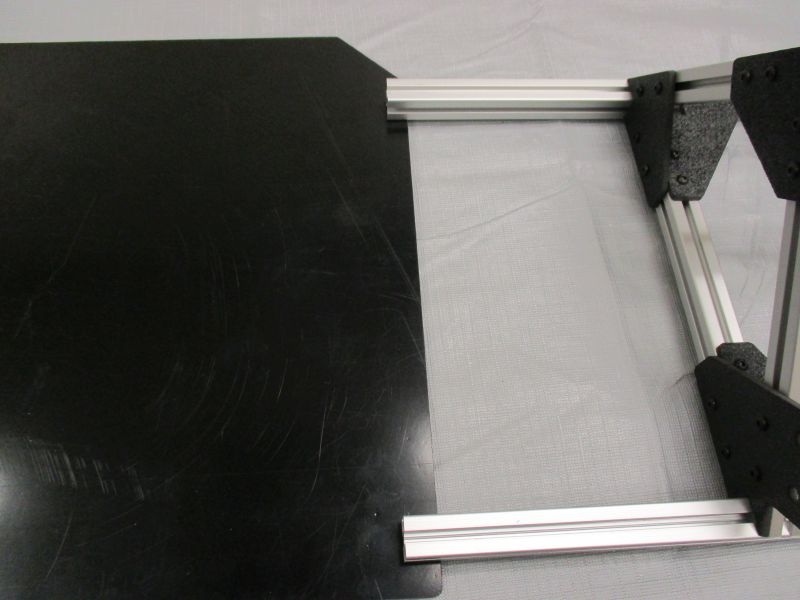
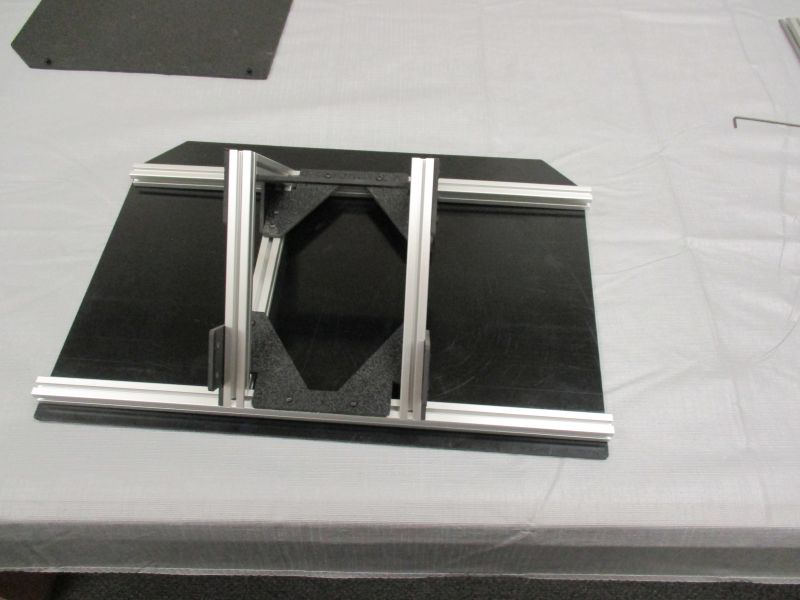
Slide Cradle Beam onto the two Cradle Columns. The Cradle Diagonals may need to be moved relative to each other if they are not completely aligned.
The ends of the Cradle Columns should be flush with one side of the Cradle Beam. Tighten screws.
Overview
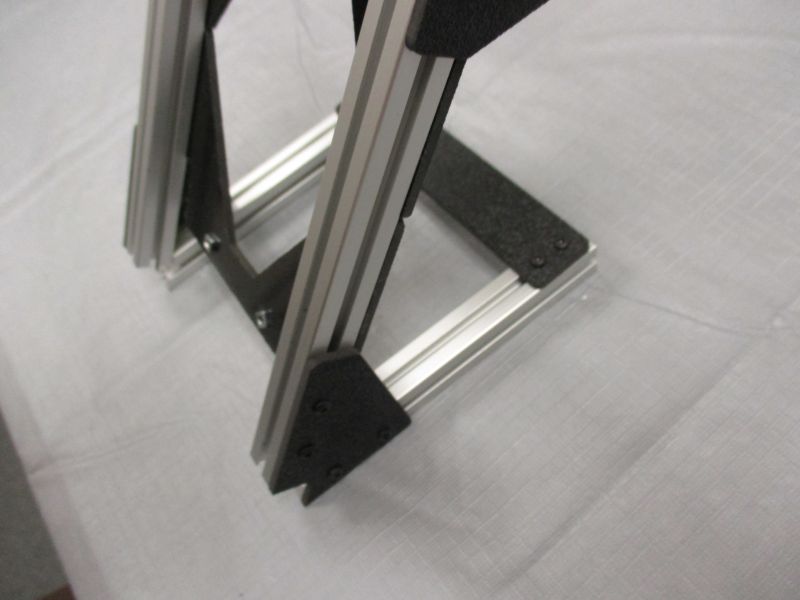
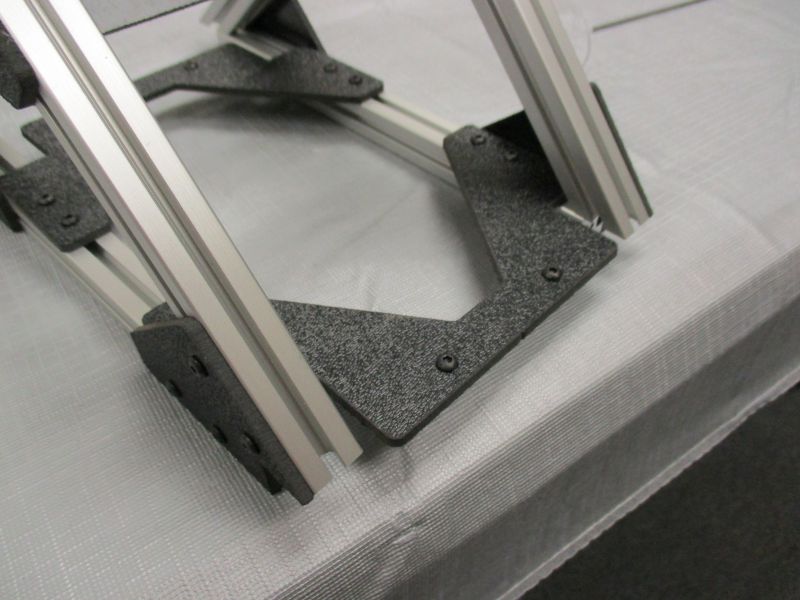
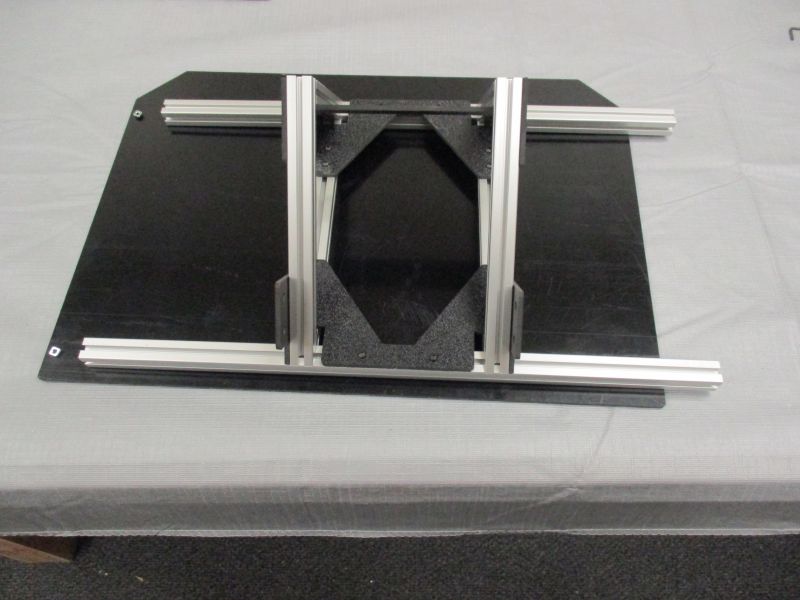
Gather (2) Cradle L-Plates. Slide a Cradle L-Plate onto each Cradle Columns. Snug them in place.
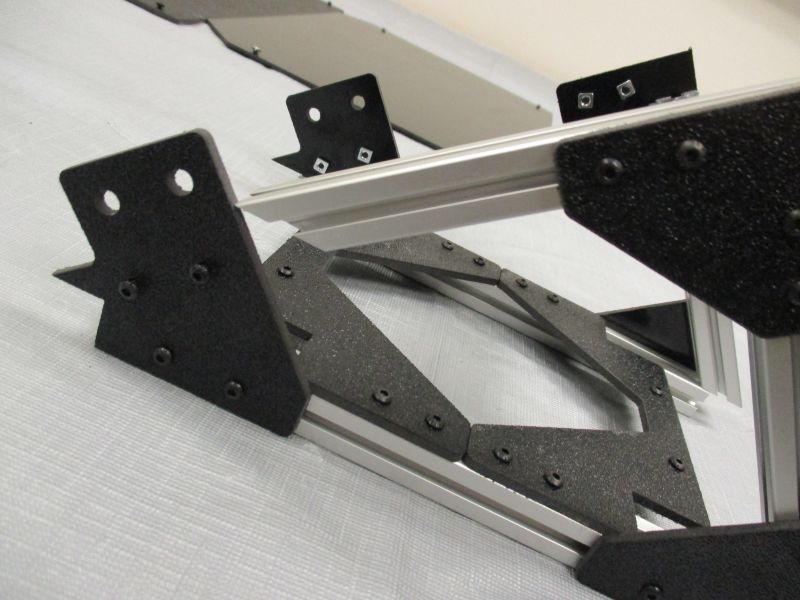
Slide a Cradle Strut onto a Cradle L-Plate. The angled end of the Cradle Strut should be oriented such that it will match up with the Cradle Bottom Plate. Adjust the position of the Cradle L-Plate as necessary.
Slide the Cradle Strut onto the Cradle Bottom Plate.
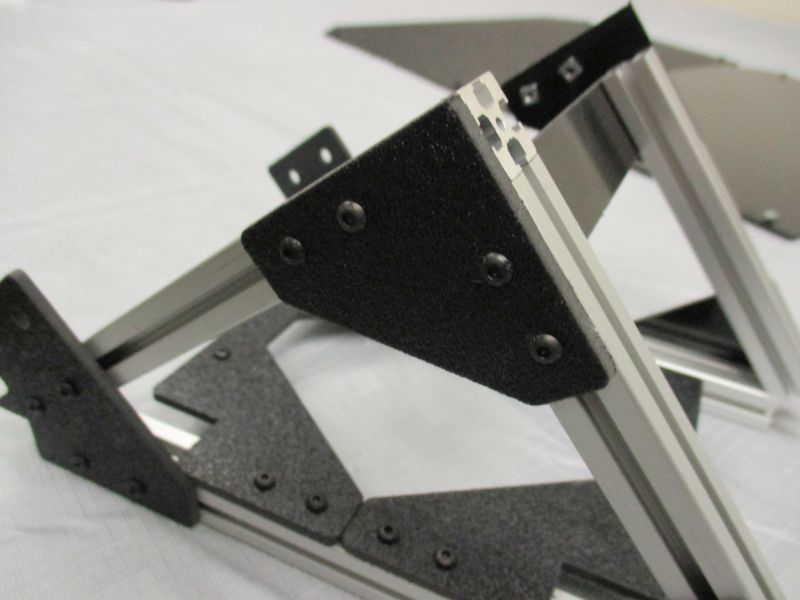
The straight end of the Cradle Strut should be flush with the Cradle L-Plate and the Cradle Column.
The angled end of the Cradle Strut should be flush against the Cradle Bottom Plate. Tighten L-Plate and Cradle Bottom Plate screws.
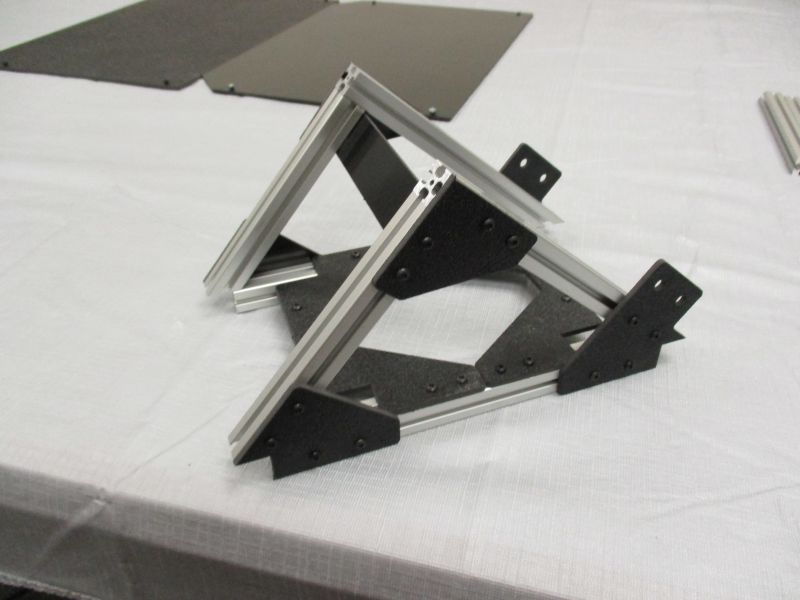
Repeat on the other side.
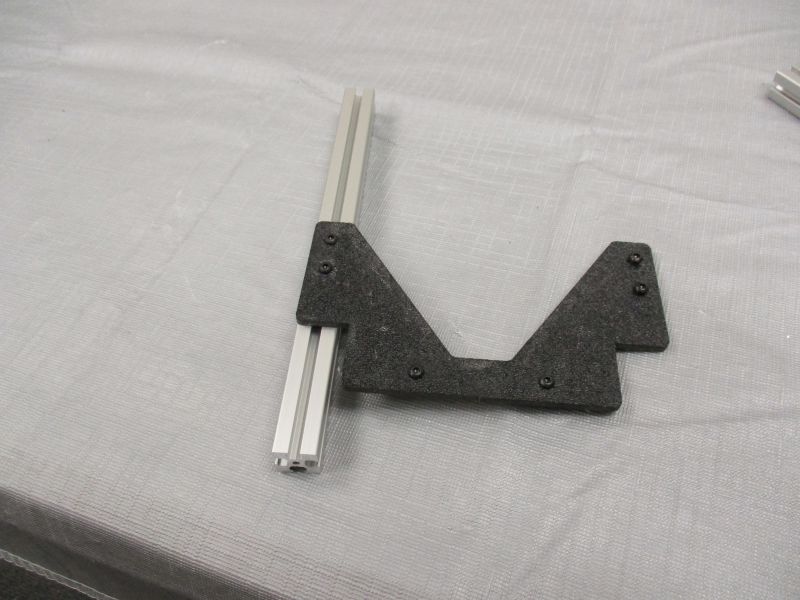
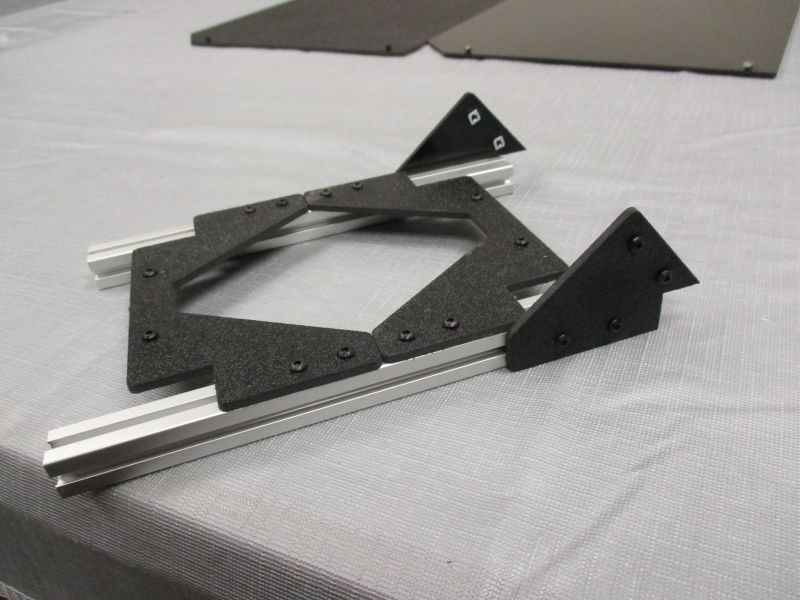
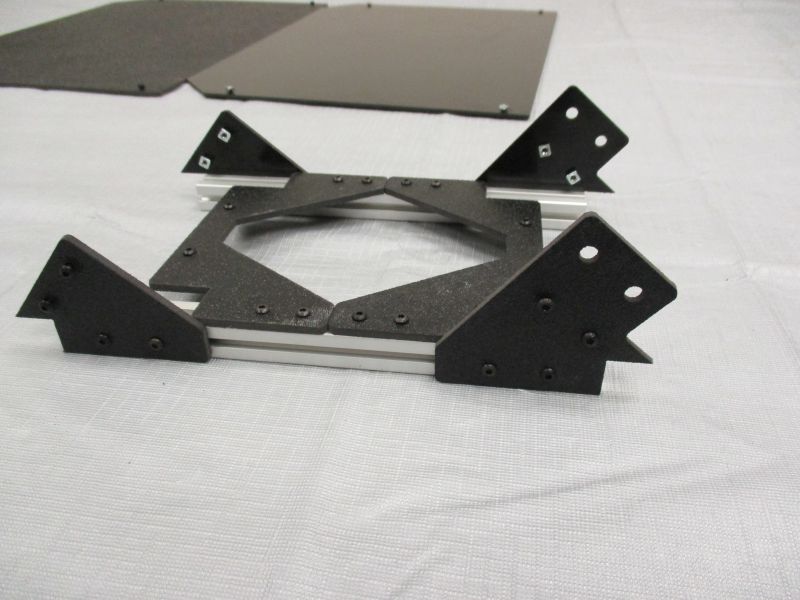
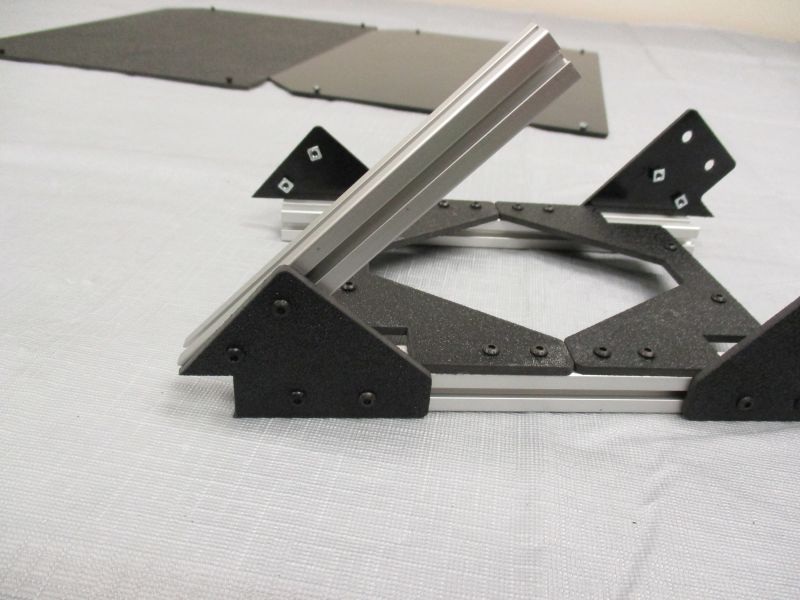
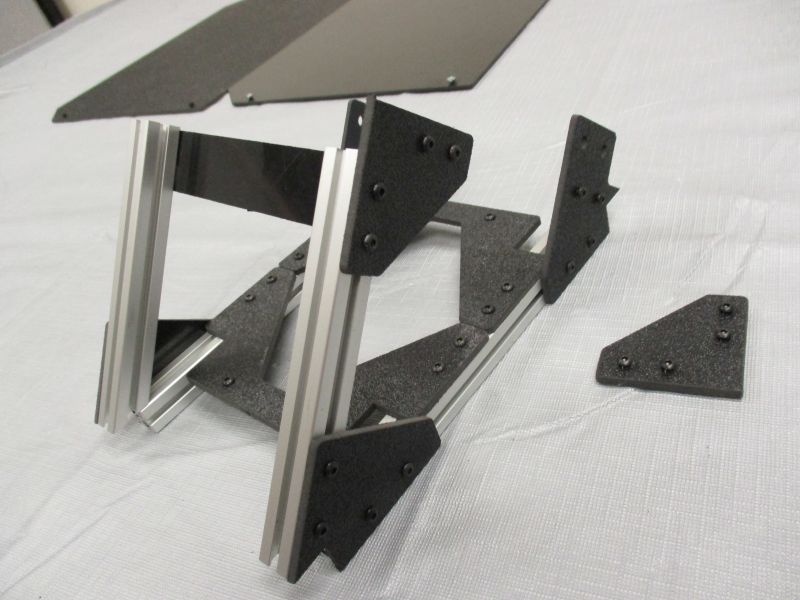
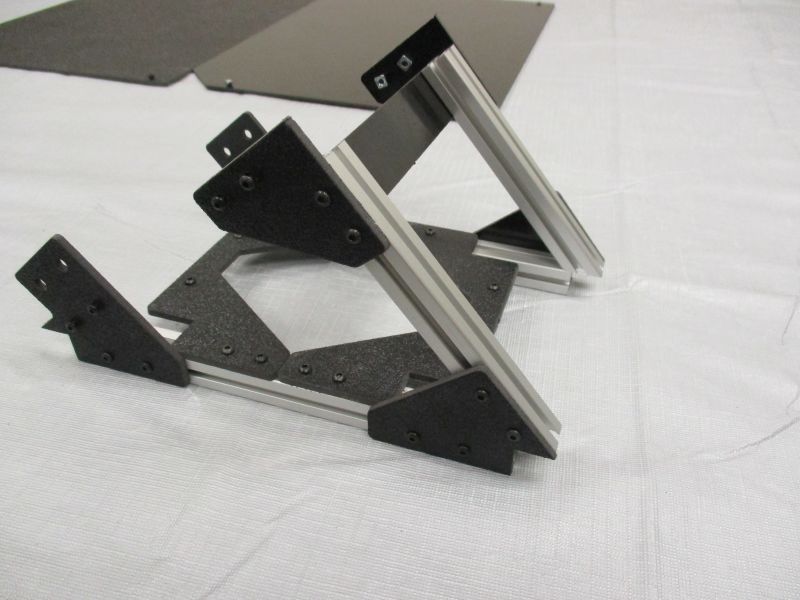
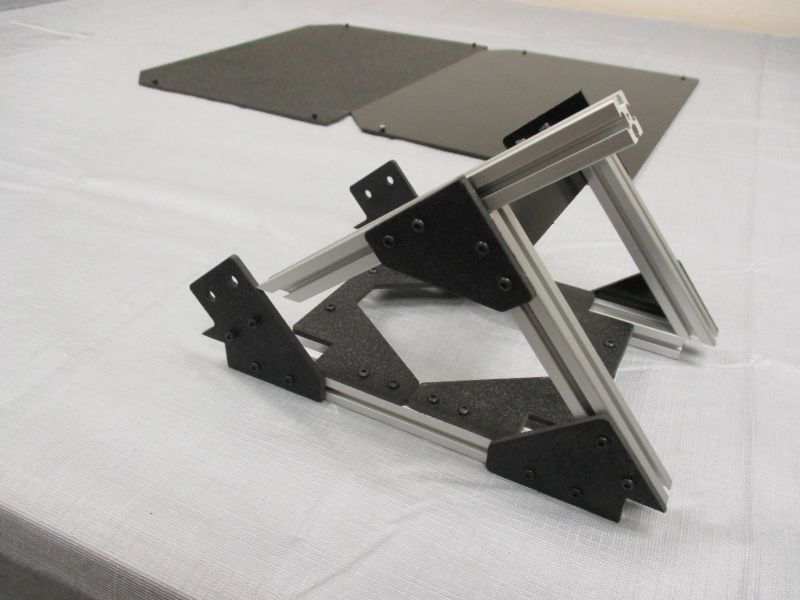
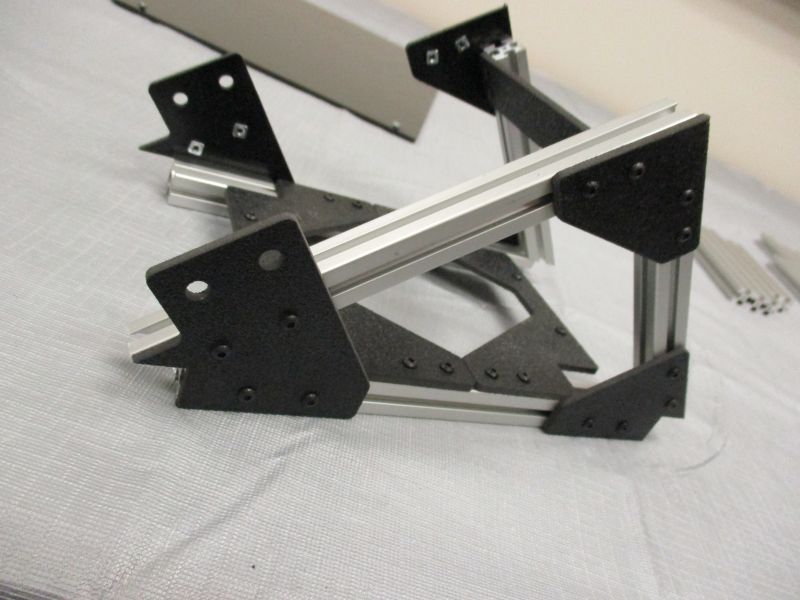
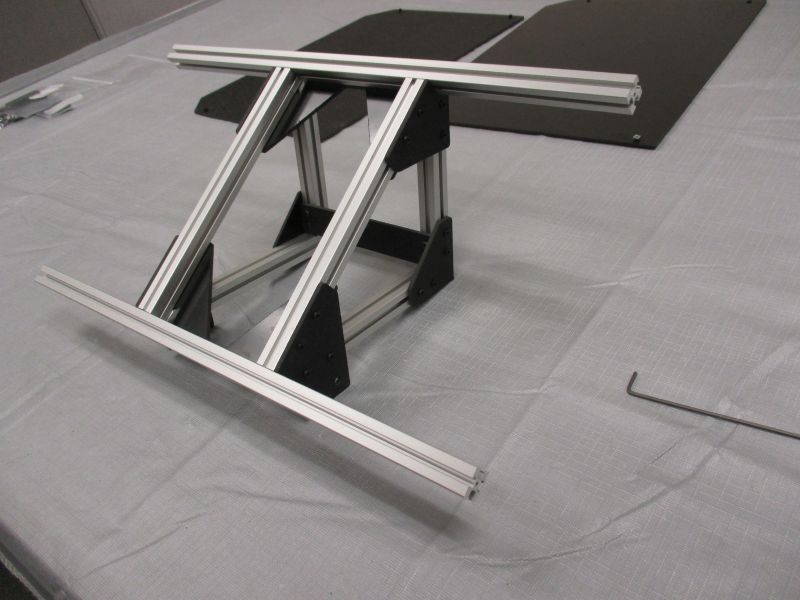
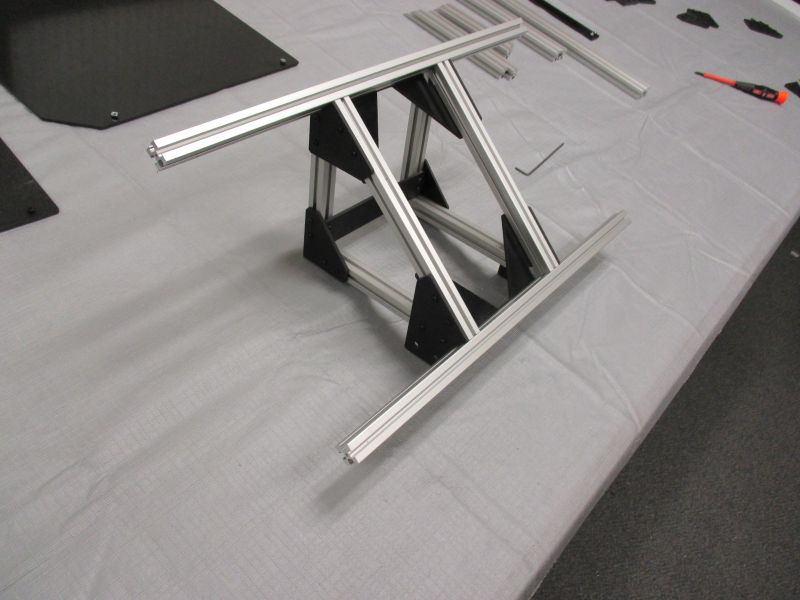
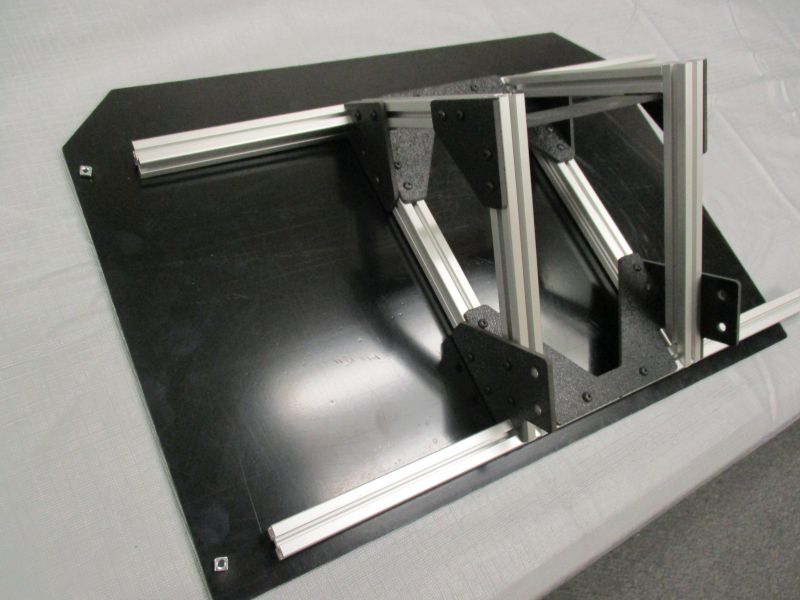
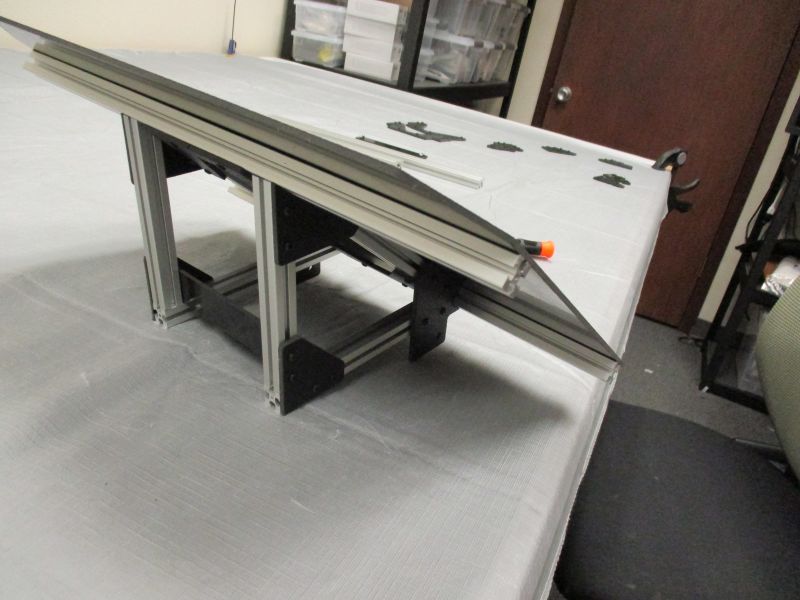
Slide Cradle Angle Beam to the end of the Cradle Diagonal Beams.
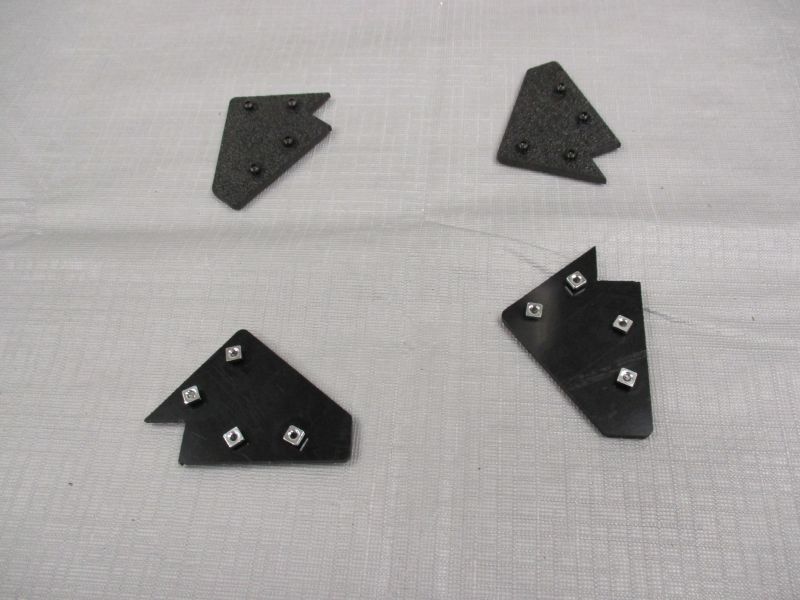
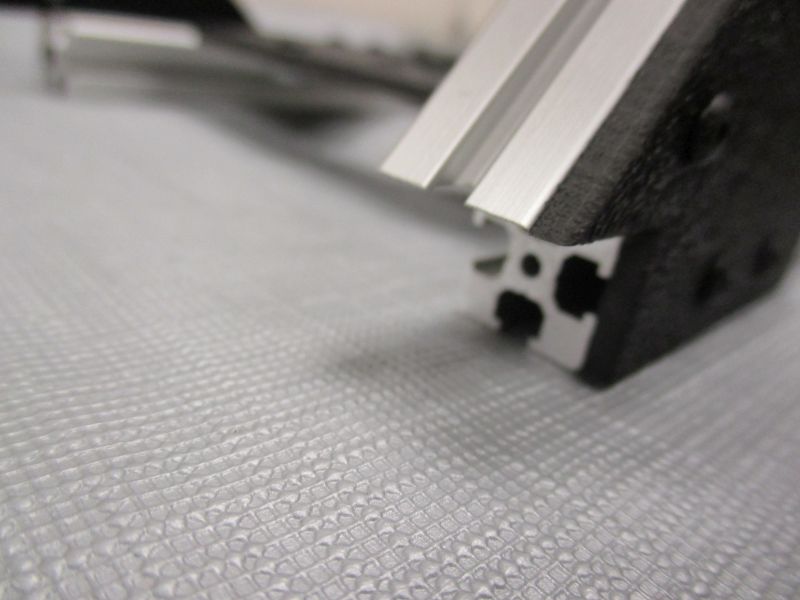
Slide Cradle Wing Support onto Cradle Angle Beam. This may be a tight fit.
Repeat on the other side. Snug Cradle Angle Beam screws.
Overview
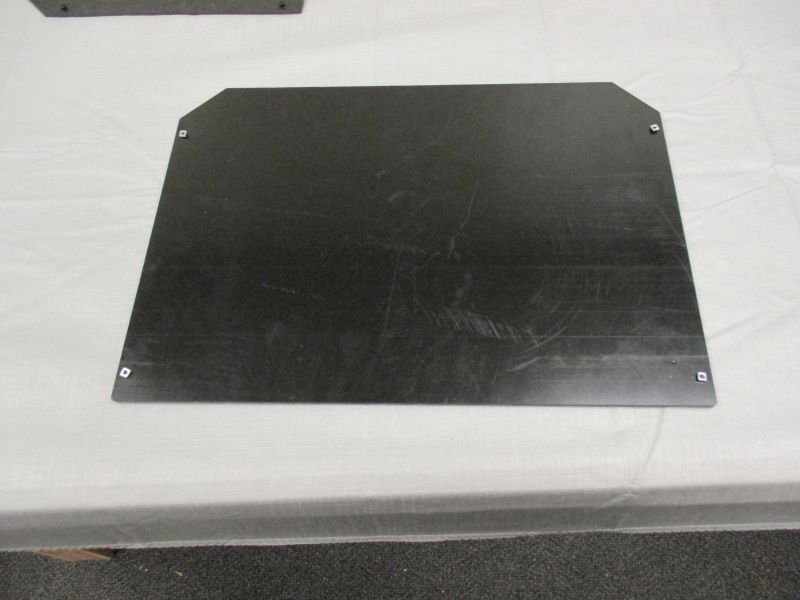
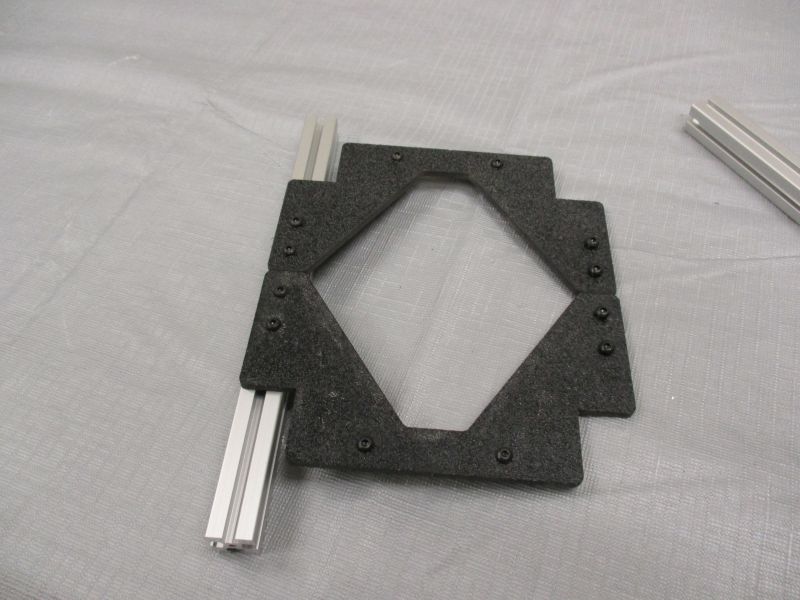
Place the Cradle Wing Plate down with the M3 Square Nuts facing up.
Slide the Cradle Wing Supports onto the Cradle Wing Plate. The Cradle Wing Support next to the Cradle Top Plate should go on the top of the Cradle Wing Plate with the angles cut out.
Adjust both Cradle Wing Supports so that they are flush against the sides of the Cradle Wing Plate

Use a #1 Screwdriver to very gently tighten the M3 x 6mm Nylon Screws. They are very easy to strip.
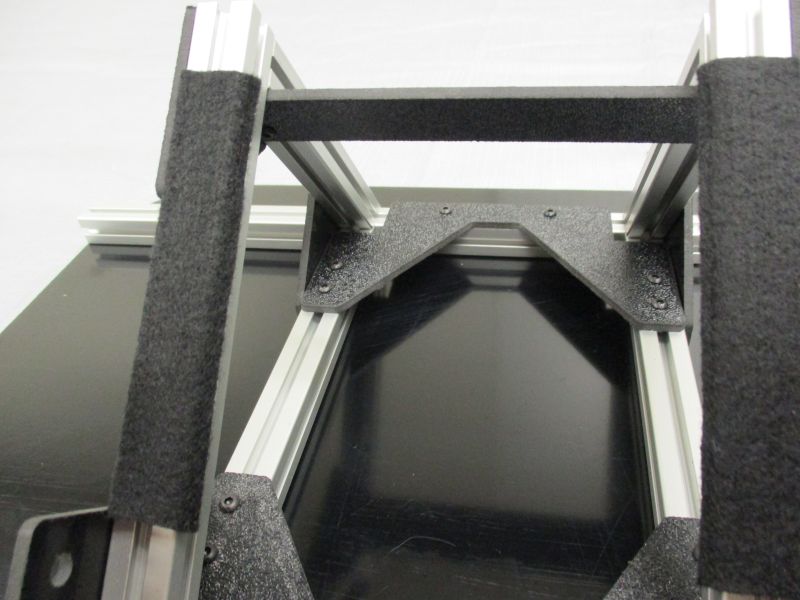
Attach the (2) Felt Strips to the (2) Cradle Struts. One end of the Felt Strip aligns with edge of the Cradle Bottom Plate.
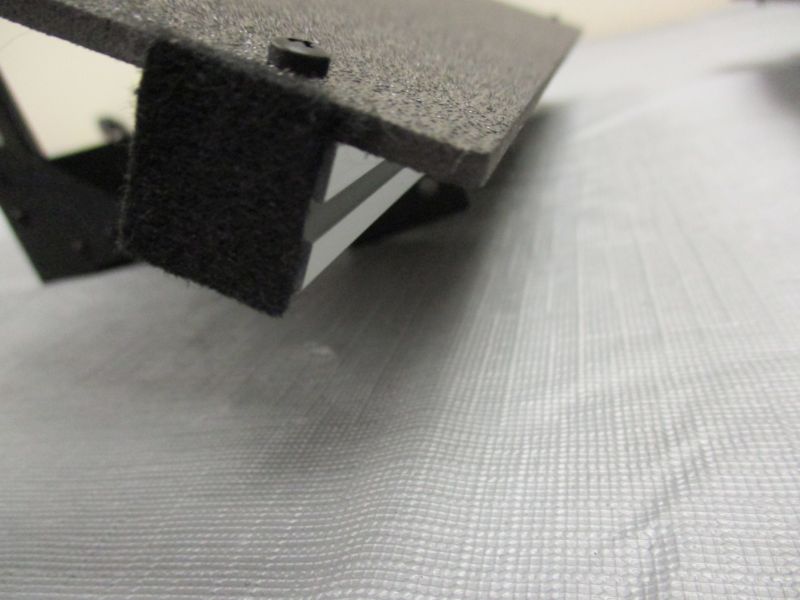
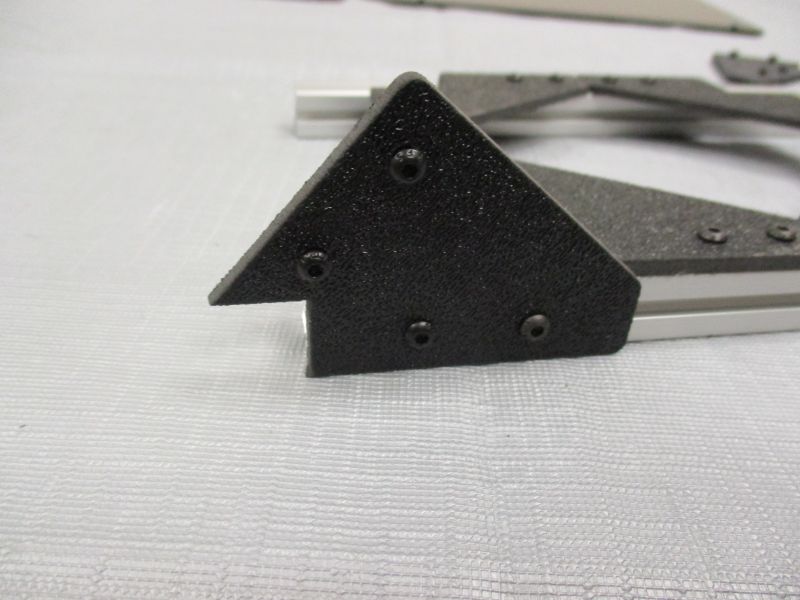
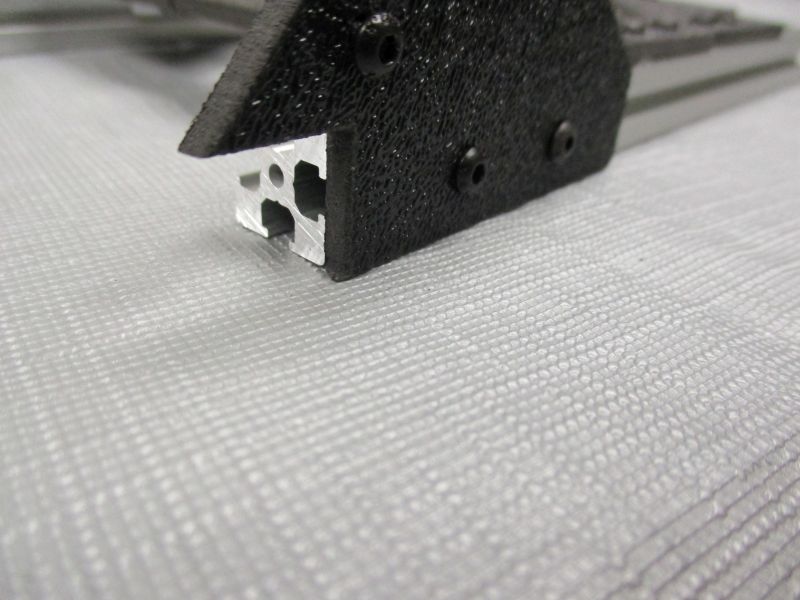
Attach (4) Felt End Caps to the Cradle Wing Supports. Each Felt Cap should be placed to cover the sharp corners of the end of a Cradle Wing Support.
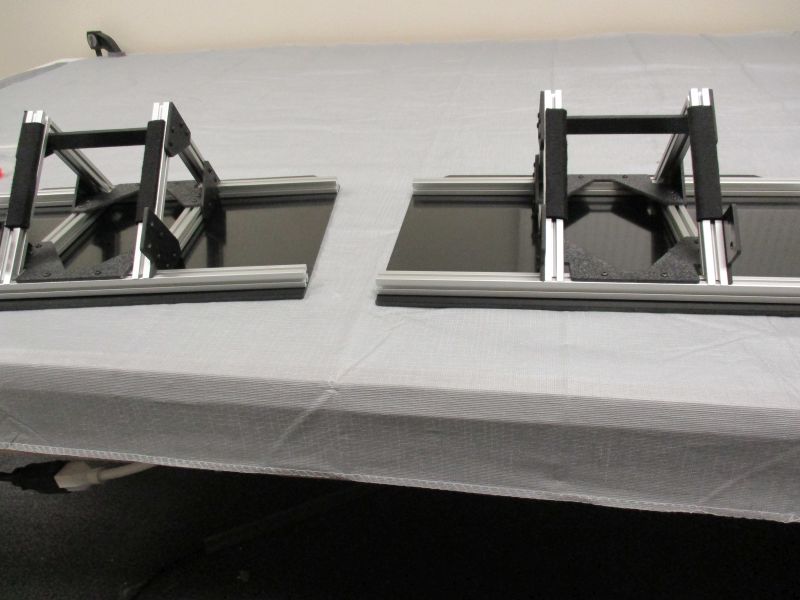
Repeat this process to make a second Cradle Wing Assembly.