Raspberry Pi Setup
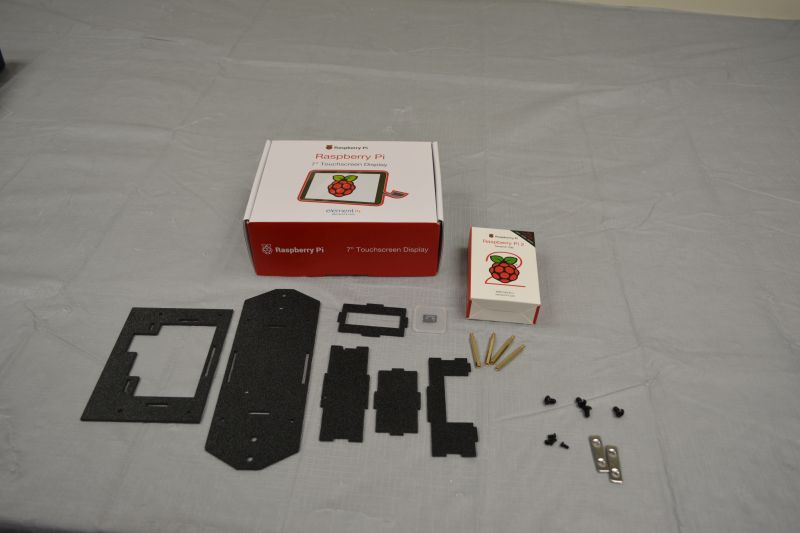
Inventory
Tools needed:
- 2mm Hex Key
- Precision Screwdriver
Parts Needed:
- (1) Raspberry Pi
- (1) Pi Scan SD Card
- (1) Raspberry Pi Display
- (4) 40mm Stand-Offs
- (4) M3 x 6mm Screws
- (4) M5 x 8mm Screws
- (2) Double T-Nuts
- (1) Raspberry Pi Enclosure
Prepare Raspberry Pi
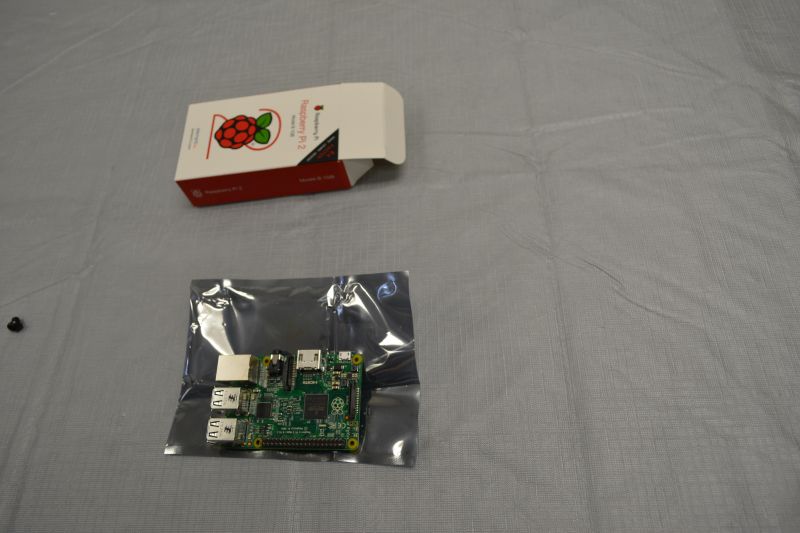
Remove Raspberry Pi from its box.
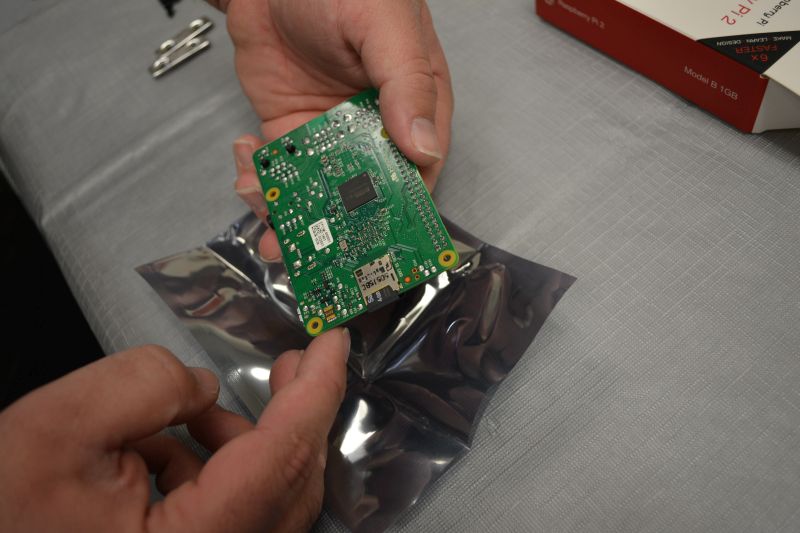
Insert SD Card into Raspberry Pi. Press to lock.
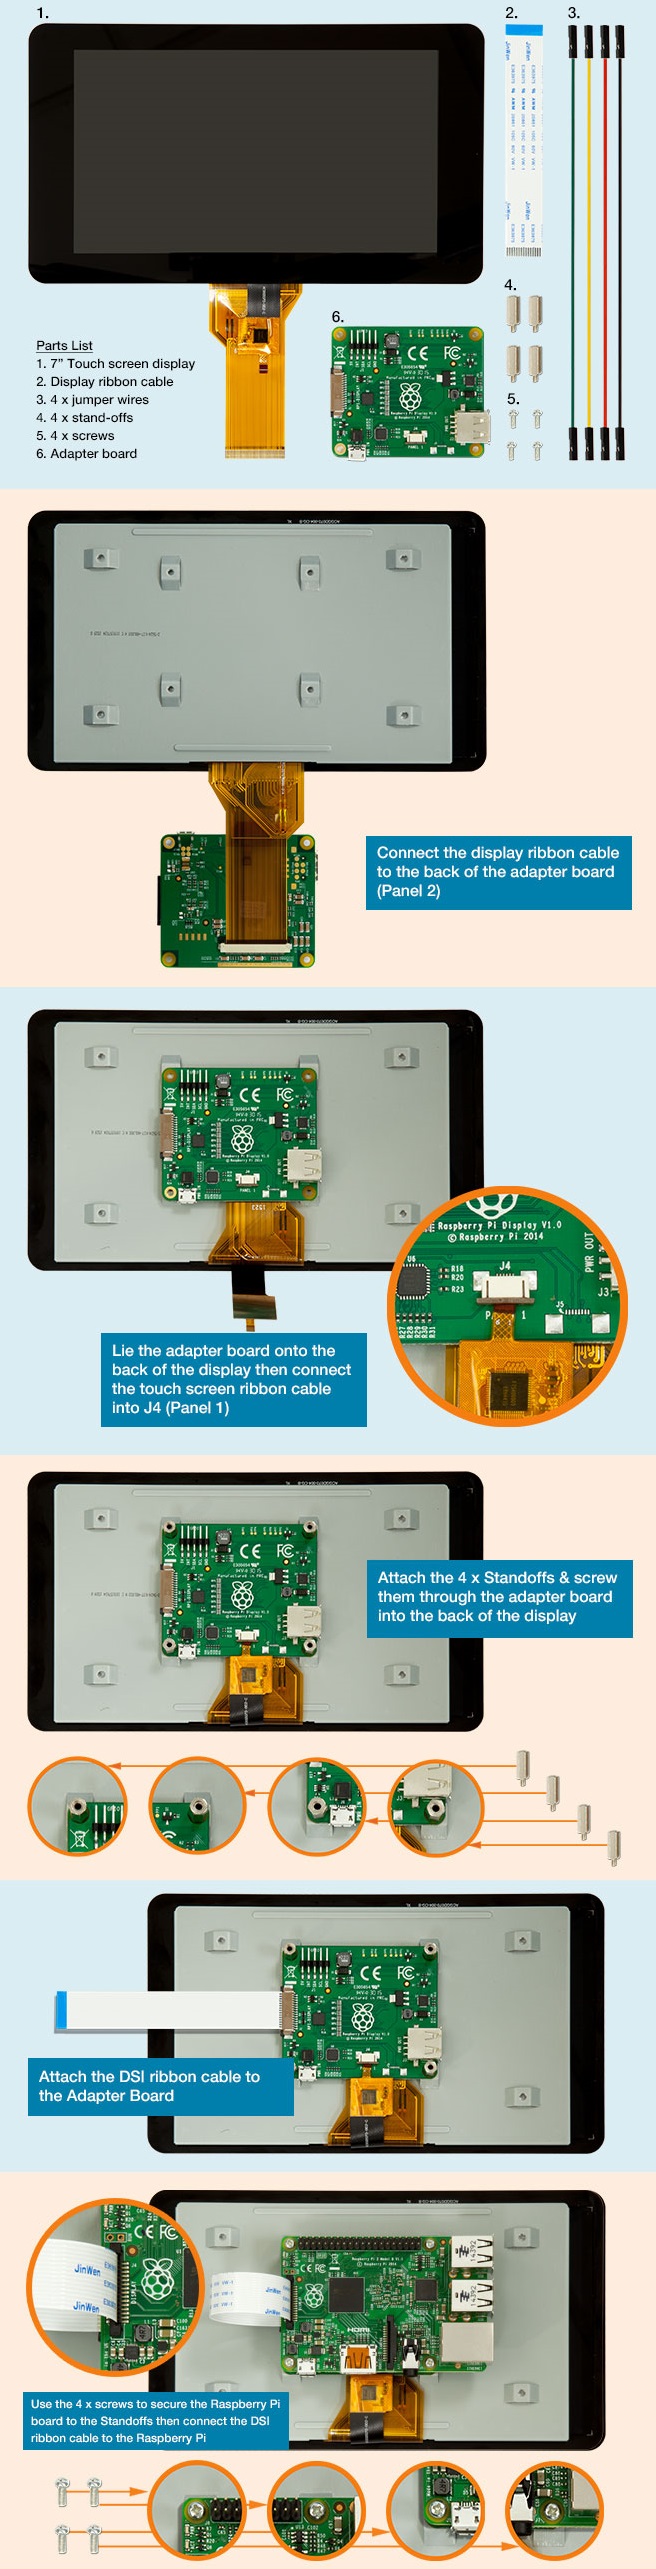
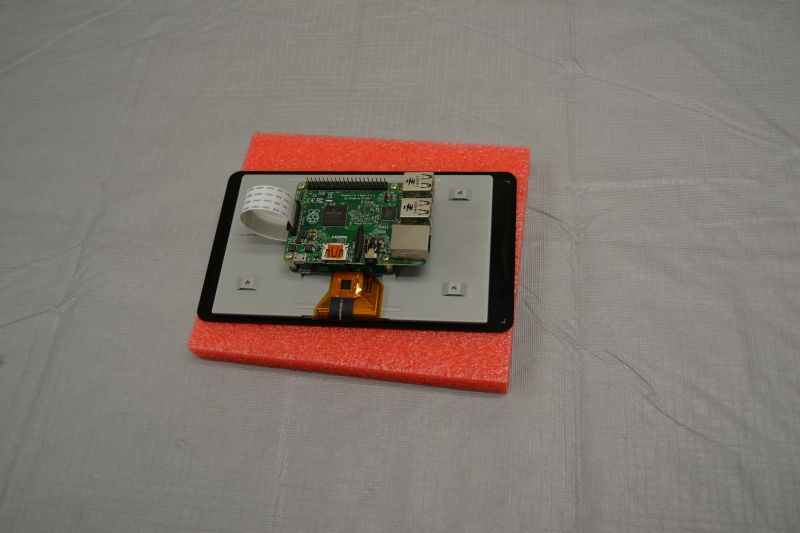
Assemble Raspberry Pi Display
Video guide:
Visual guide (source Raspberry Pi Foundation):
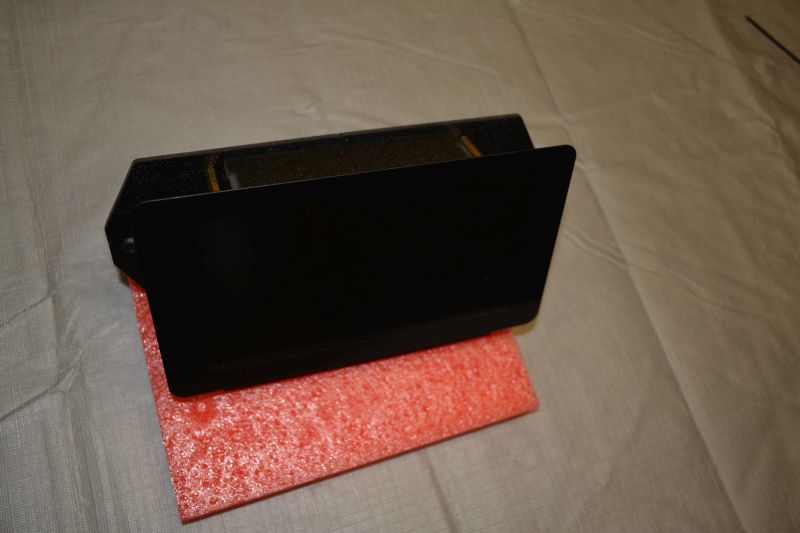
Assemble Enclosure
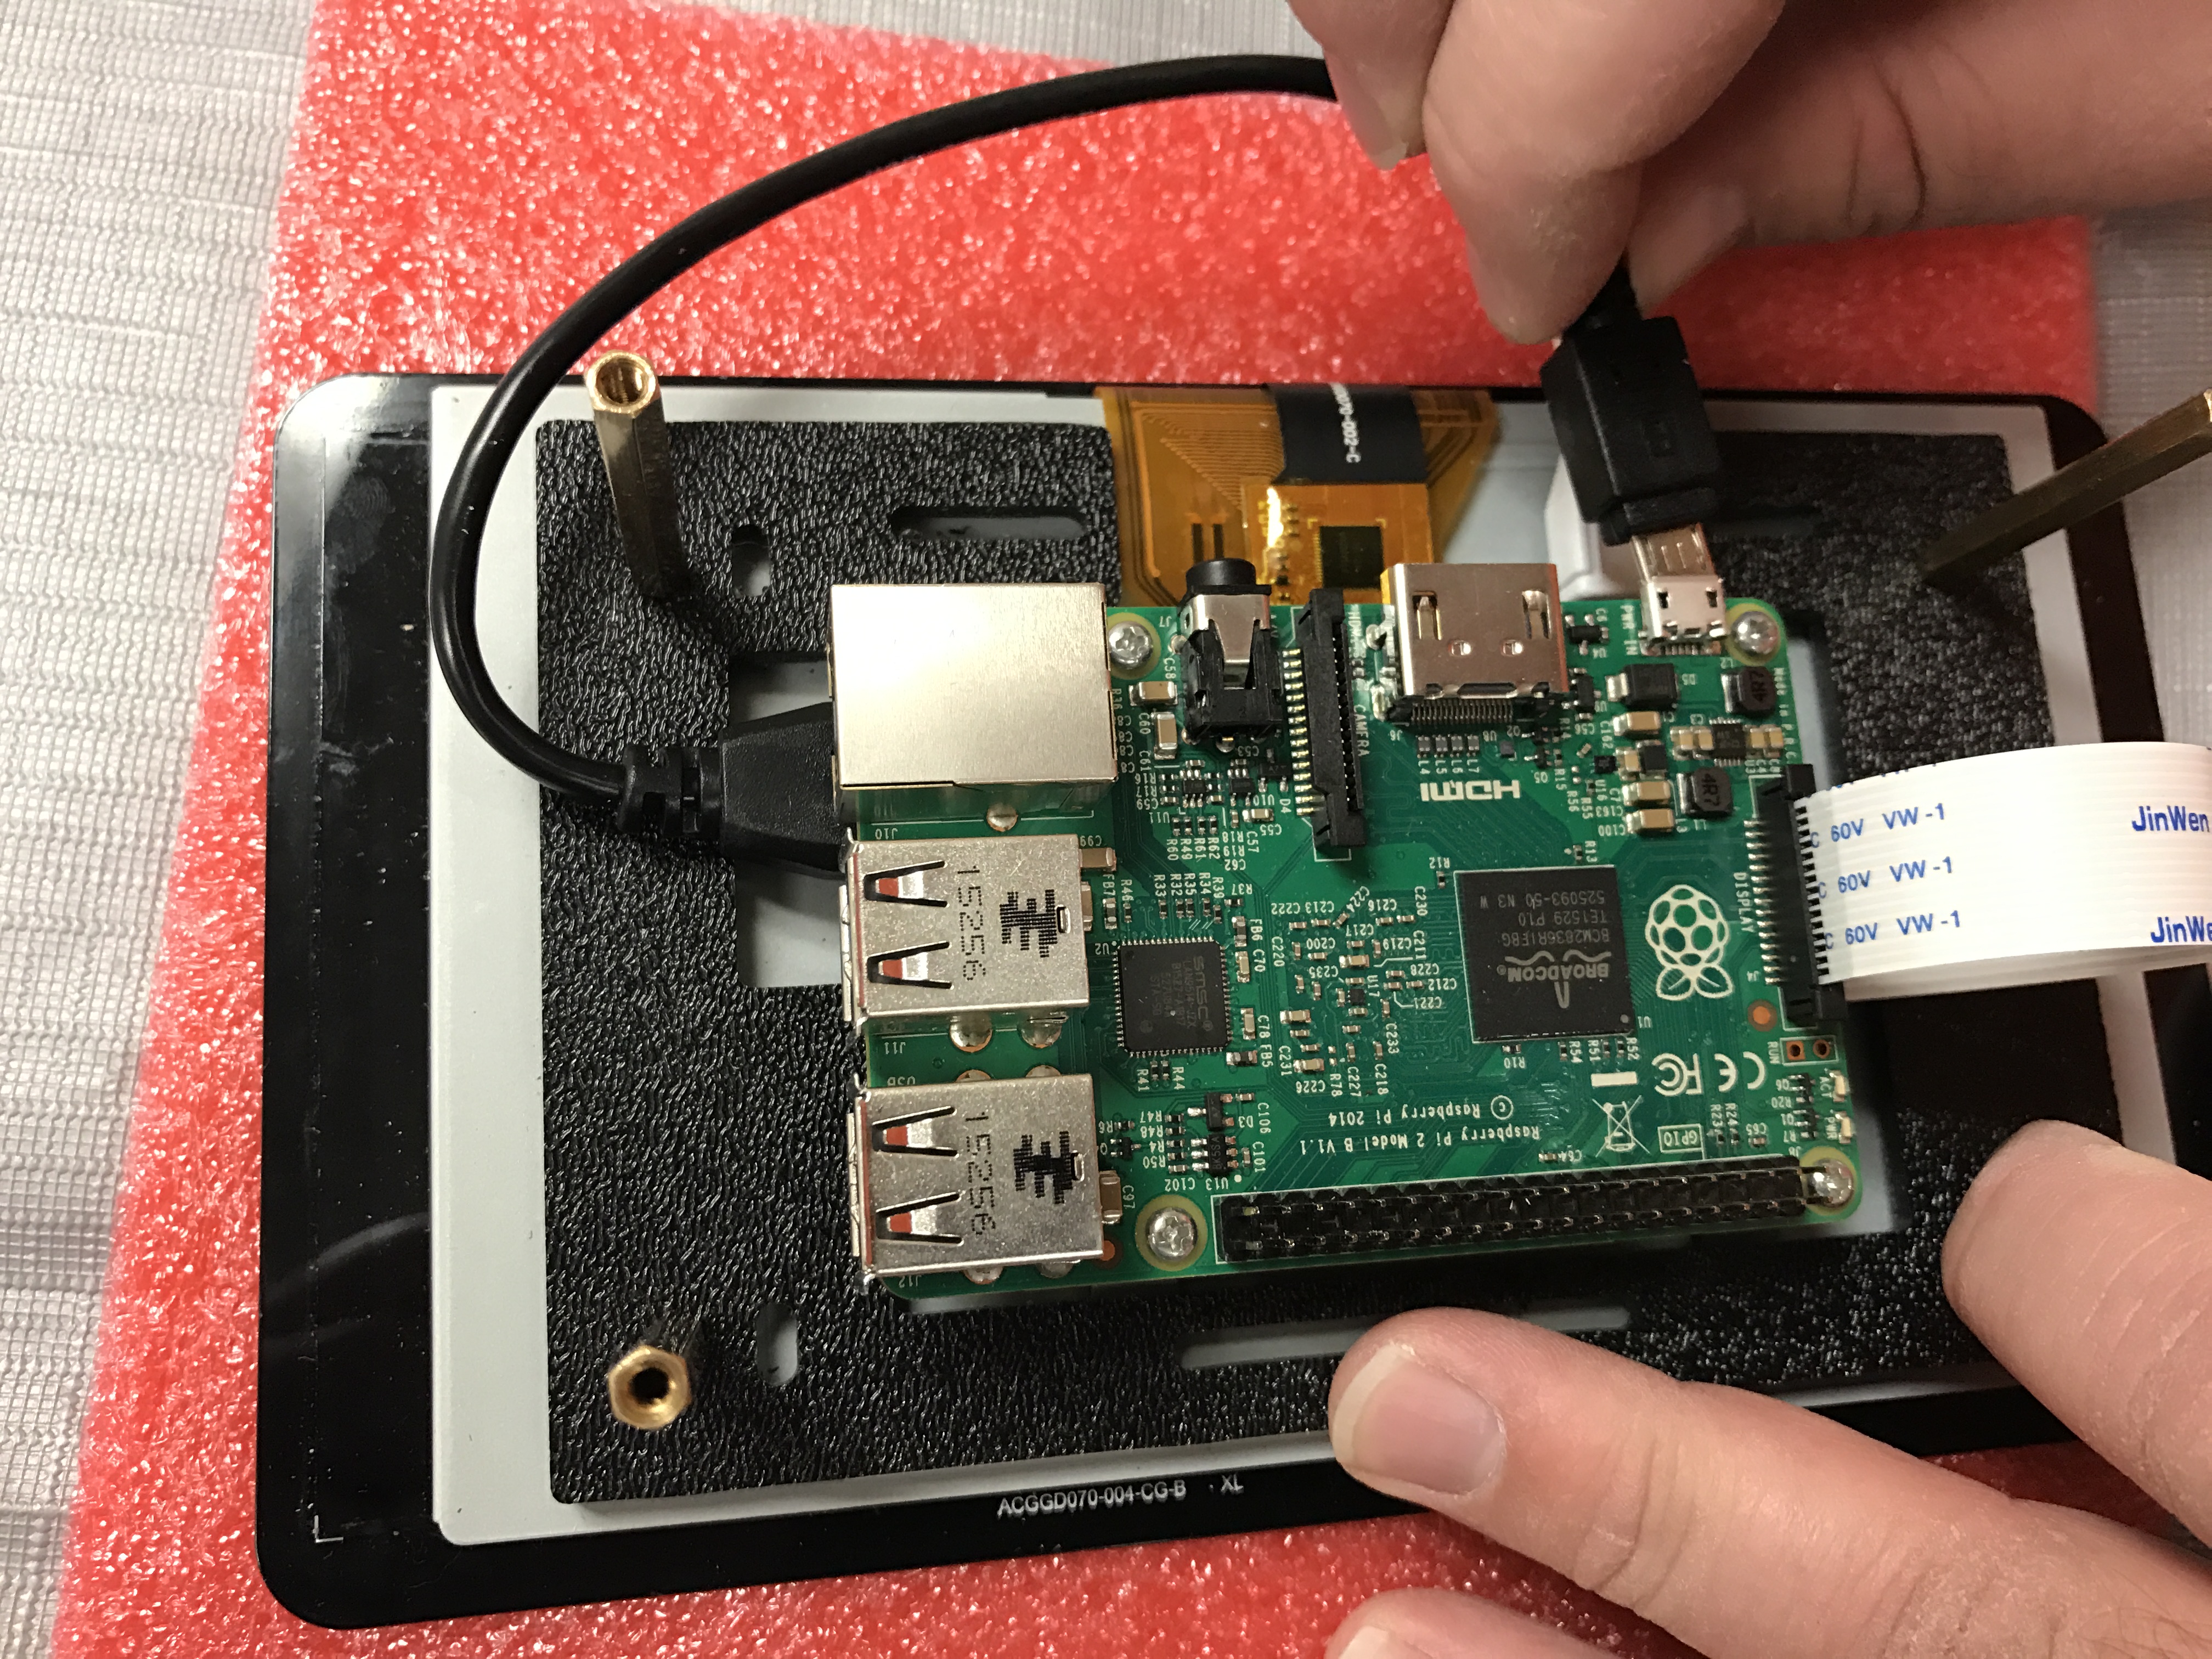
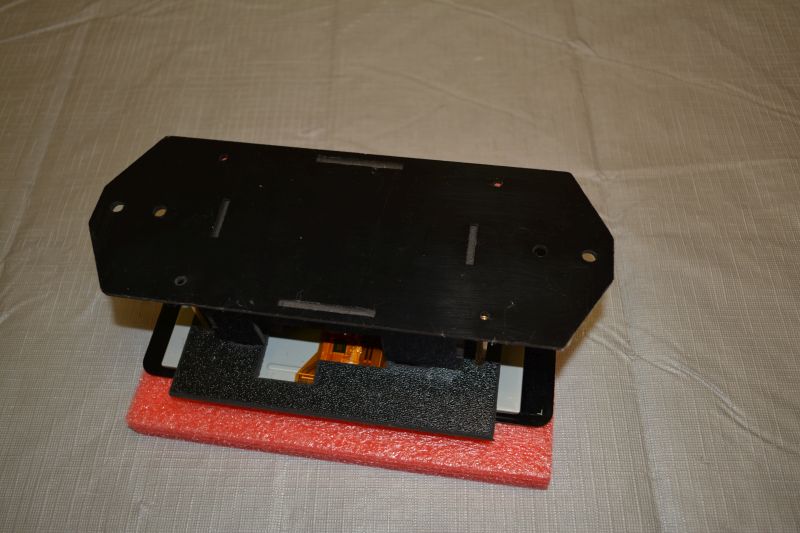
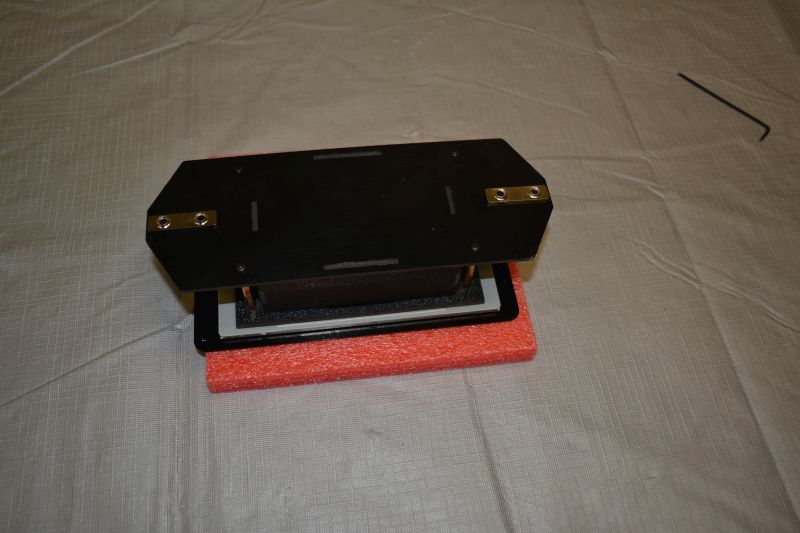
Place Pi Display Assembly upside down on foam bed.
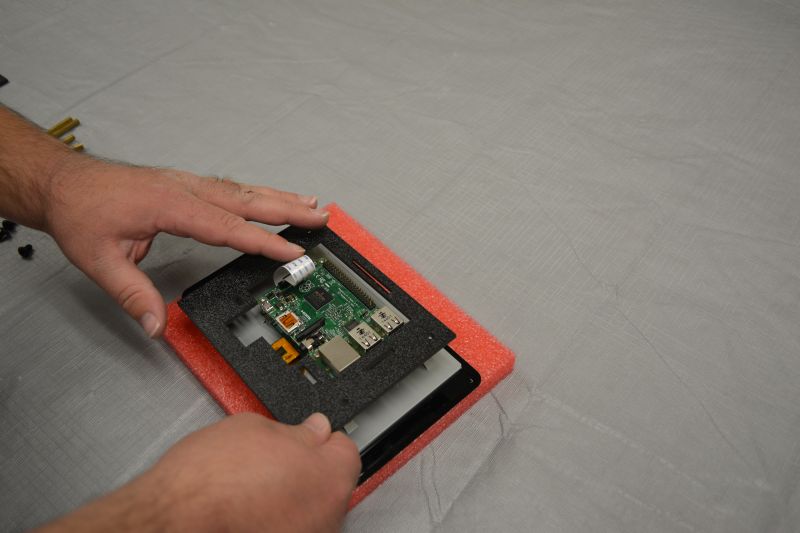
Place Enclosure Base Plate on Pi Display Assembly. Align holes in Base Plate to Screw Holes in Pi Display Assembly. The side with two slots should be opposite the pins. The smaller of the two slots should be opposite the USB ports.
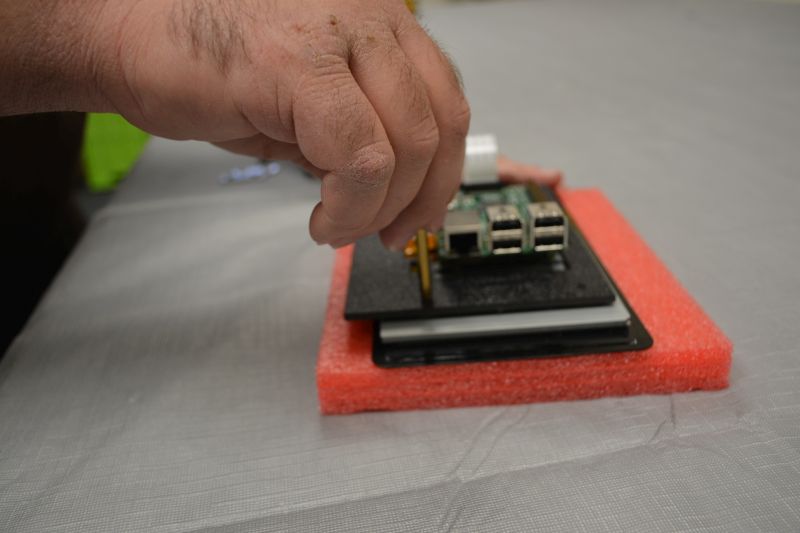
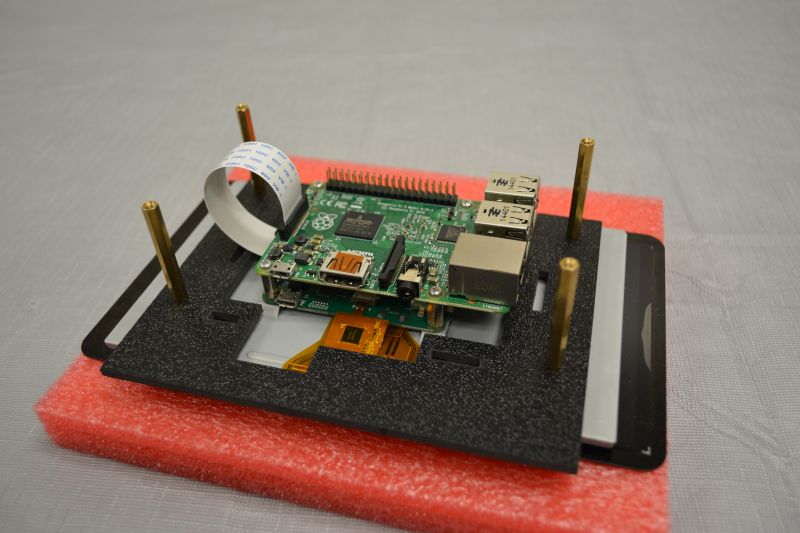
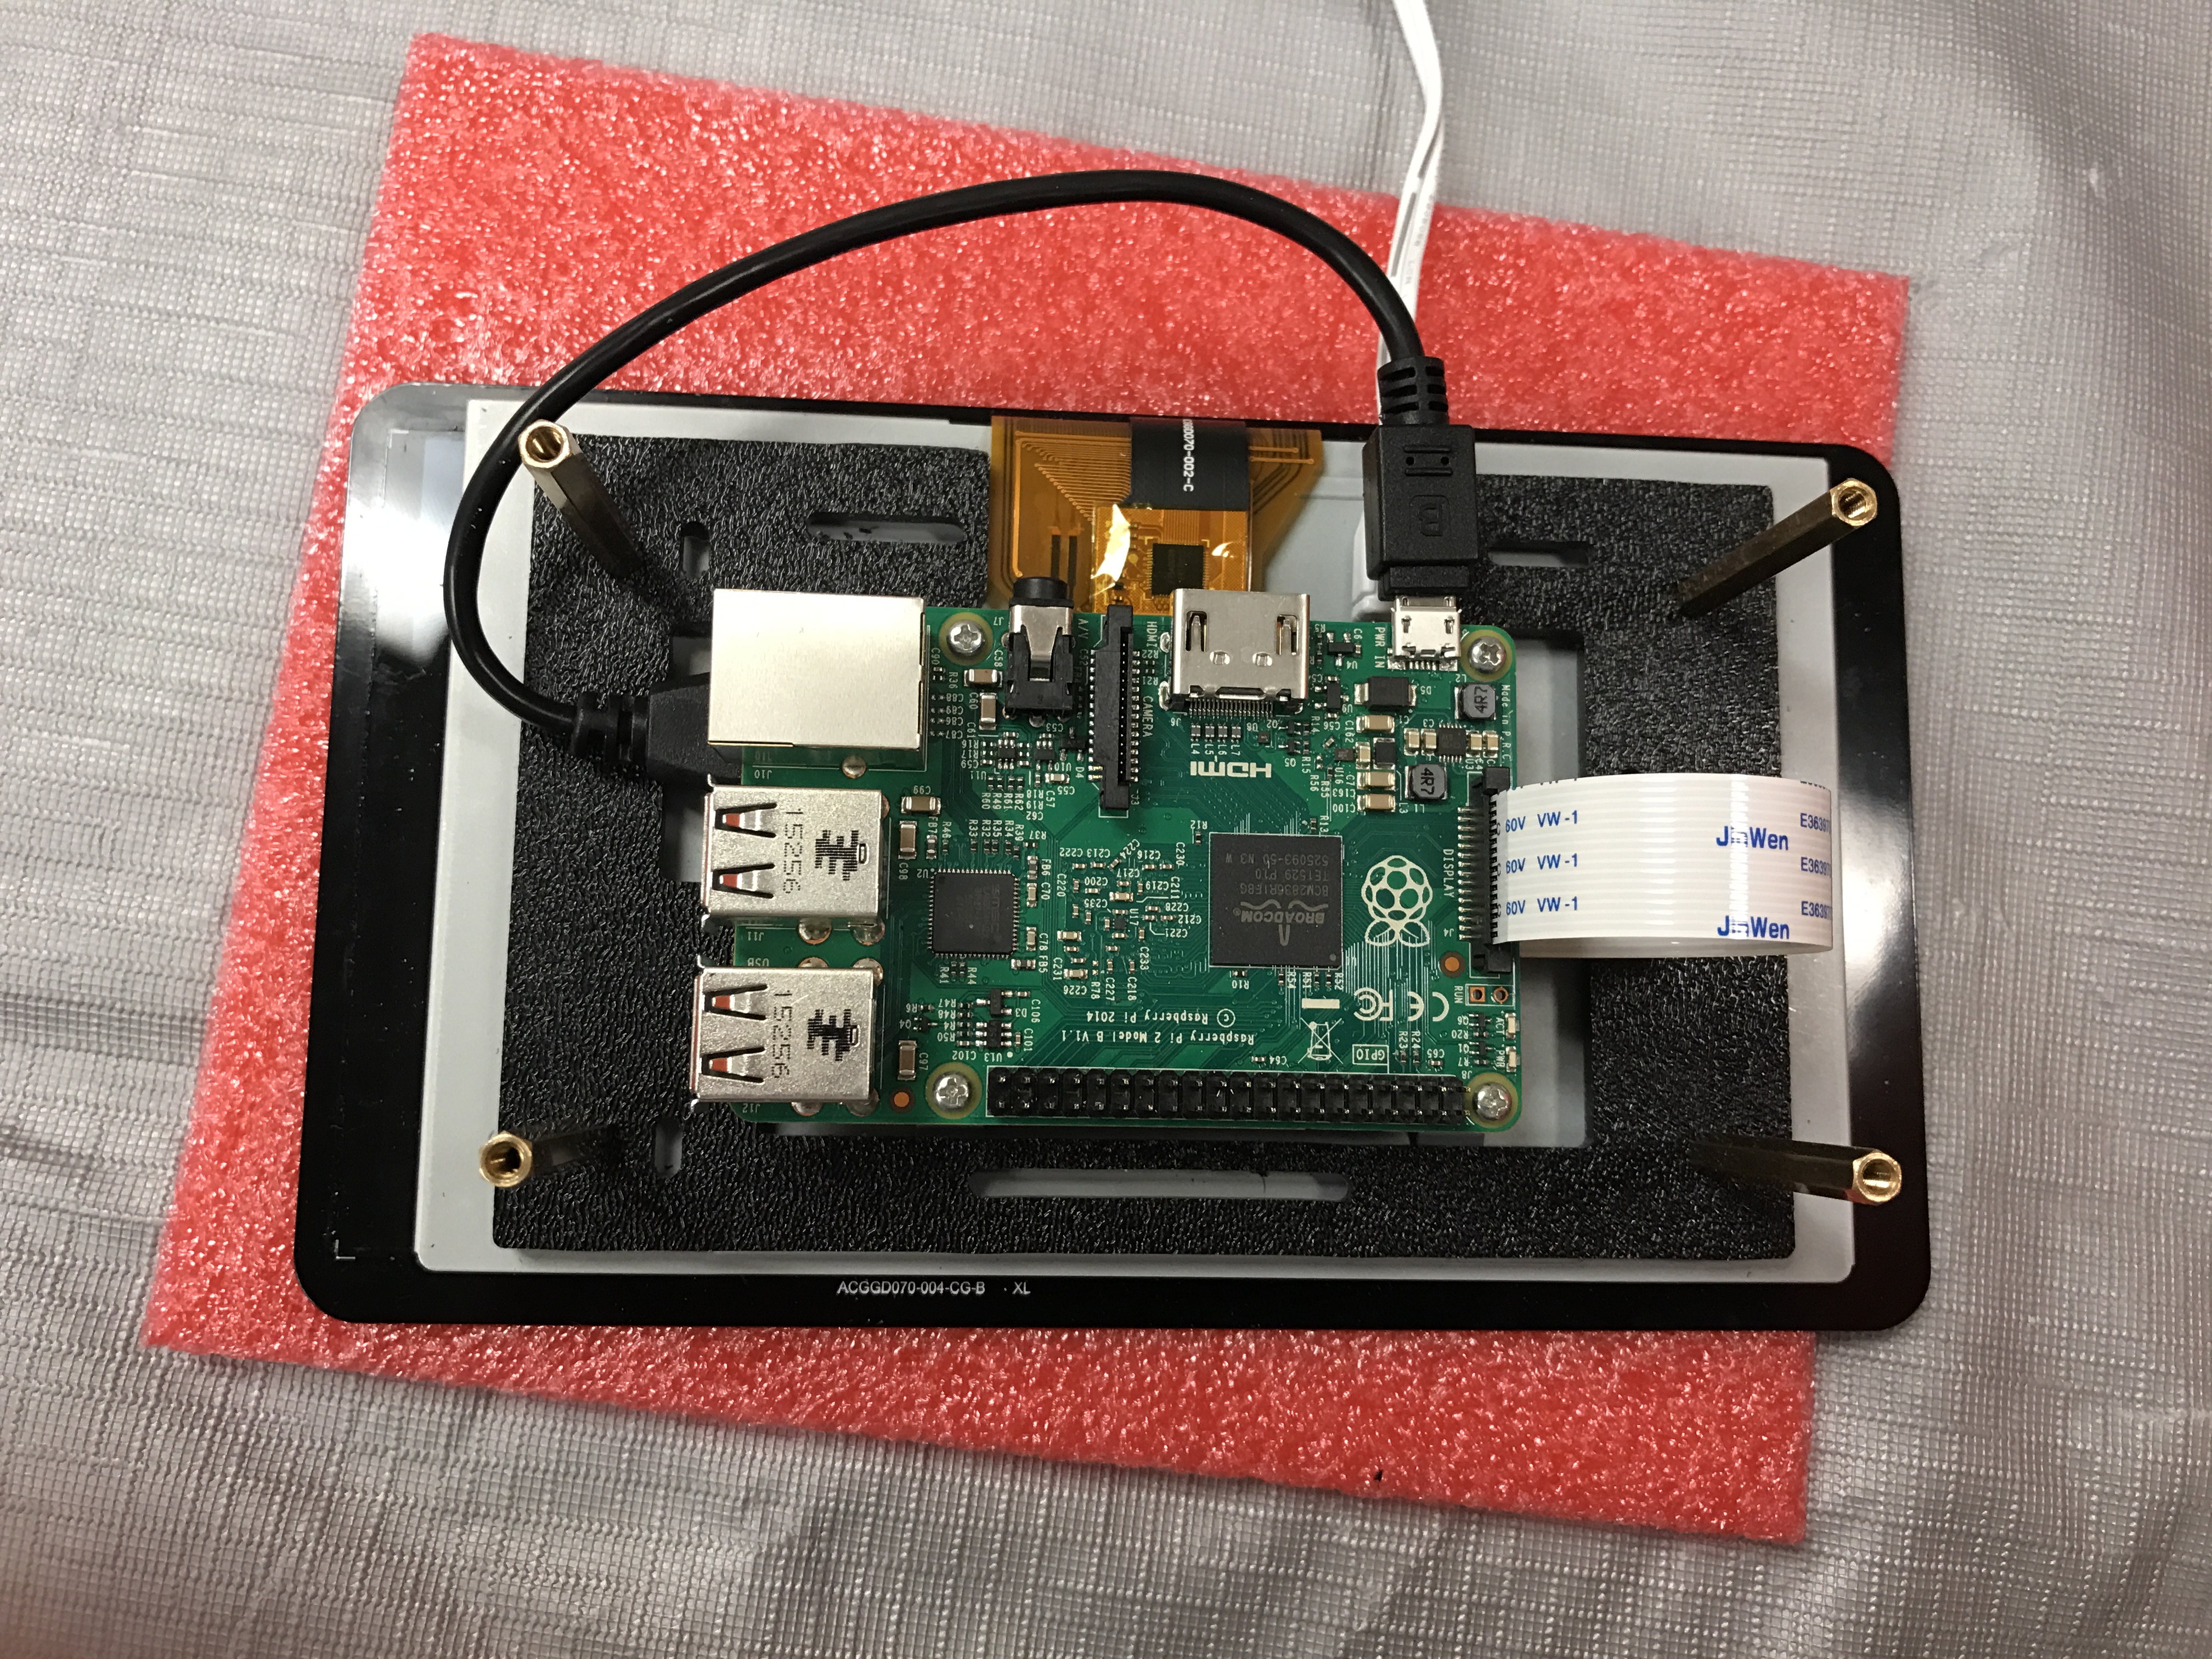
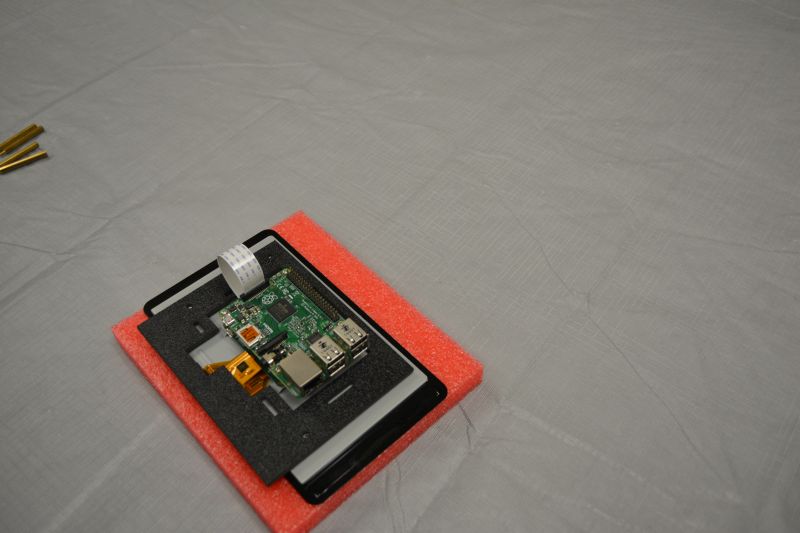
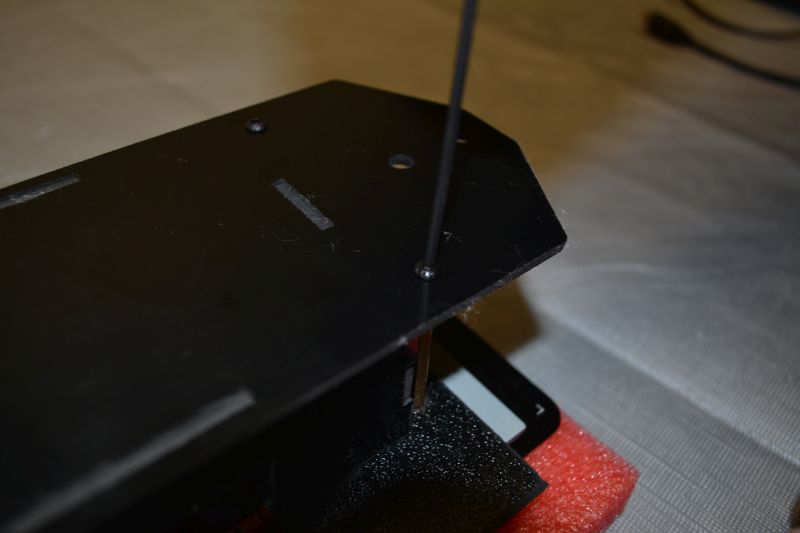
Screw male end of 40mm Stand-Off in each hole.
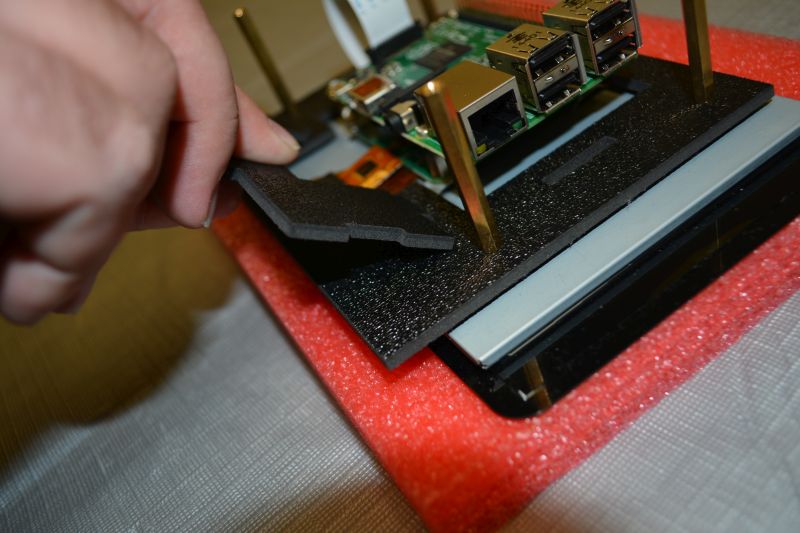
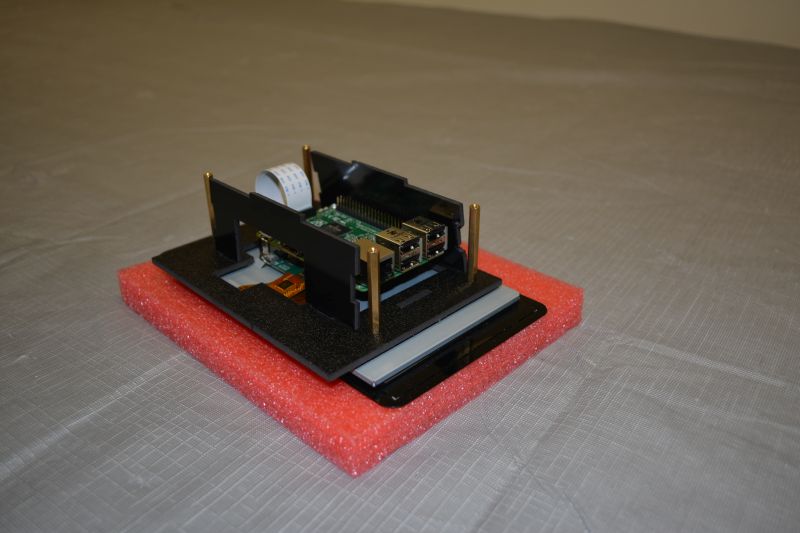
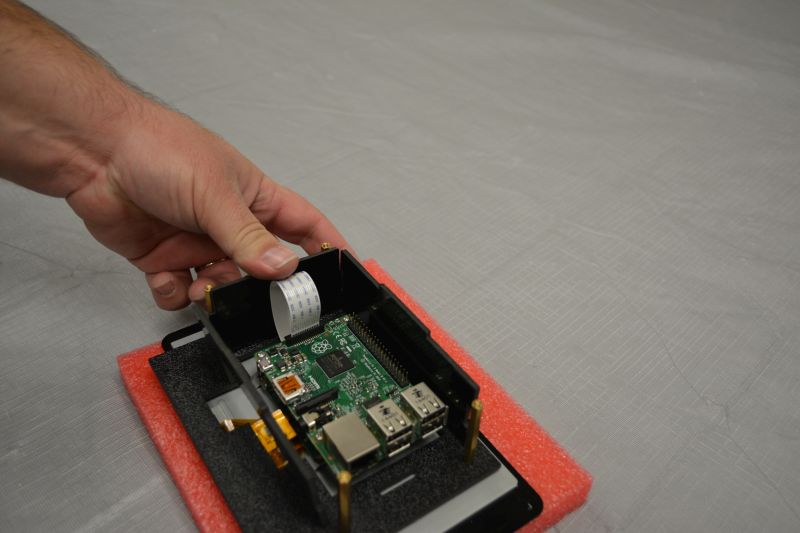

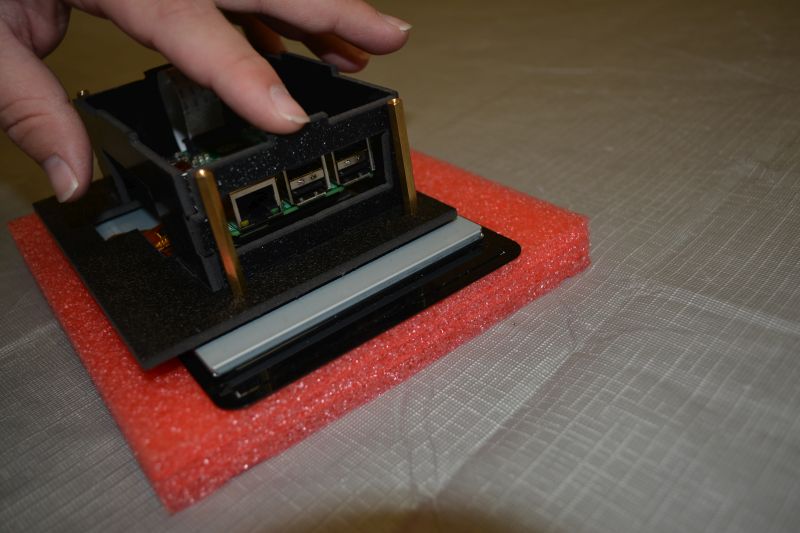
Insert Enclosure Sides into Enclosure Base Plate. Place at an angle and then tilt them upright.
Note: If you have an optional foot pedal, refer to the Foot Pedal section to attach the foot pedal before continuing.

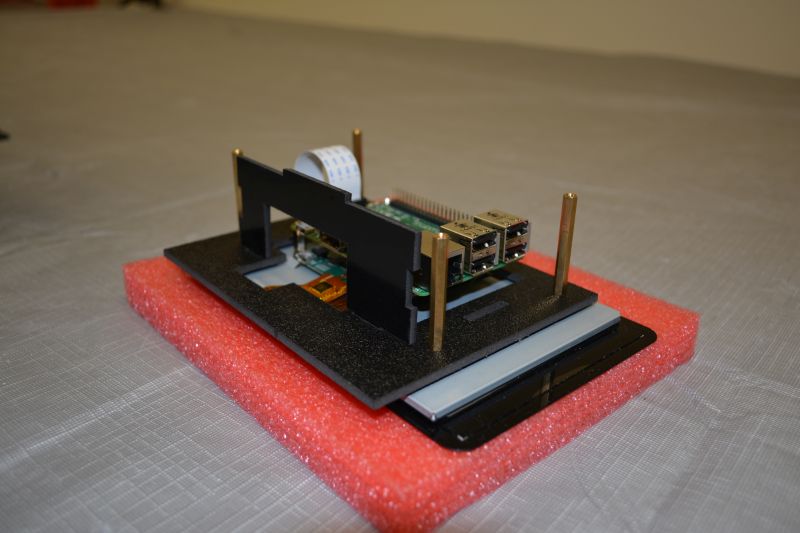
Place Enclosure Mounting Plate onto Enclosure Sides.
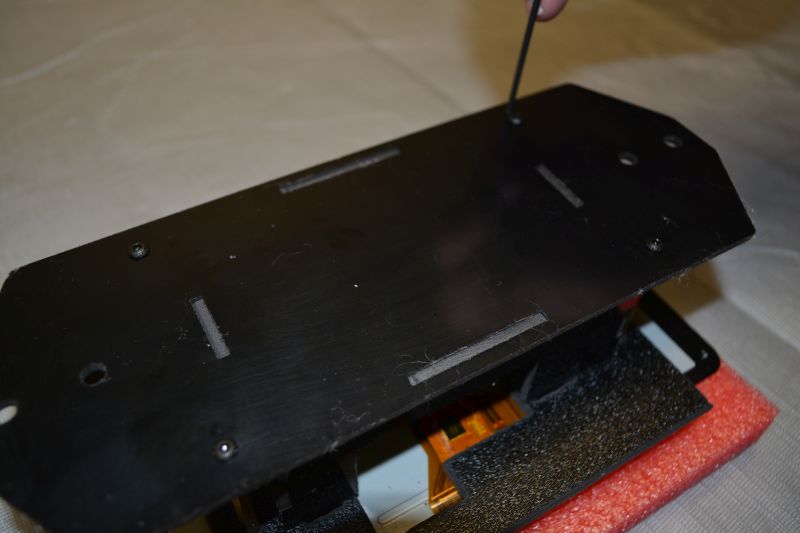
Screw M3 x 6mm Screws into 40mm Stand-Offs.
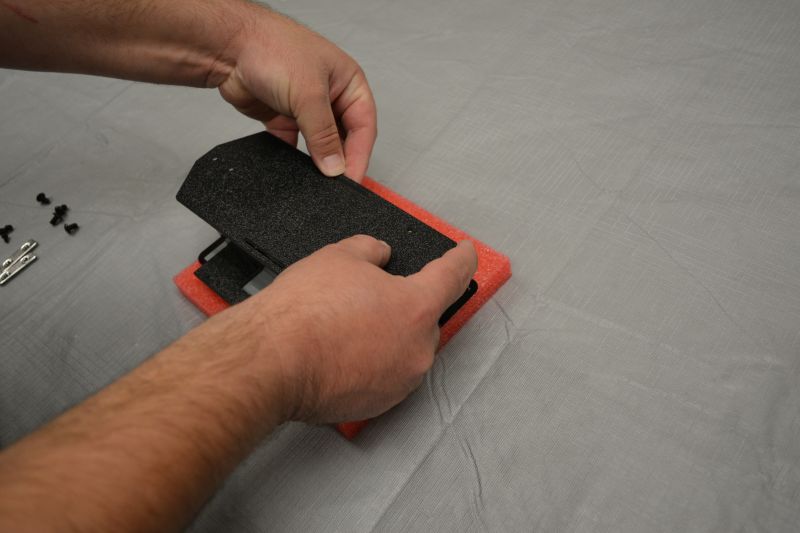
Preload Enclosure
 )
)
 )
)
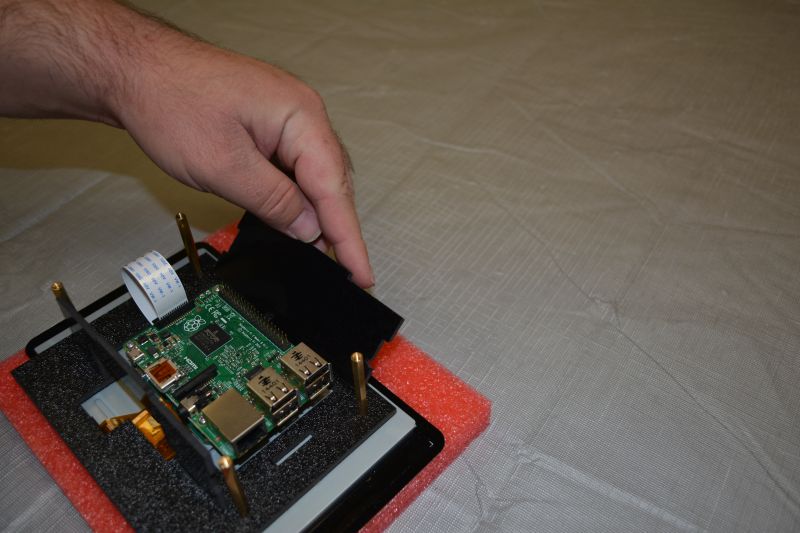
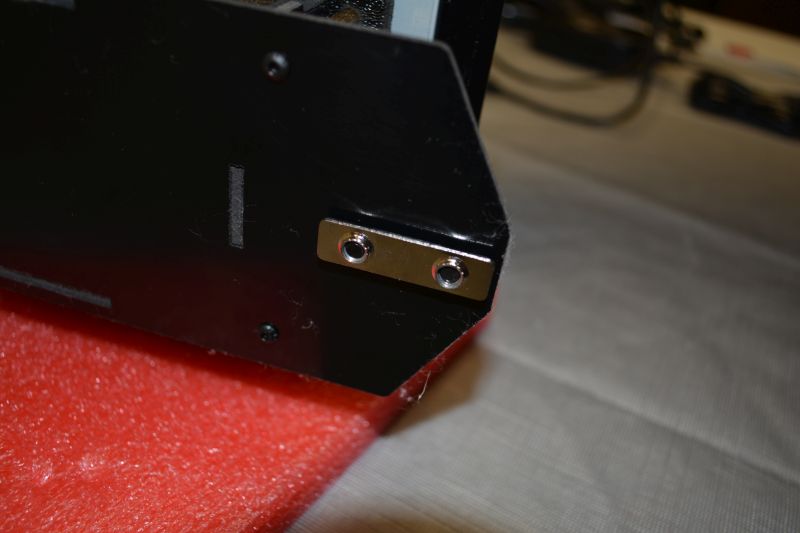
Preload (2) Double T-Nuts and (4) M5 x 8mm Screws onto Mounting Plate.
Attach Power Cables
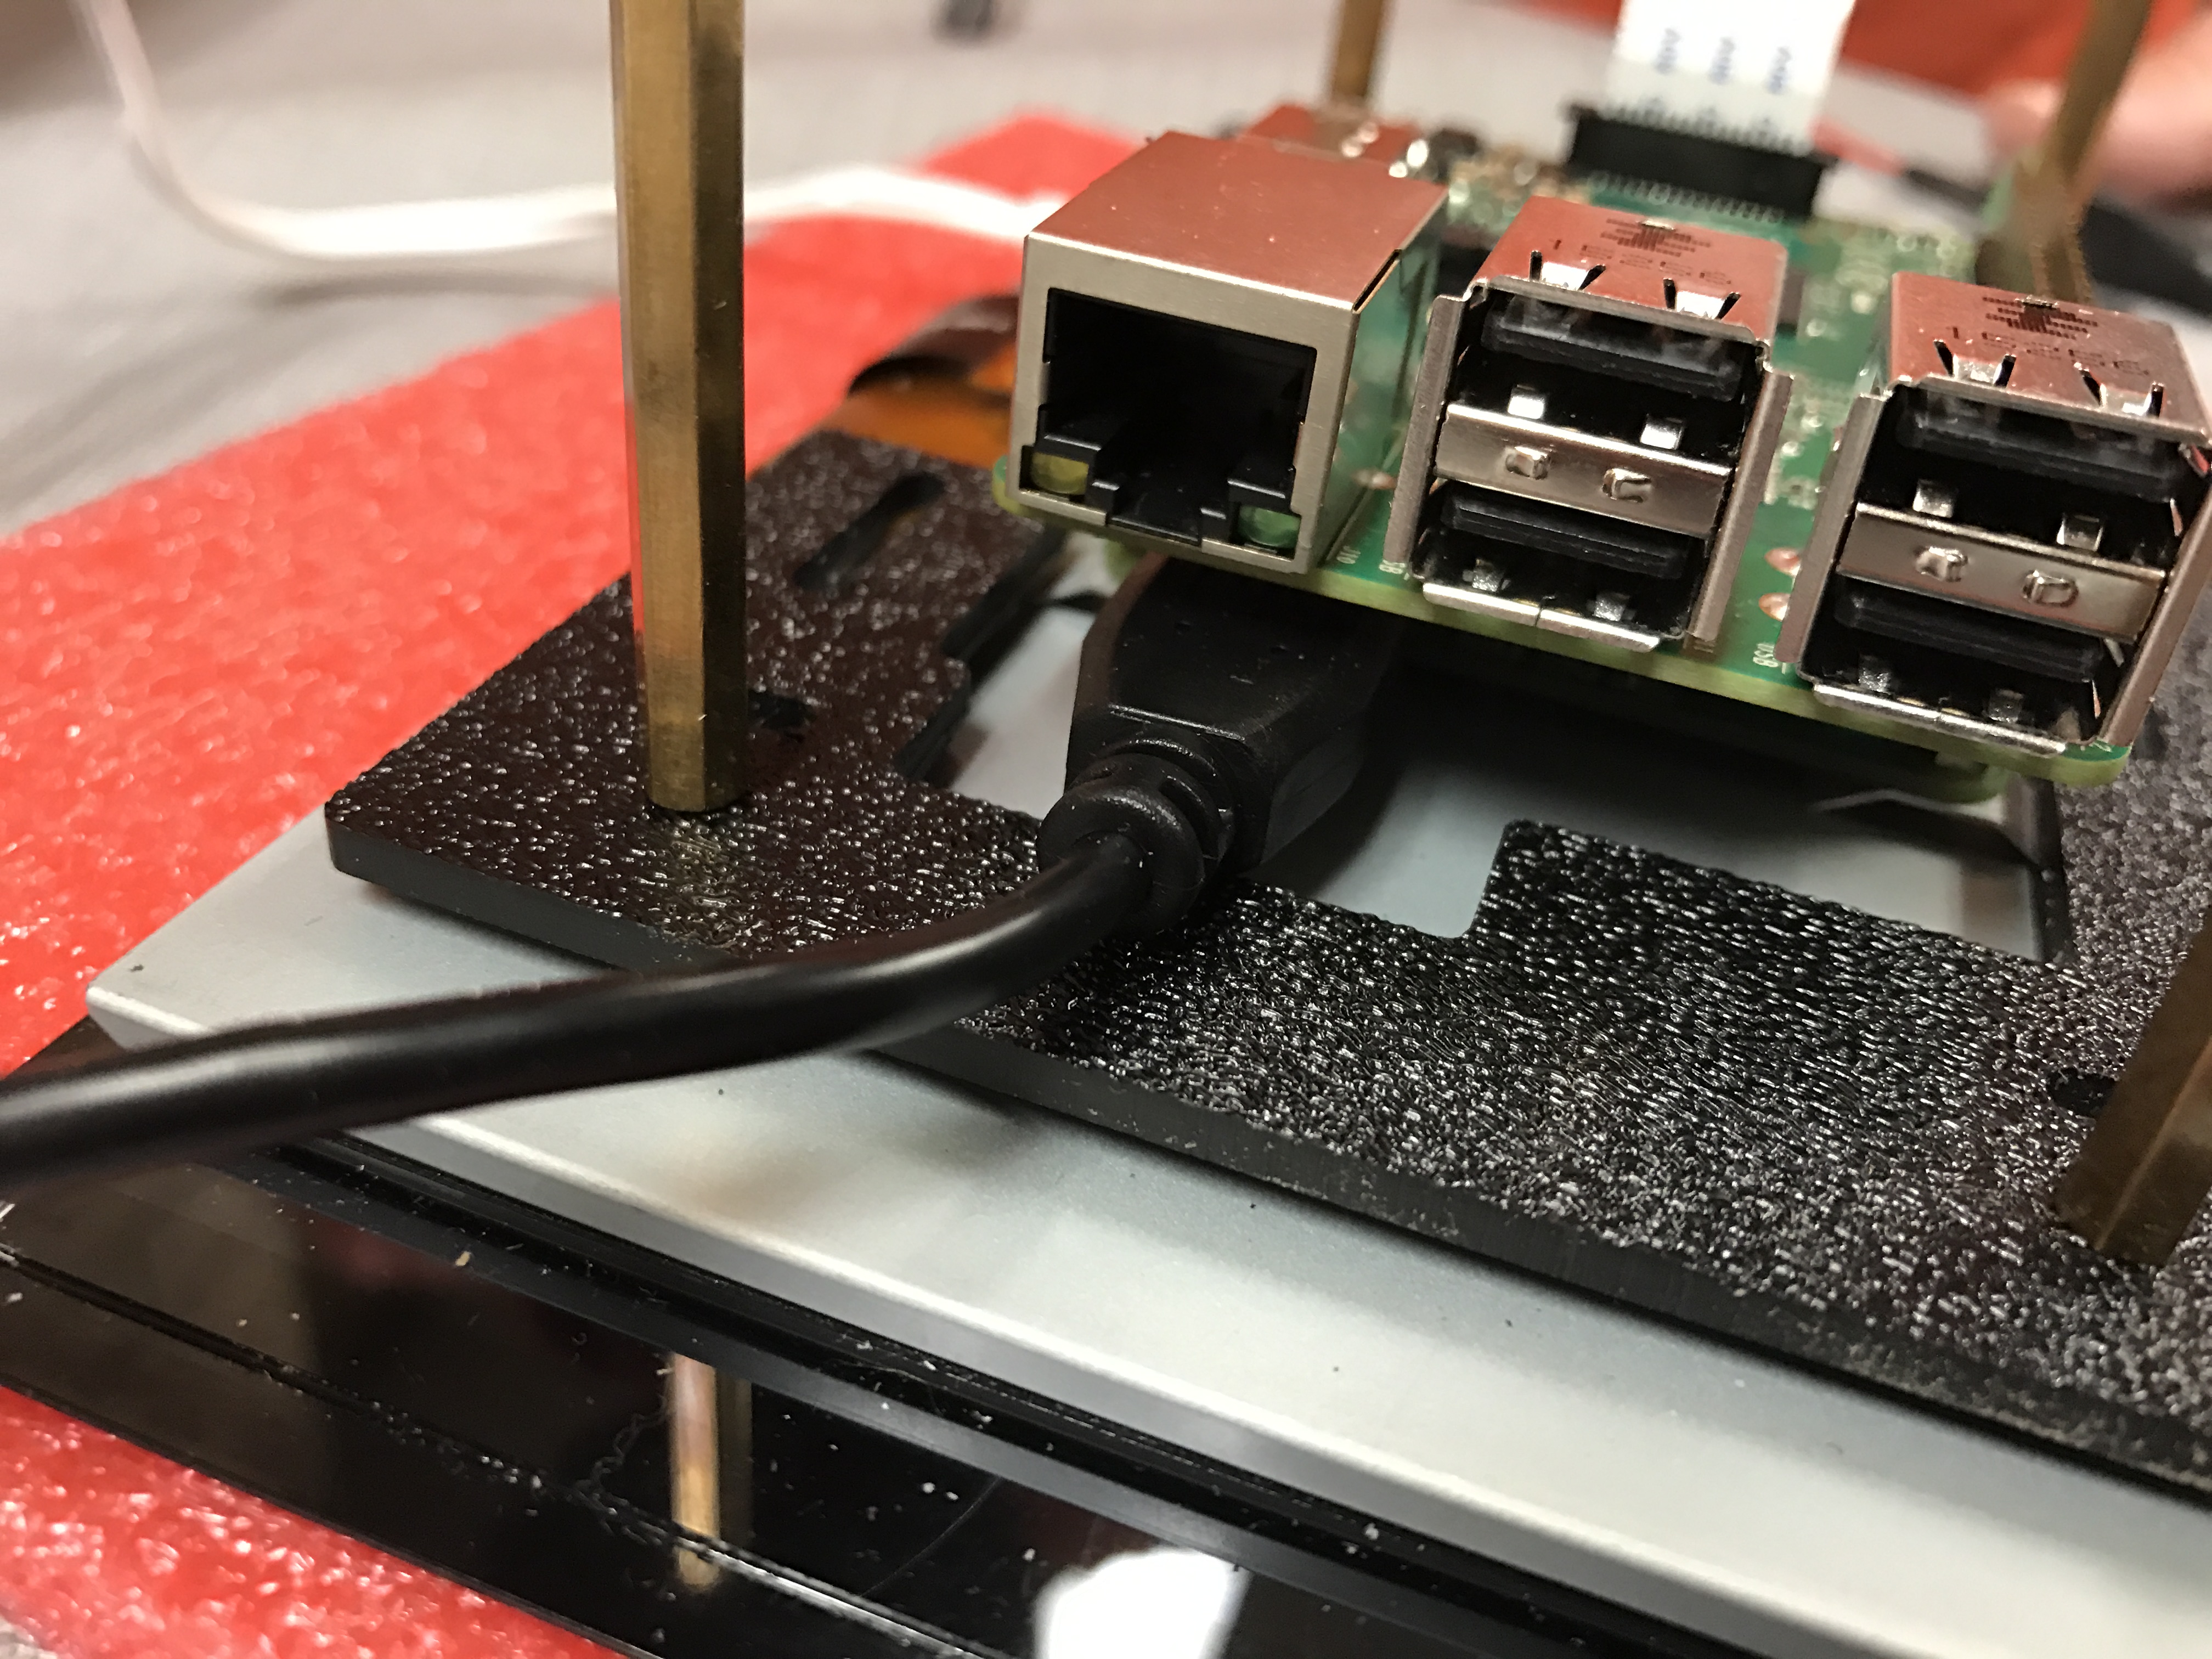
The Raspberry Pi and attached screen can be powered up in multiple ways. Each has a micro USB power connector and can be powered independently and this is how early versions of the kit worked. If you have two long micro USB cables in your kit with two USB chargers, then you can simply plug each one cable into the board attached to the screen and the other into the Raspberry Pi.
More recently, the kit was modified slightly to allow both the Raspberry Pi and screen to be powered with a single plug to the wall. If you have one USB charger and one short 6-inch USB cable, then this is the version you have. In this case, the USB charger plugs into the screen. The 6-inch micro USB cable plugs from the USB port on the screen (below the four-plex of USB ports on the Raspberry Pi) to the micro USB connector on the Raspberry Pi. See the photos below.