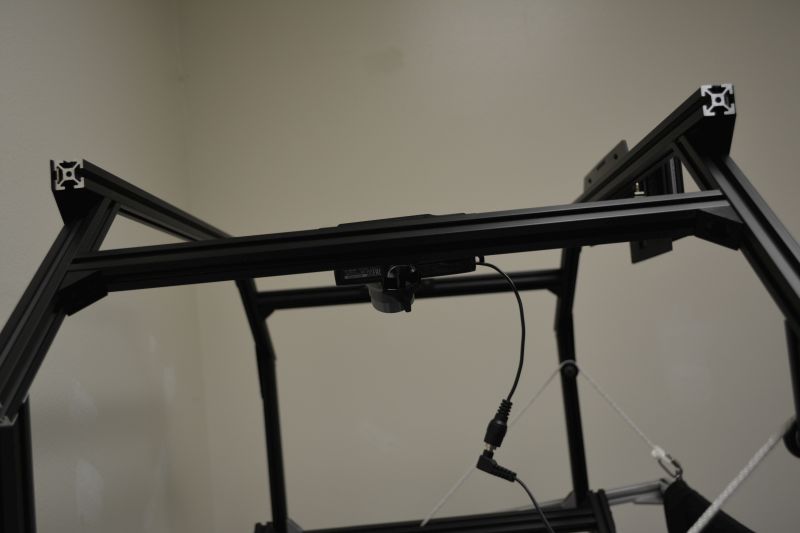
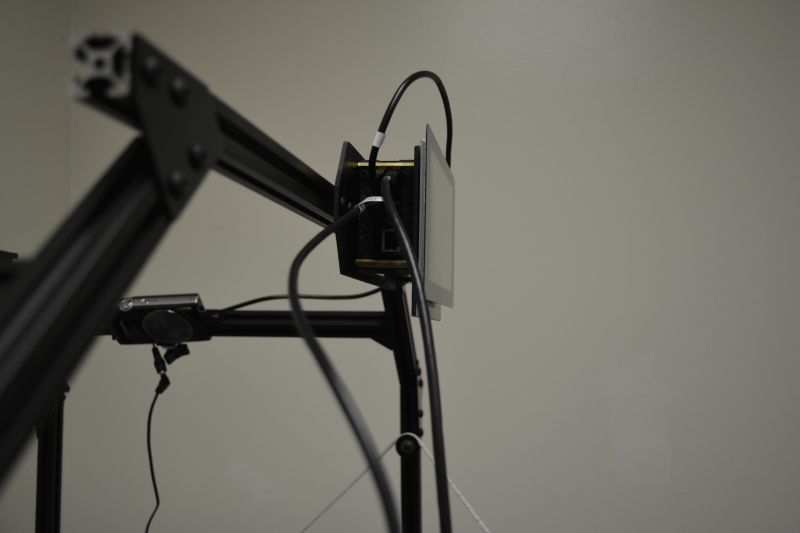
Mount Enclosure
Tighten Cradle Stops on scanner to prevent Cradle Lifter from Moving. Set aside Cradle Base.
Put Archivist Quill on its side.
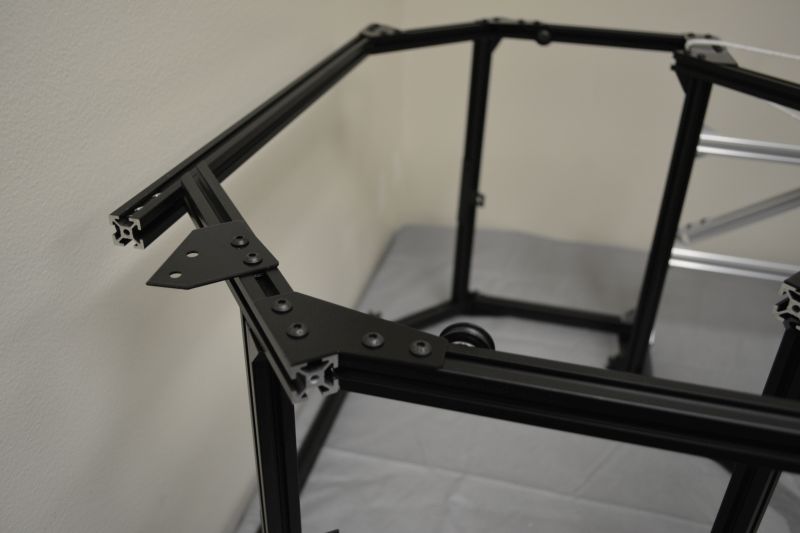
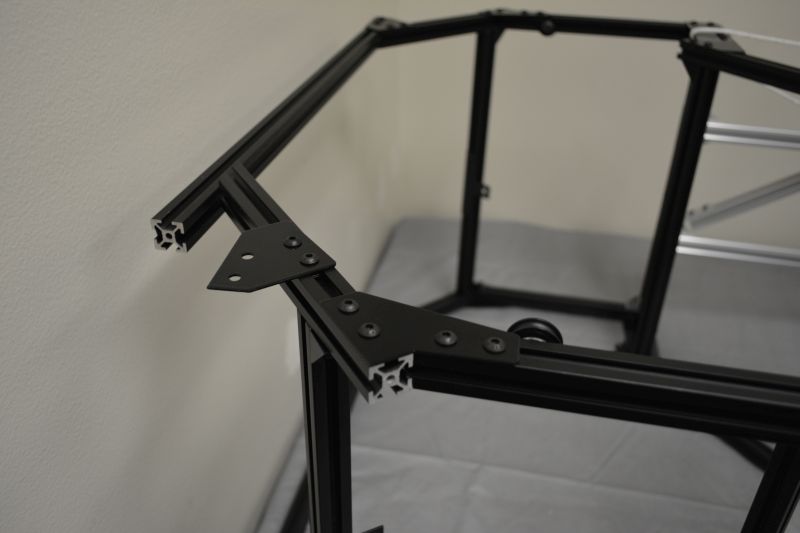
Remove Imaging Top Plate on one side.
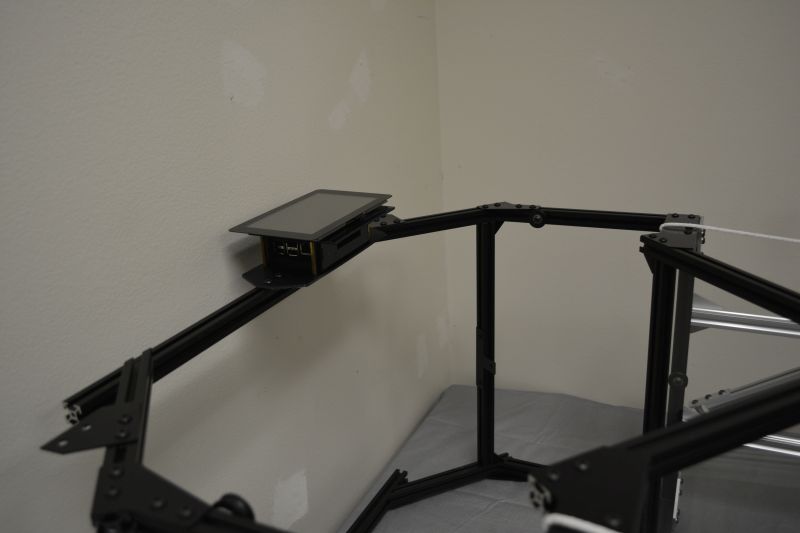
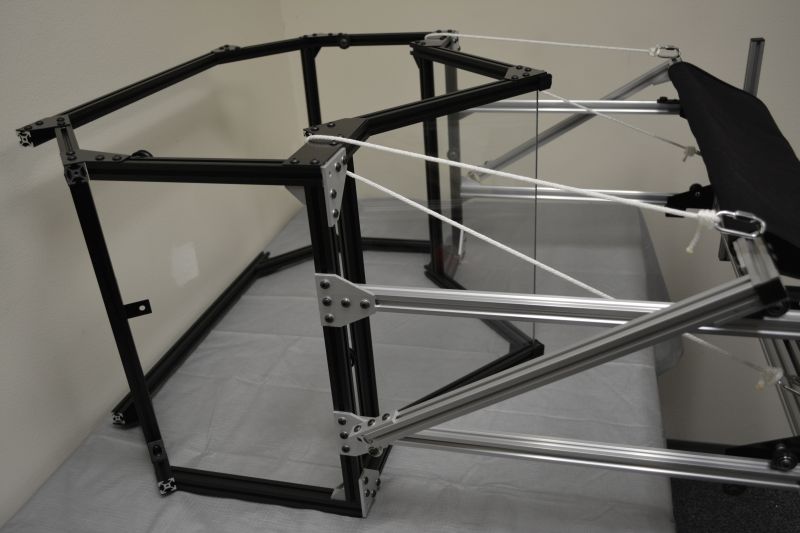
Slide Enclosure onto Imaging Beam
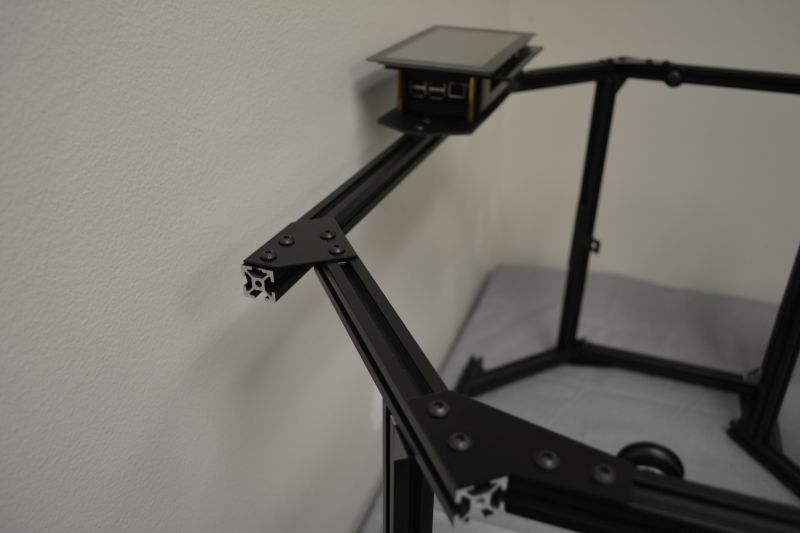
Re-attach Imaging Top Plate
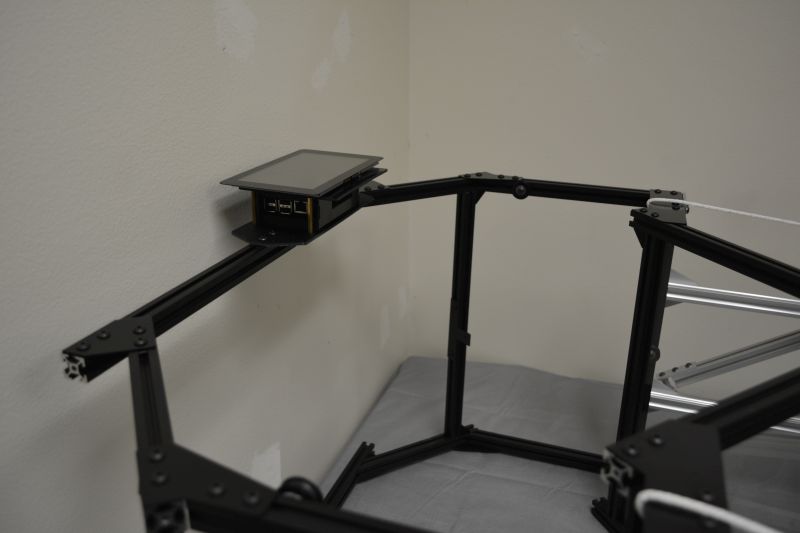
Move Enclosure to preferred position. Tighten Screws.
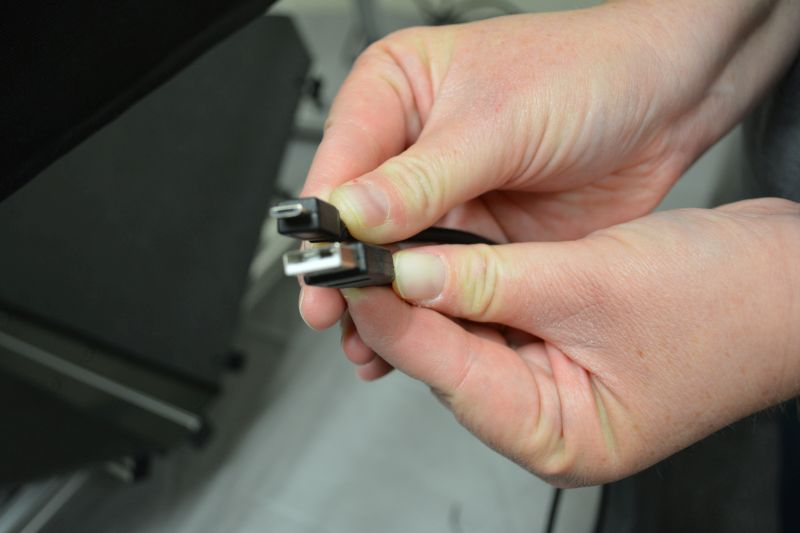
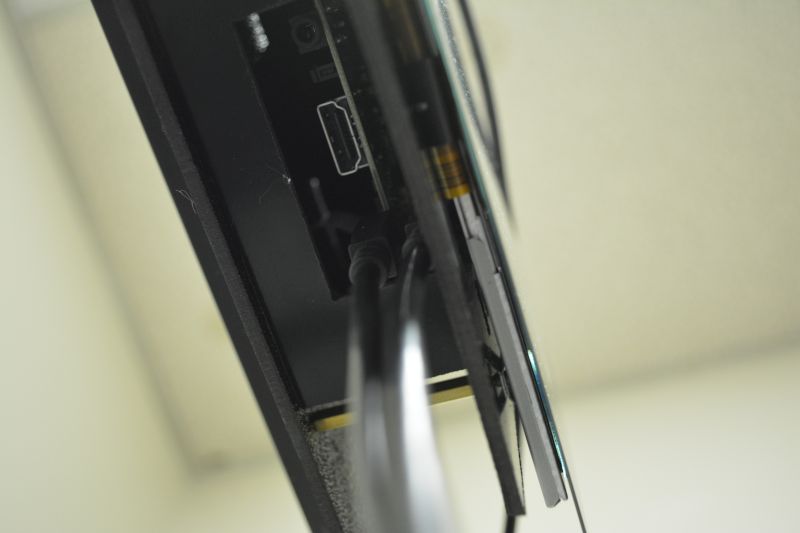
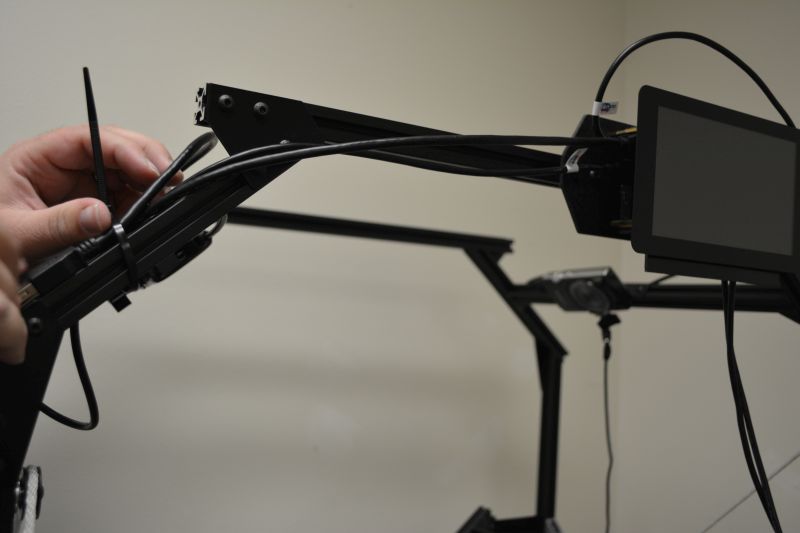
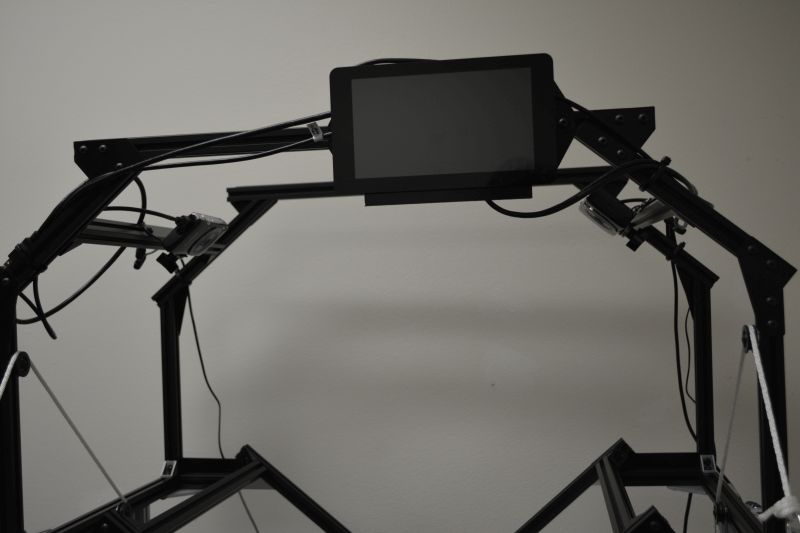
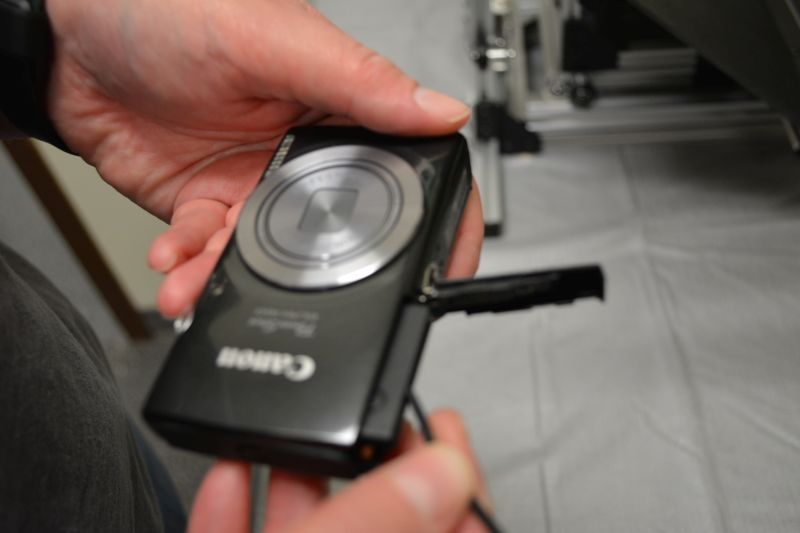
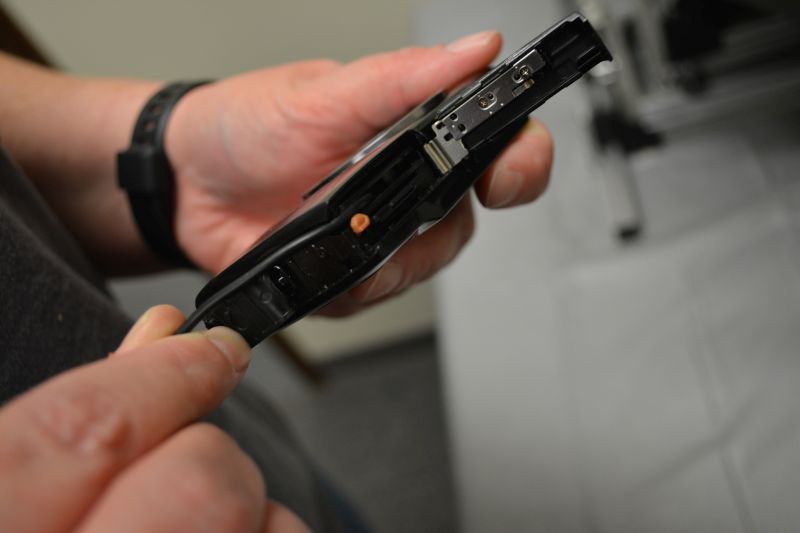
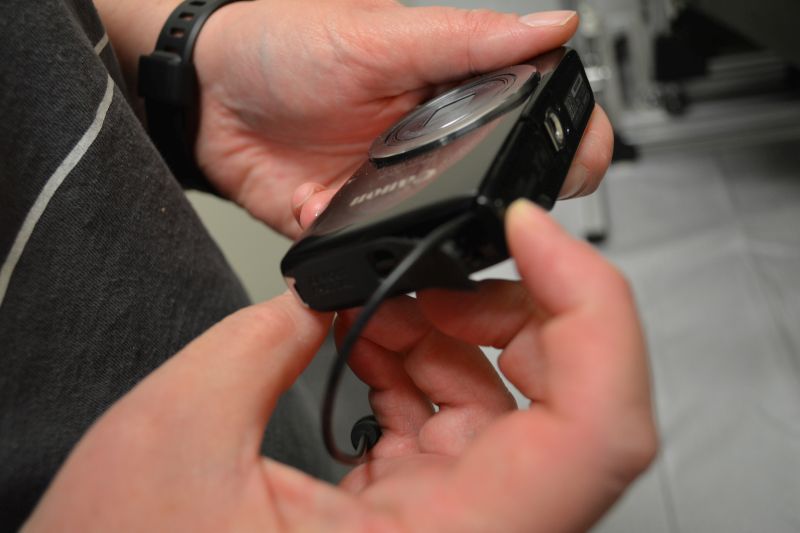
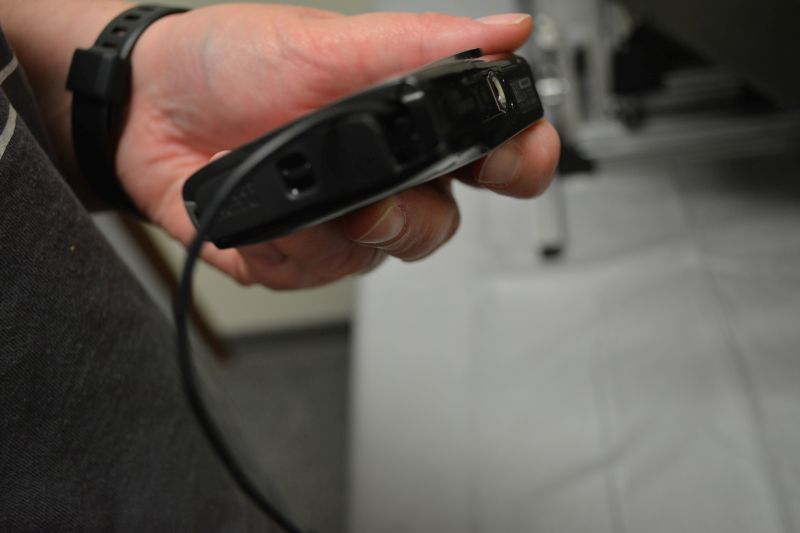
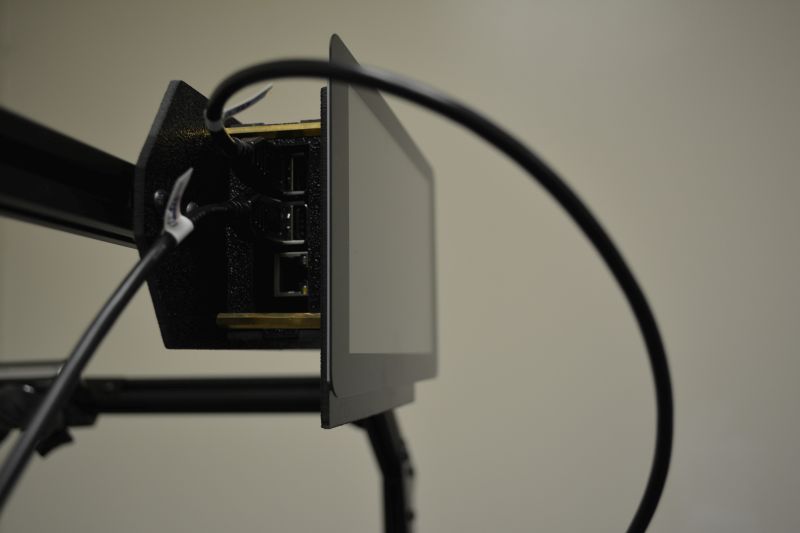
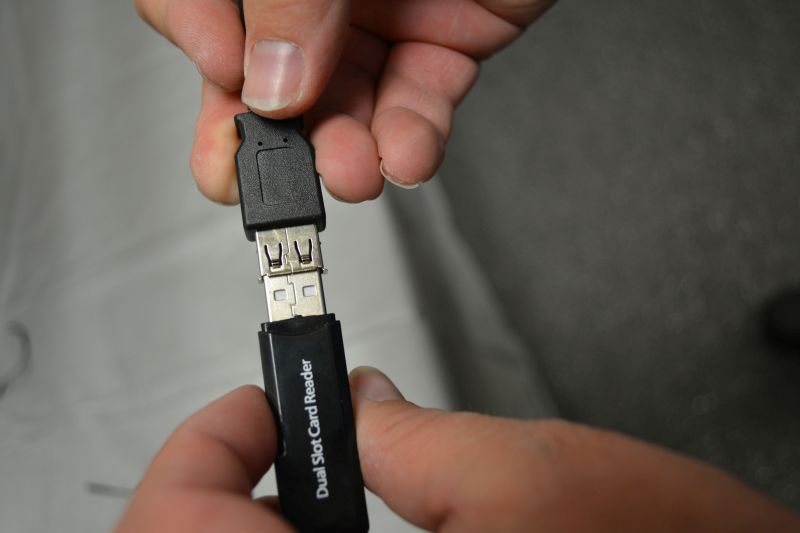
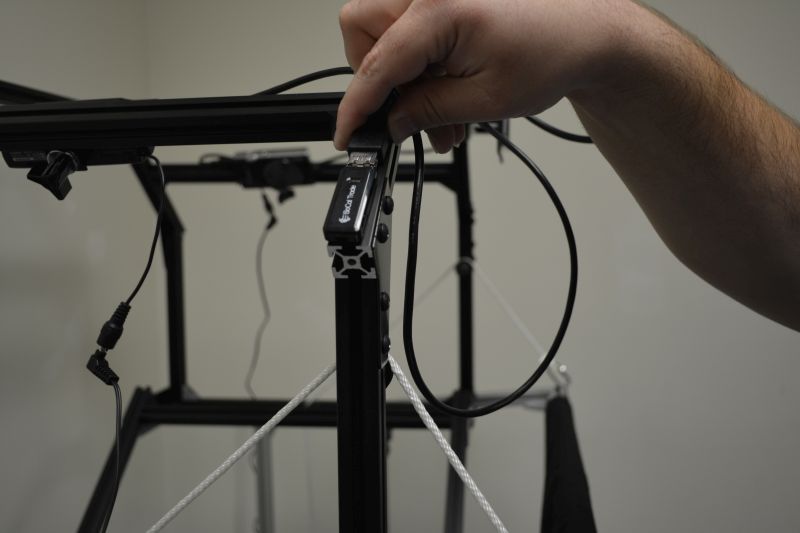
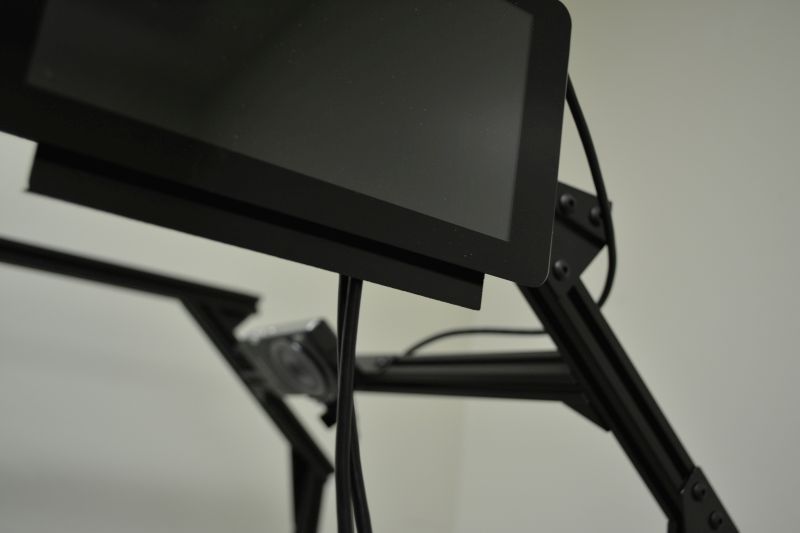
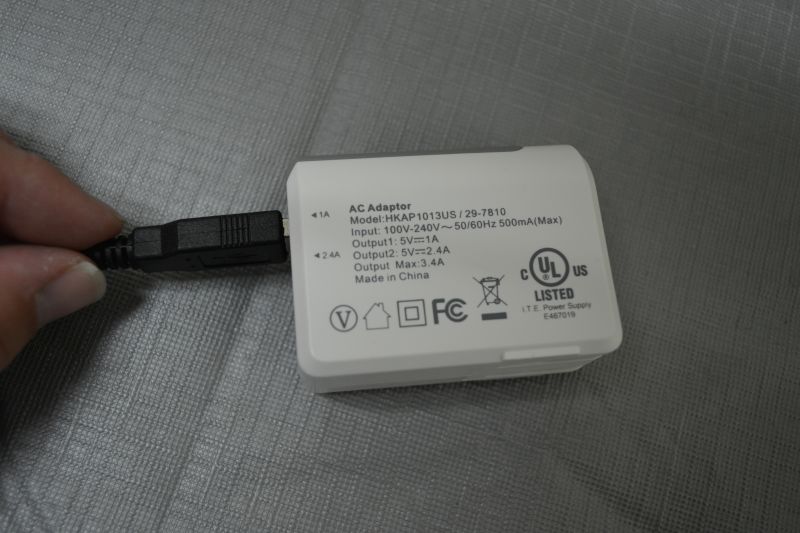
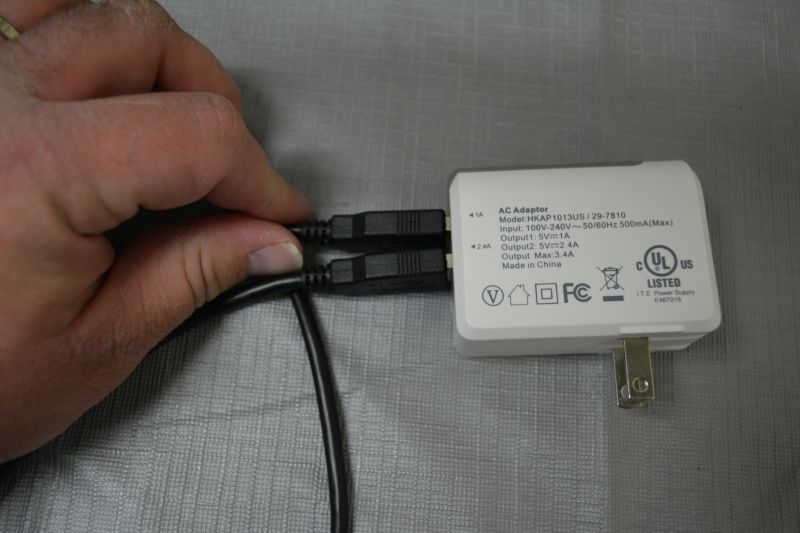
Gather (2) Micro USB Cables and plug them into the bottom of the Pi assembly. One cord will power the Pi itself and the second will power the screen.

Stand Archivist Quill up.
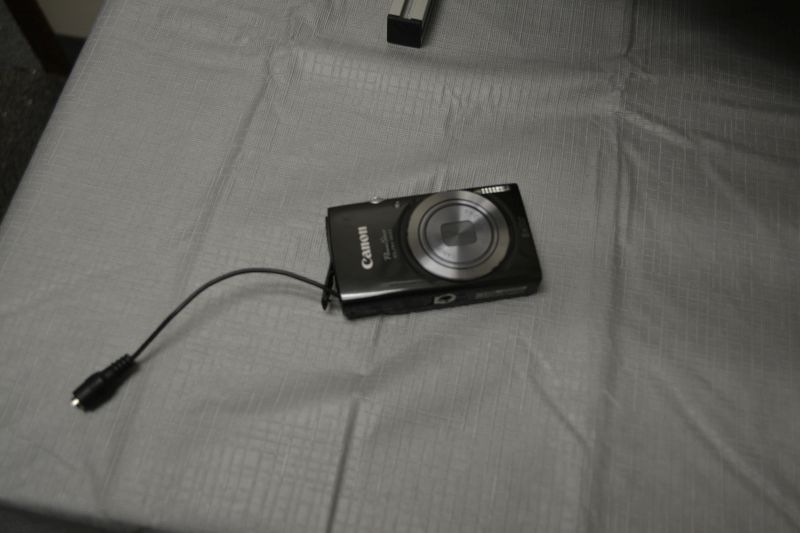
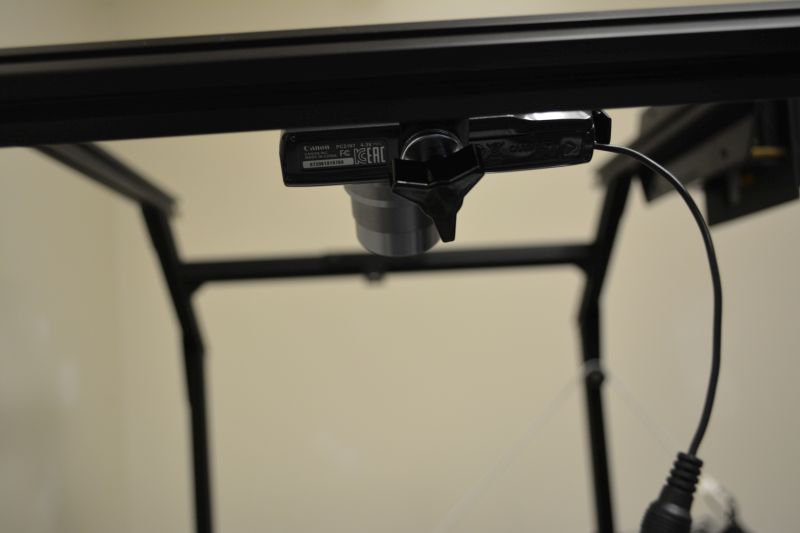
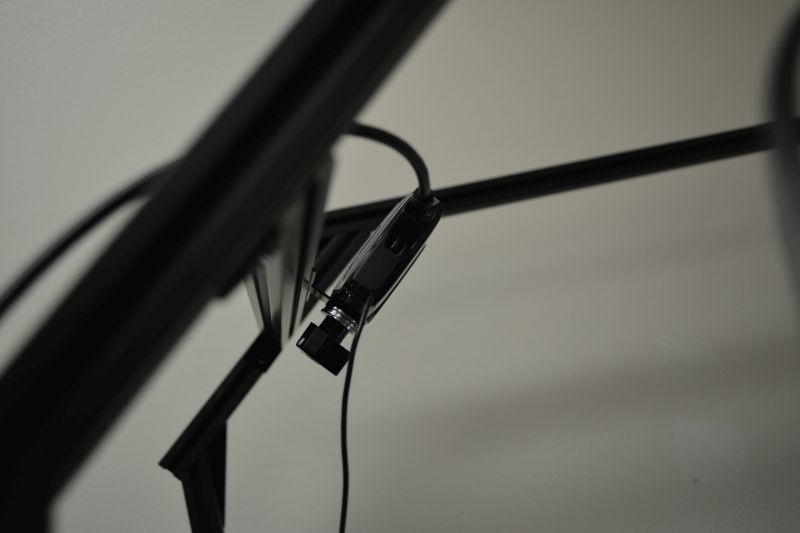
Mount Cameras

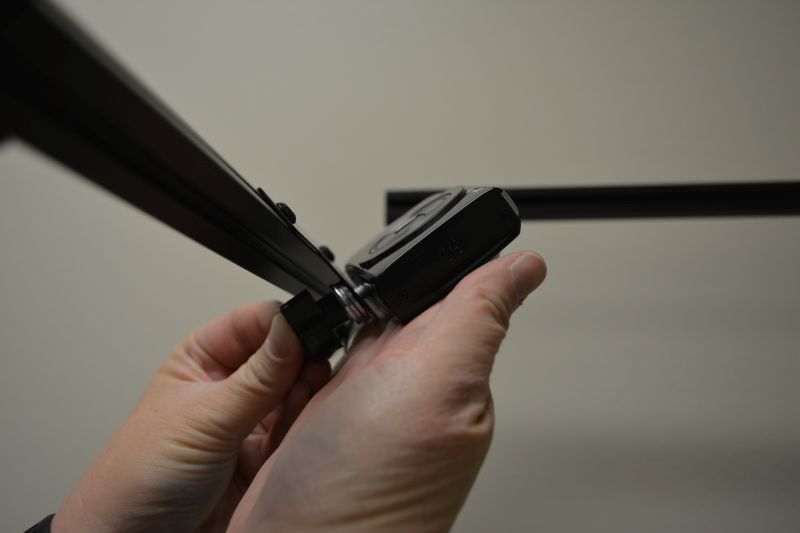
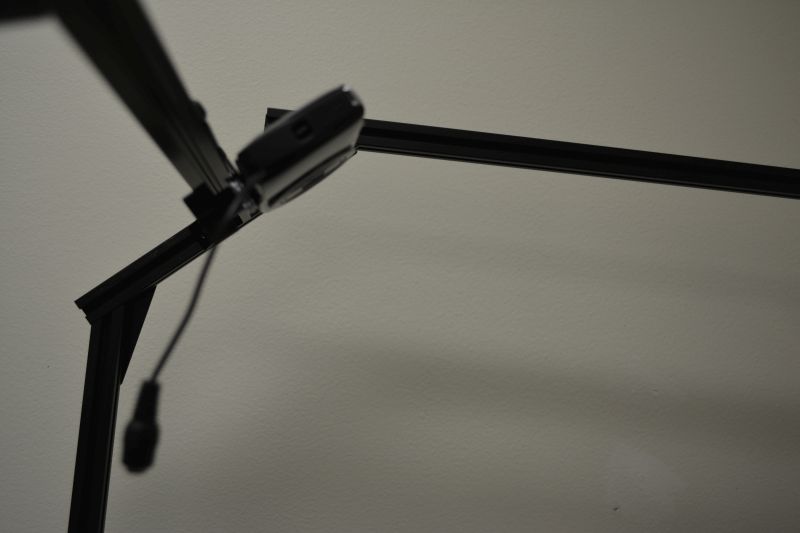
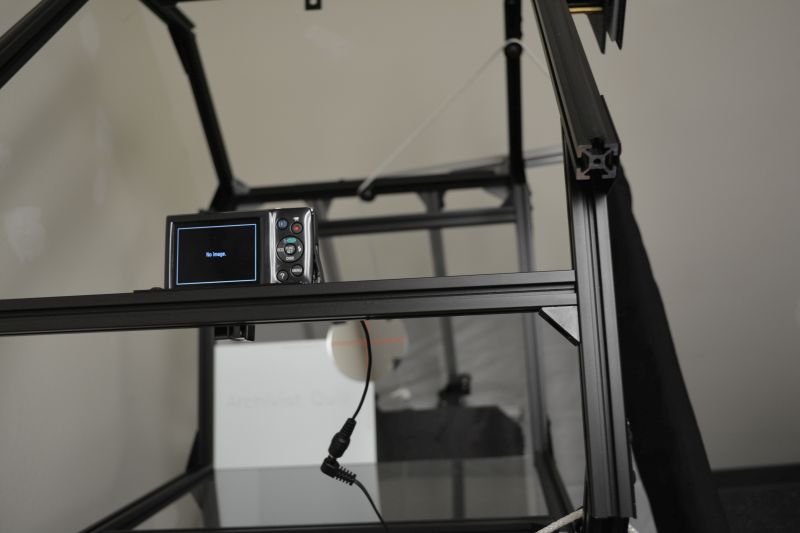
Align Cameras
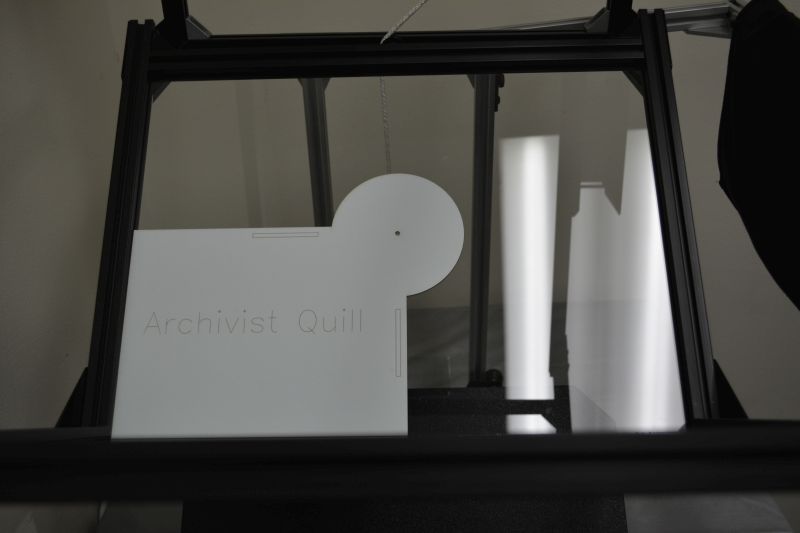
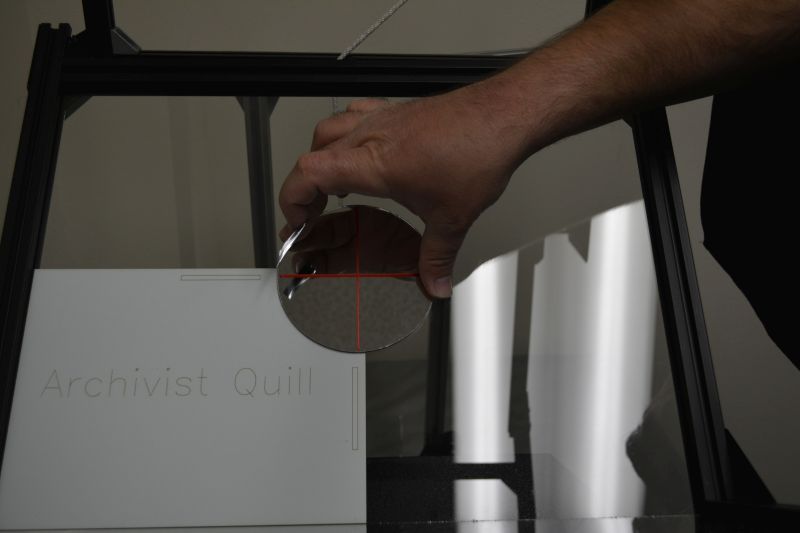
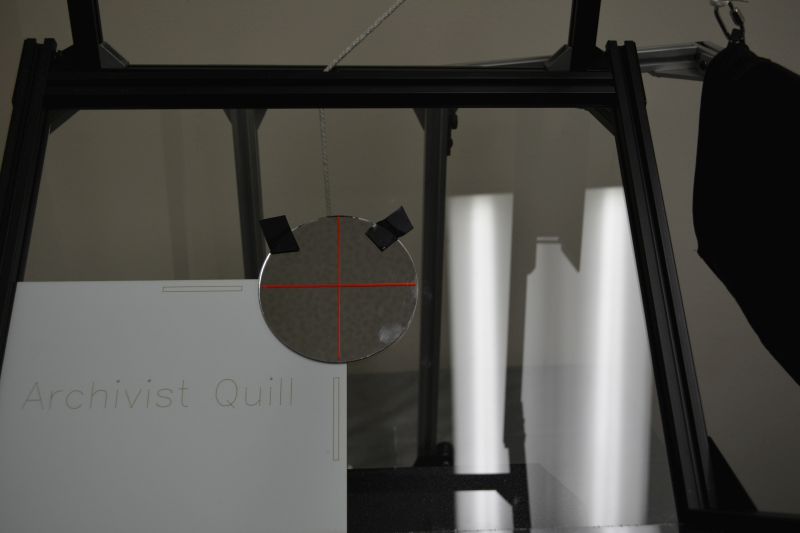
Put the alignment card in the lower left of one of the plates. Tape the mirror onto the round part of the card so that the crosshairs align with the lines on the card. Now the mirror is exactly in the center of the glass plate with crosshairs horizontal and vertical.
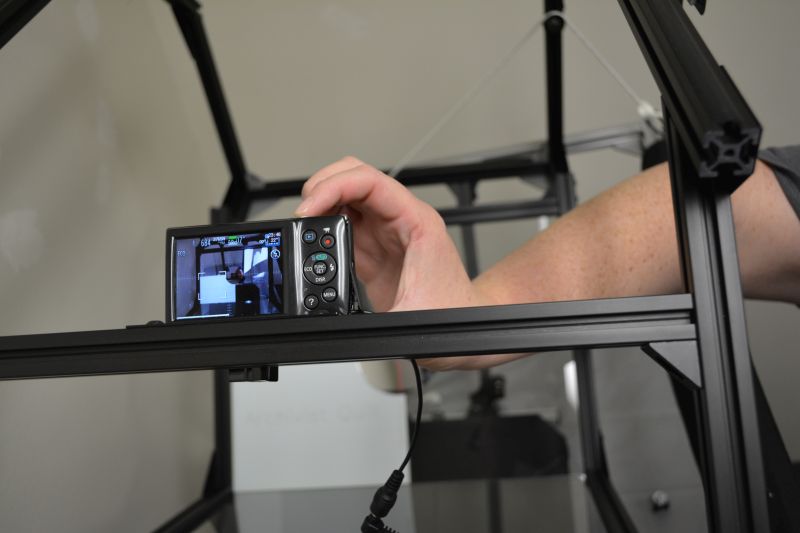
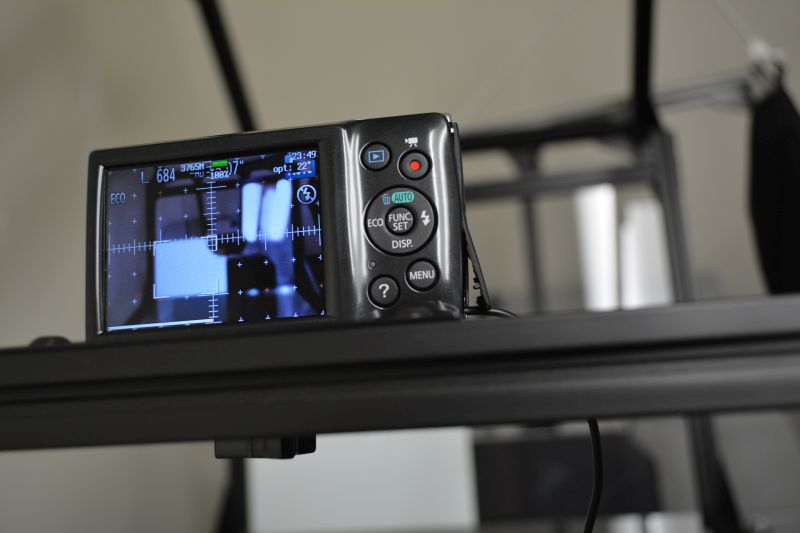
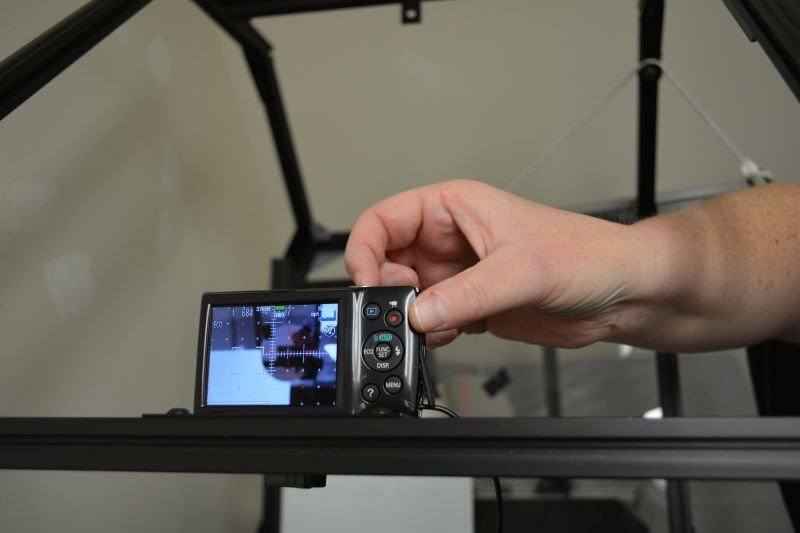
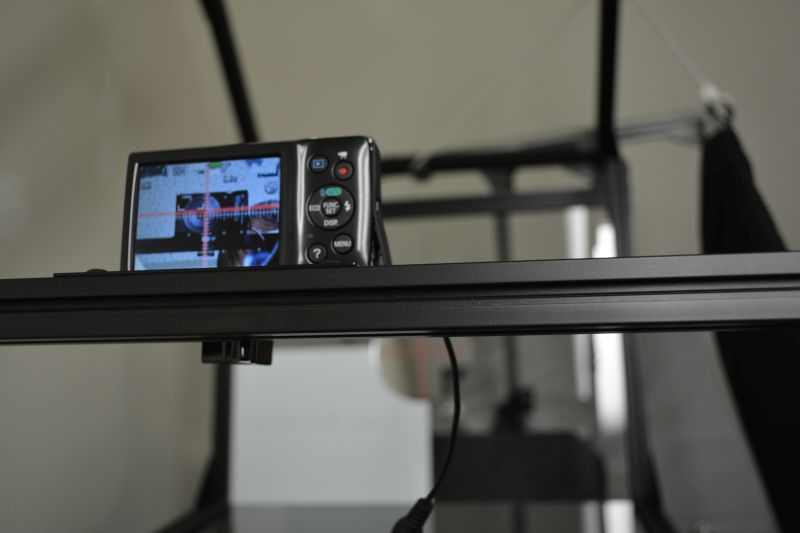
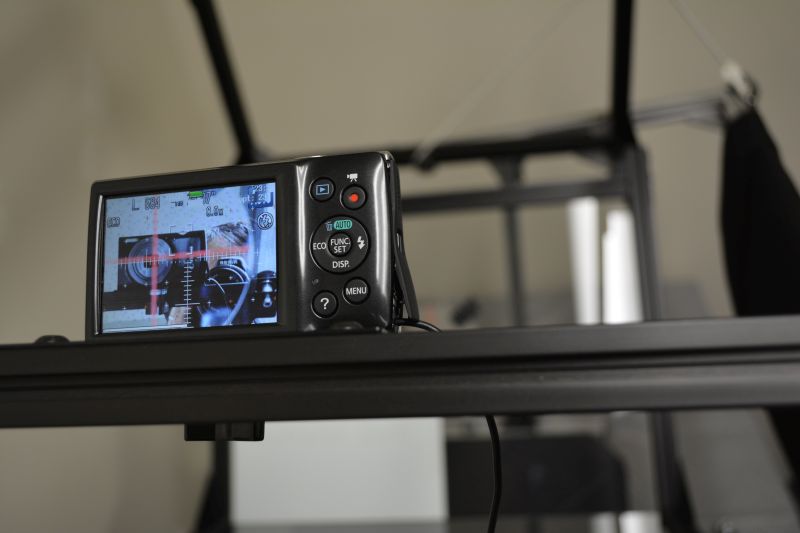
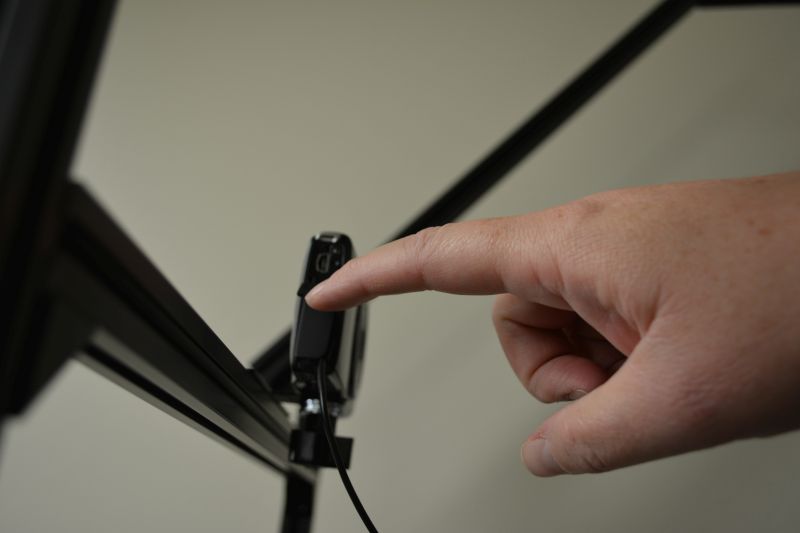
Now you can align the camera that points at that plate. You need to move the camera and tilt it so that three things line up. The crosshairs on the mirror, the reflected image of the lens, and the middle of the viewfinder. You want to look at the viewfinder zoomed in all the way to do this.
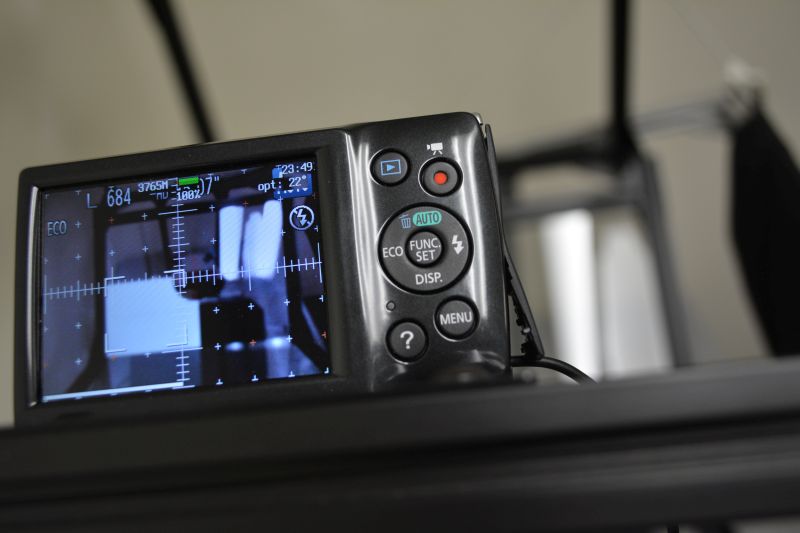
The crosshairs on the mirror line up with the crosshairs on the viewfinder to eliminate skew.
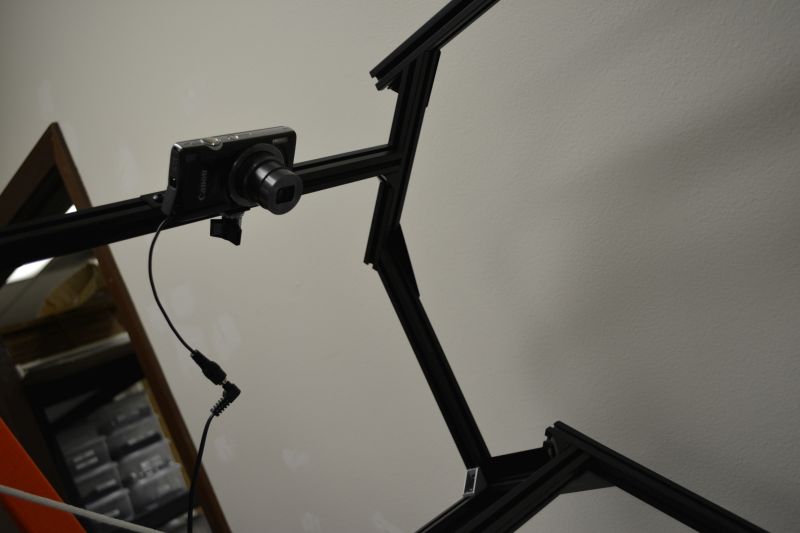
You can move the camera in five directions. Up and down by moving the whole cross beam up and down. Left and right by moving the camera plate. Tilt it up and down by tilting the cross beam. Tilt it left and right by loosening the camera bolt and rotating the camera. And roll the camera by moving one side of the cross beam up and the other side down.
The more time you take aligning, the less you will have to deskew or de-keystone it afterwards in post processing.

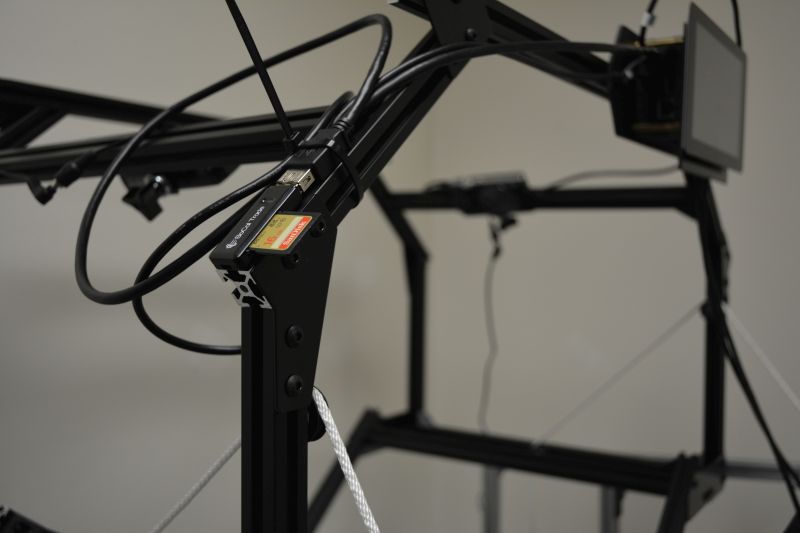
Connect Cords

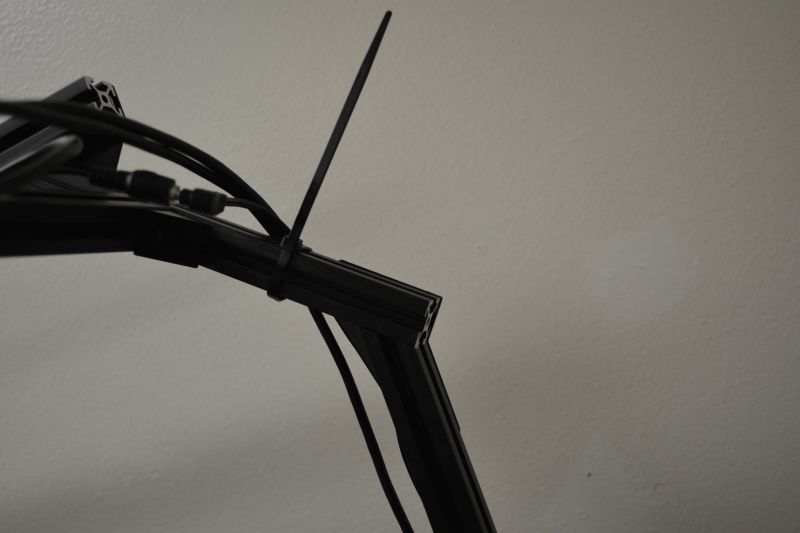
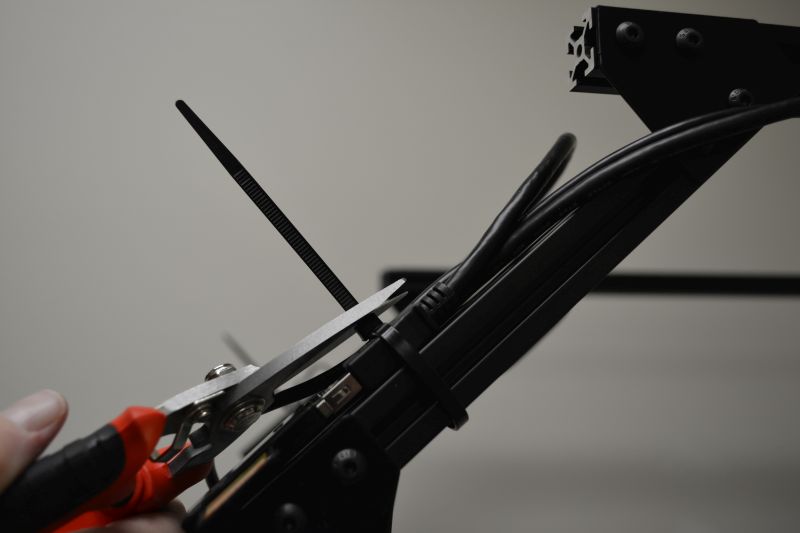
Tidy Cords