Platform Assembly
Special Notes
The (4) Felt Feet are optionally attached to the bottom of the Clear Cross Beams after the Archivist Quill is completely assembled. They help prevent the Archivist Quill from scratching the table it is used on.
Inventory
Tools needed:
- 3mm Hex Key (in Tool Bag)
Parts needed:
- (1) Platform Assembly Bag
- (2) Long Beam
- (2) Clear Cross Beam
- (4) Vertical Rail
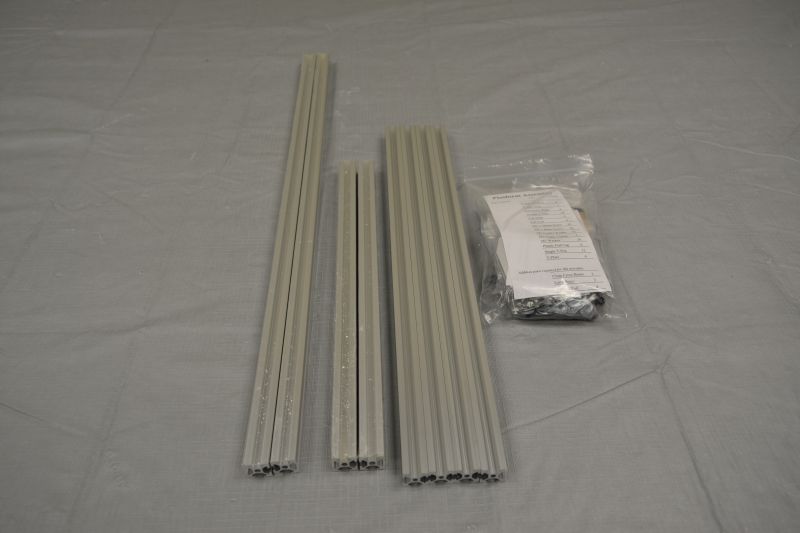
Gather parts together and remove plastic coating from extrusion pieces if necessary. Use the part list in the Platform Assembly Bag to verify that all parts are present before beginning. Notify help@tenrec.builders if any parts are missing.
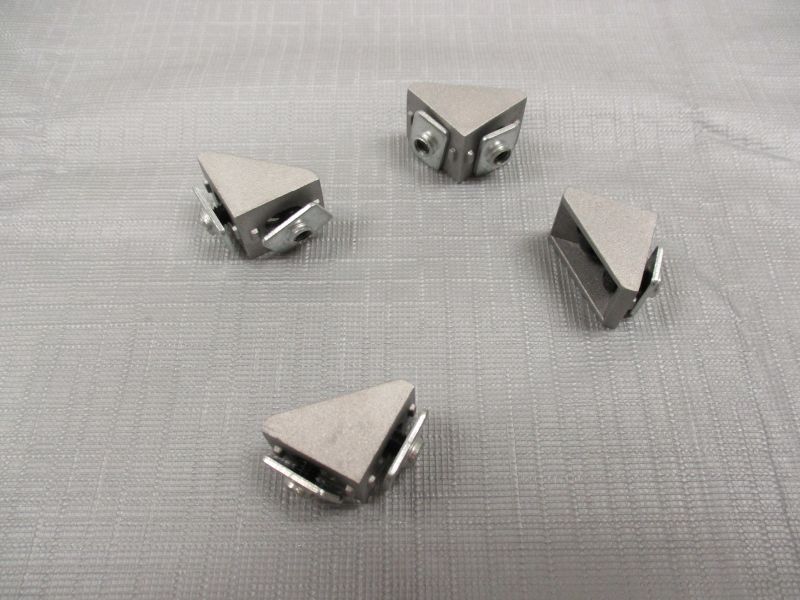
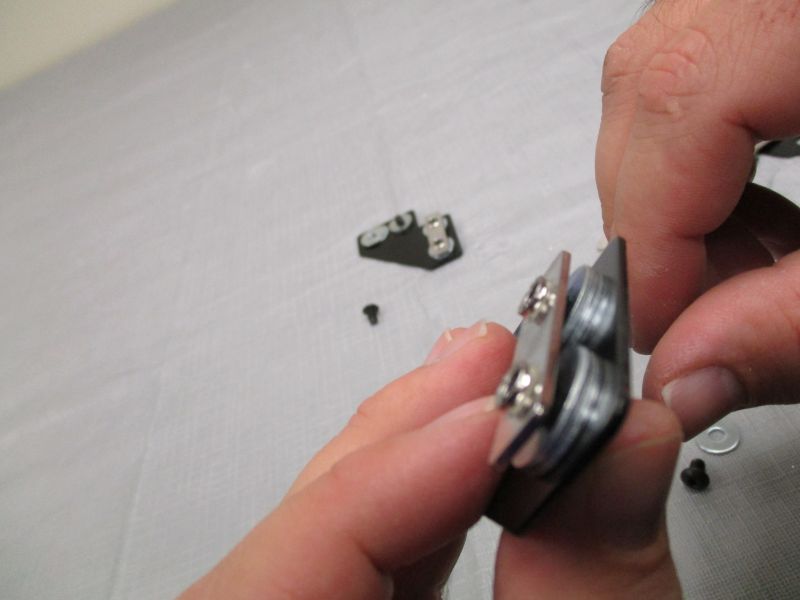
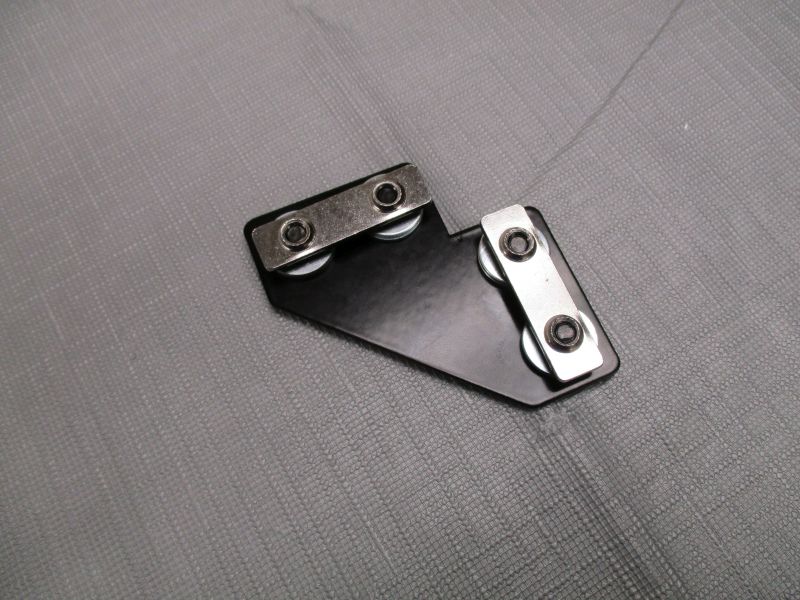
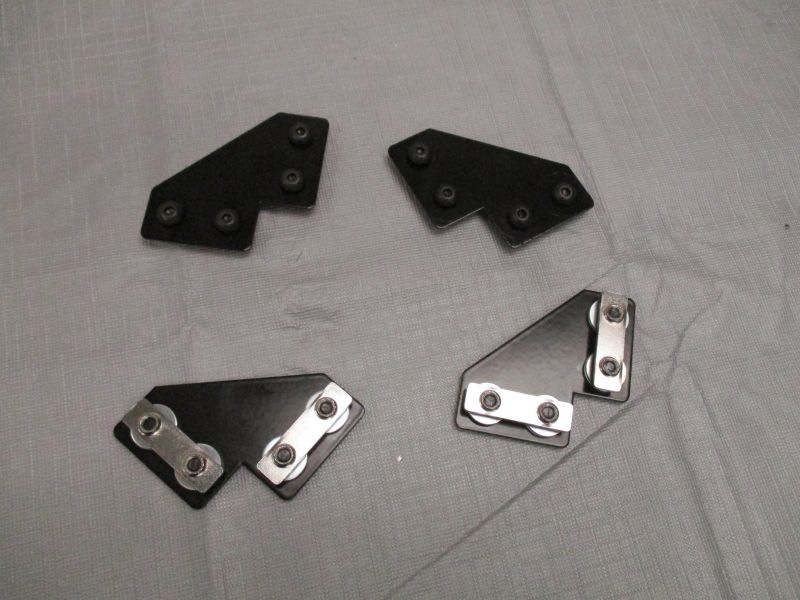
Preload (4) Corner Brackets
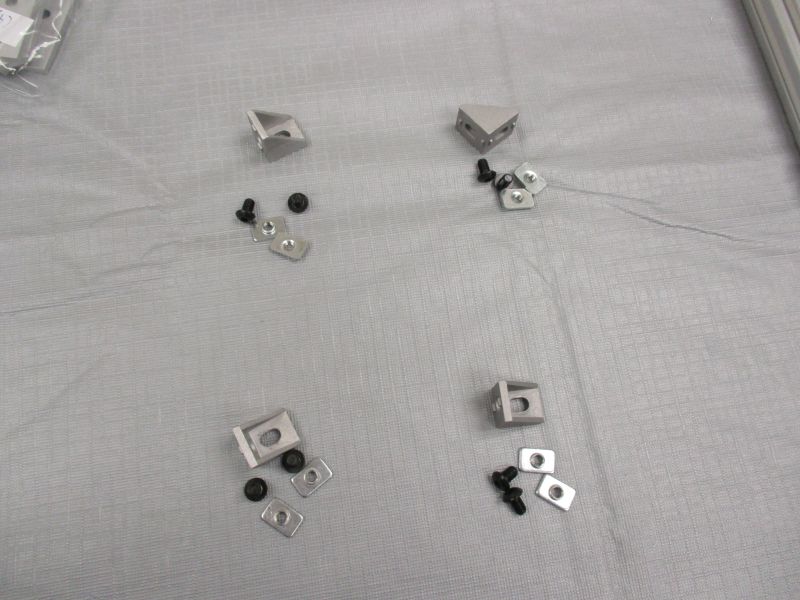
Each Corner Bracket uses (2) Single T-Nuts and (2) M5 x 8mm Screws.
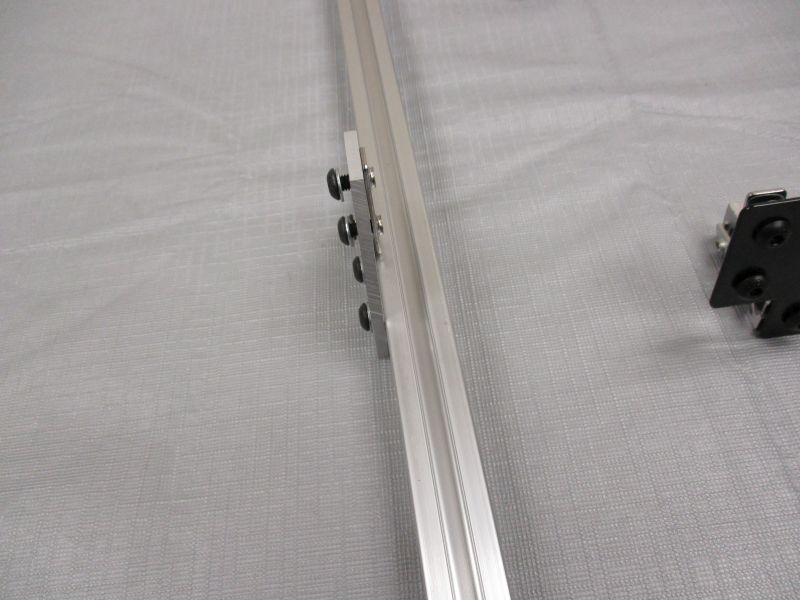
Preload (4) T-Plates
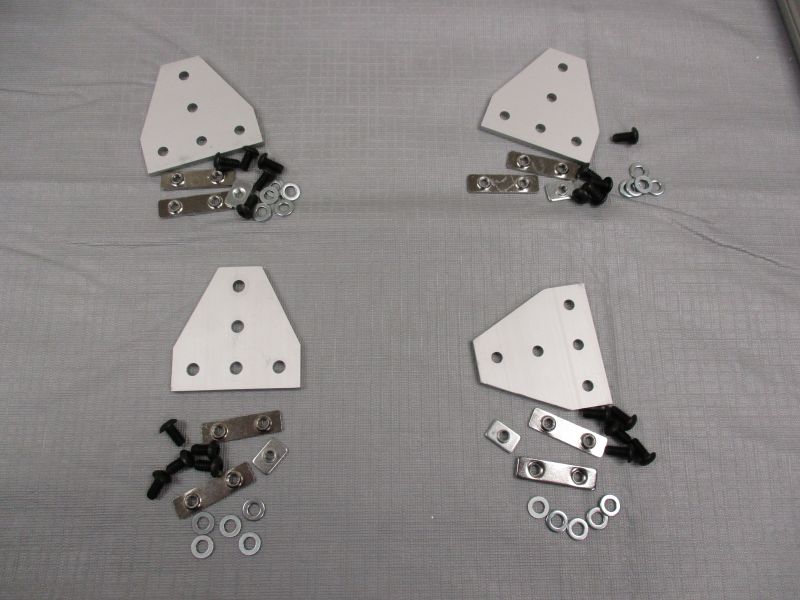
Each T-Plate uses (2) Double T-Nuts, (1) Single T-Nut, (5) M5 x 10mm Screws, and (5) M5 Washers.

Place M5 Washers on M5 x 10mm Screws. Thread each screw onto the T-Nuts in the arrangement shown.
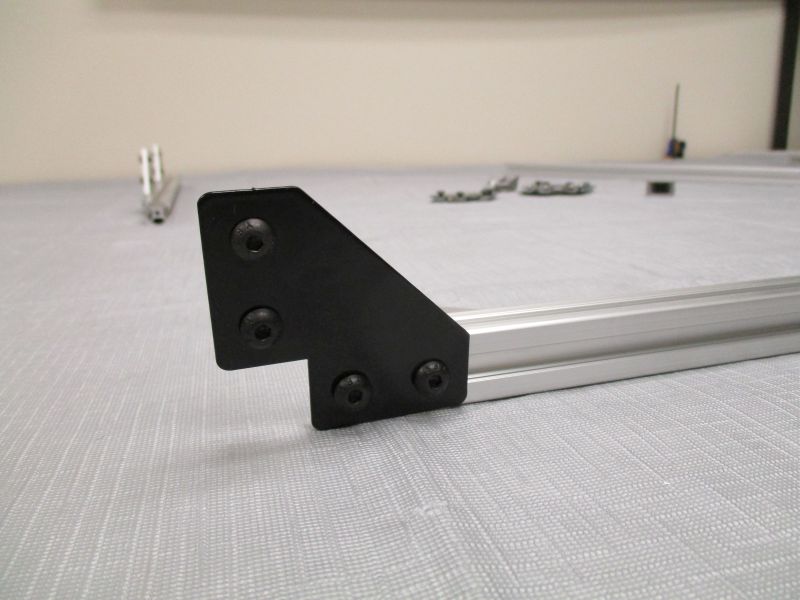
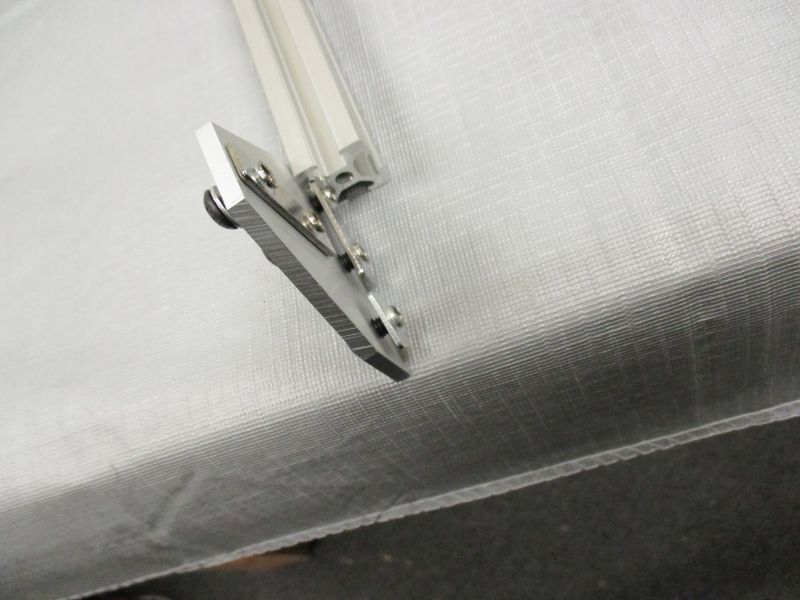
Preload (4) Notched L-Plates
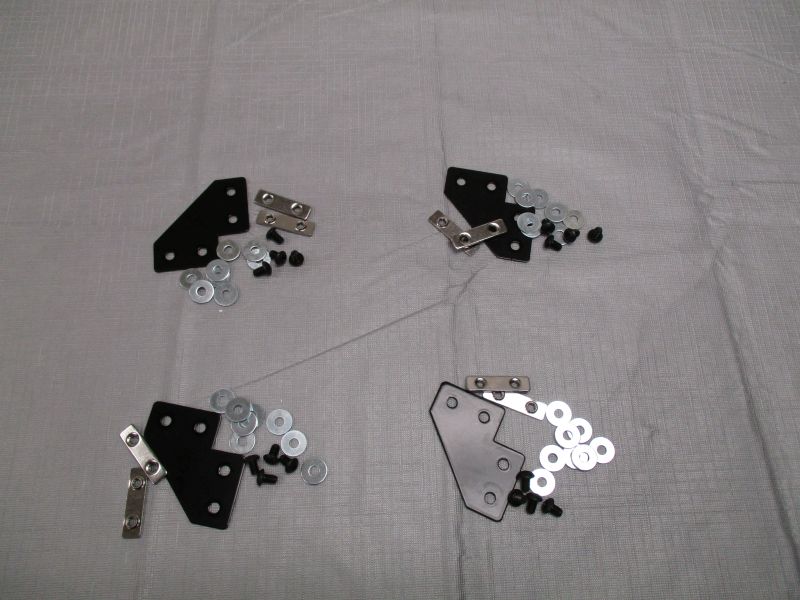
Each Notched L-Plate uses (2) Double T-Nuts, (4) M5 x 8mm Screws, and (8) M5 Fender Washers.

Push M5 x 8mm Screw through hole in Notched L-Plate.
Place (2) M5 Fender Washers on the M5 x 8mm Screw.
Twist each Screw into one the threads of a Double T-Nut. The (2) M5 Fender Washers sit between the Notched L-Plate and the Double T-Nut.
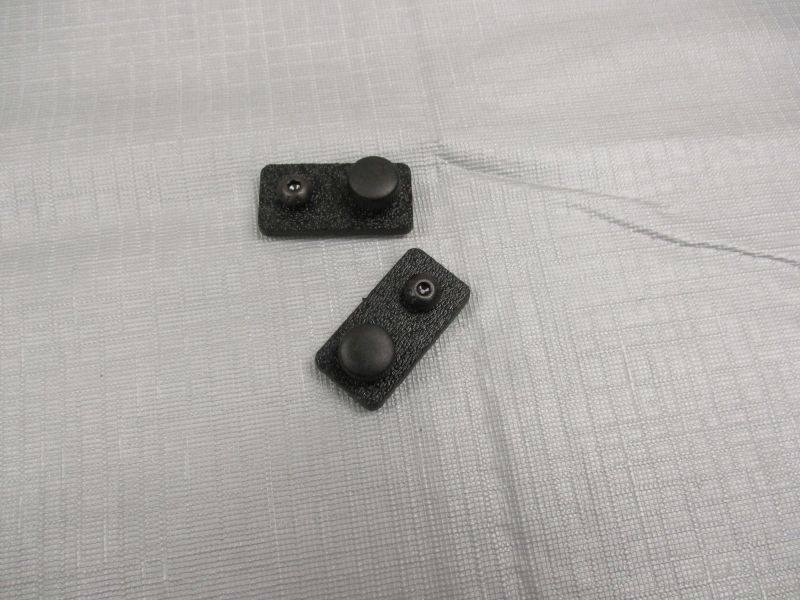
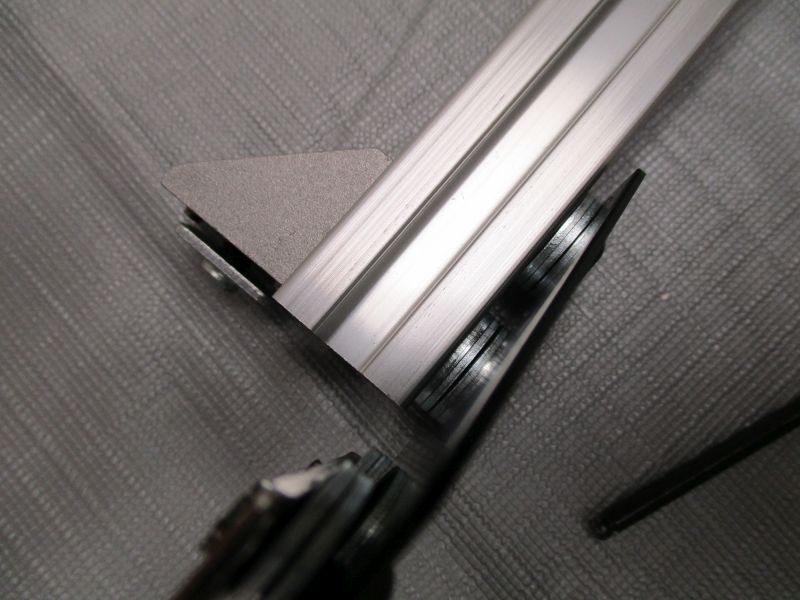
Preload (2) Cradle Stops
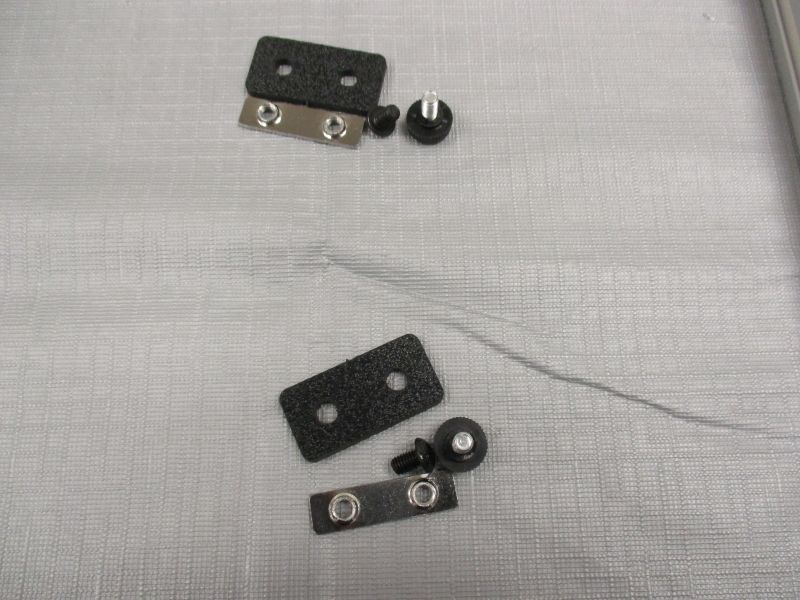
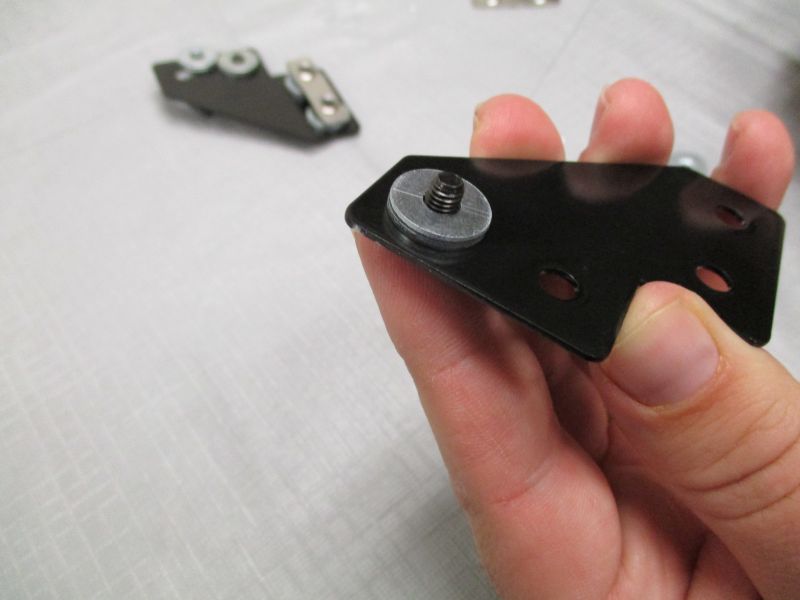
Each Cradle Stop uses (1) Double T-Nut, (1) M5 x 8mm Screw, and (1) M5 Finger Clamp.
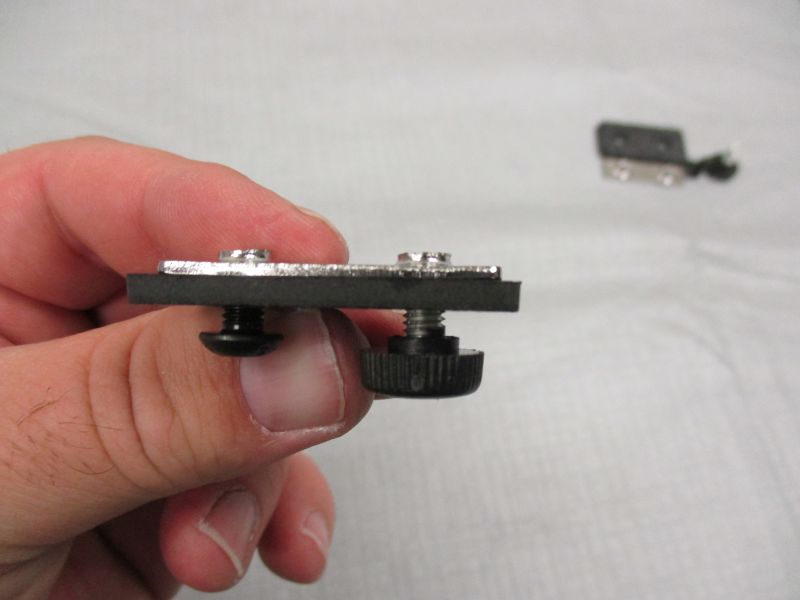
The M5 x 8mm Screw goes in one hole. The M5 Finger Clamp goes in the other.
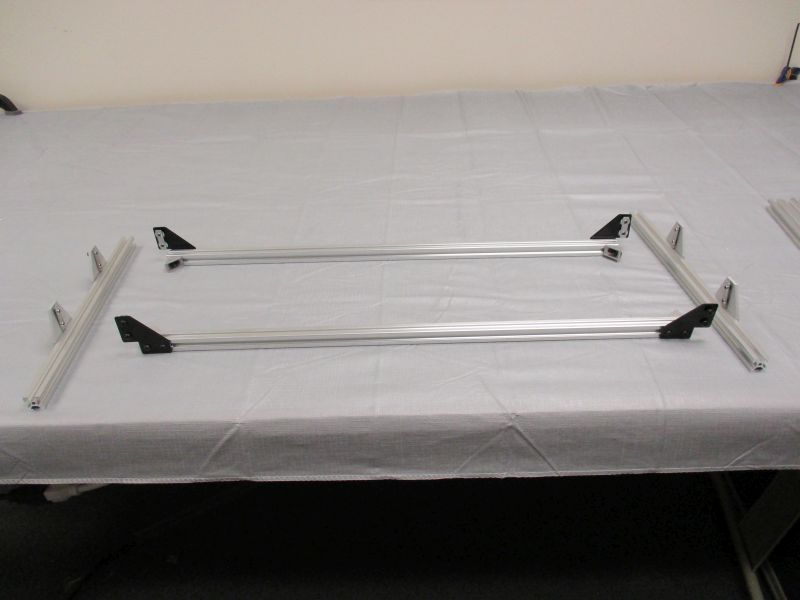
Assemble Platform
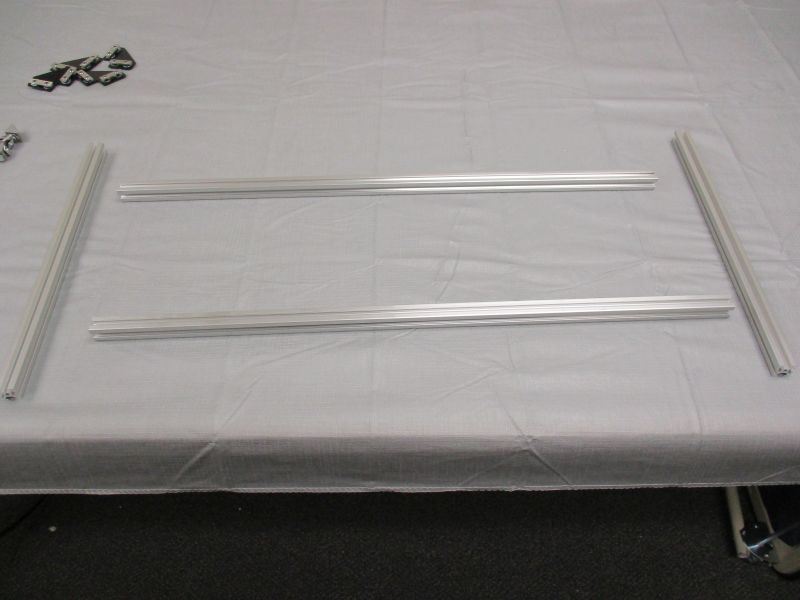
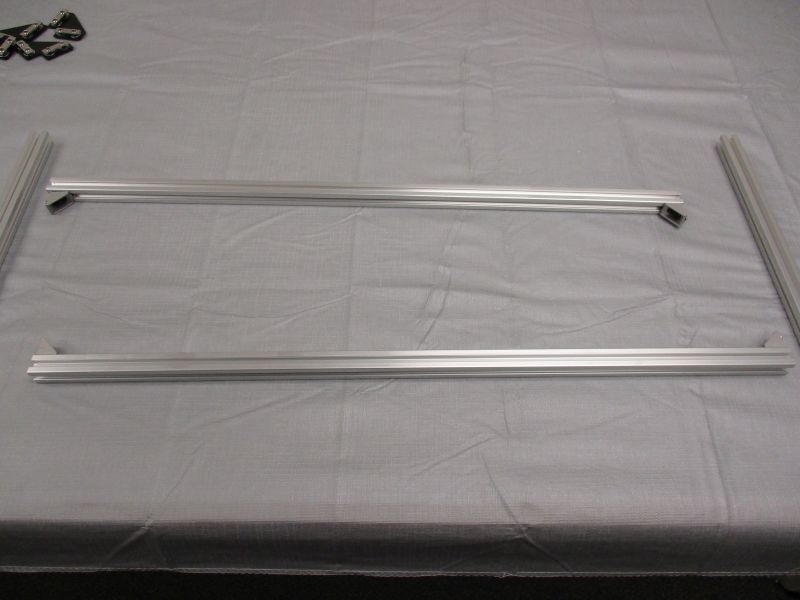
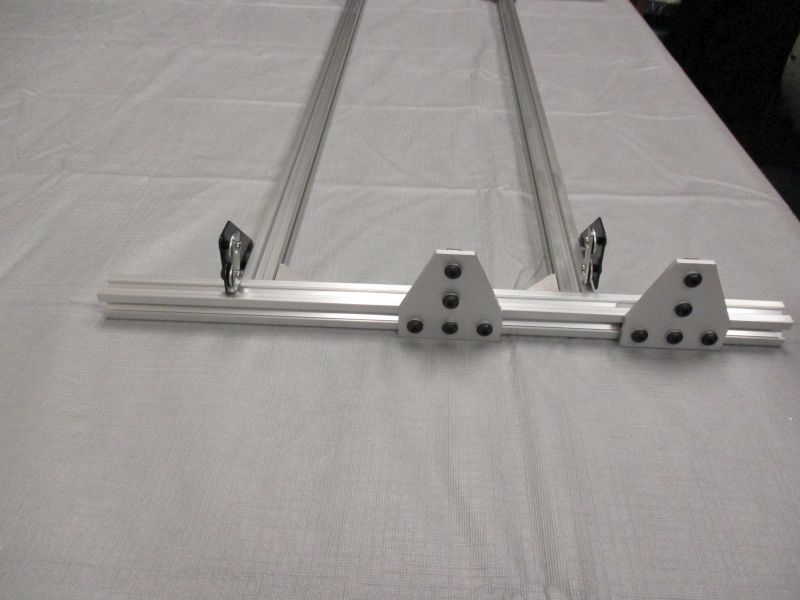
Gather the (2) Clear Cross Beams and (2) Long Beams and arrange them into an figure "H". The Long Beams are horizontal and the Clear Cross Beams are vertical.
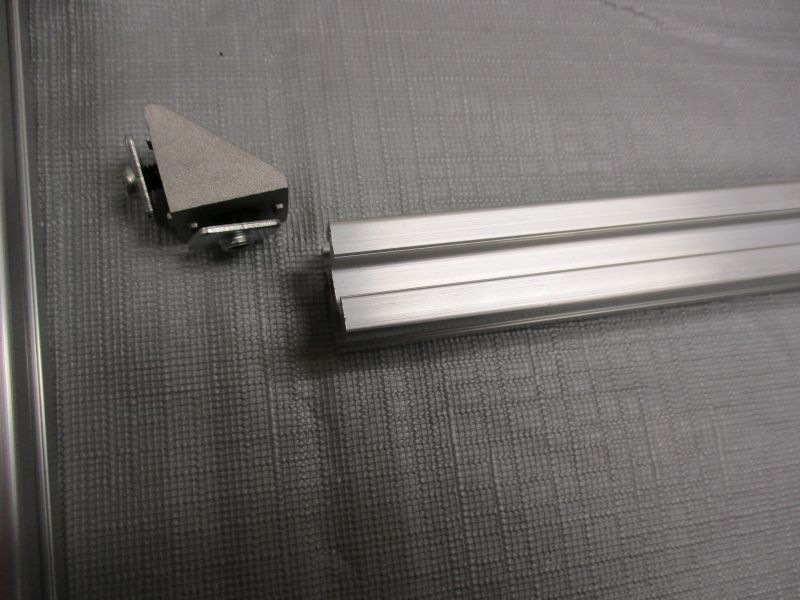
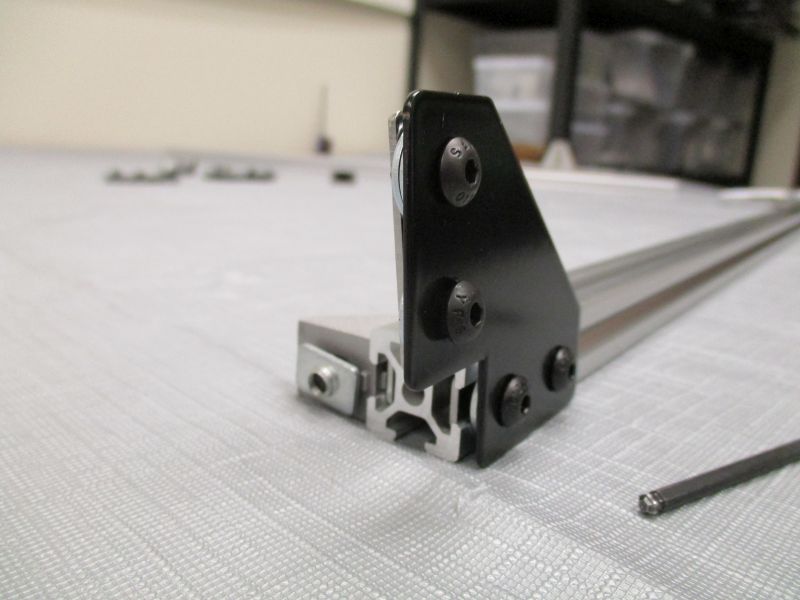
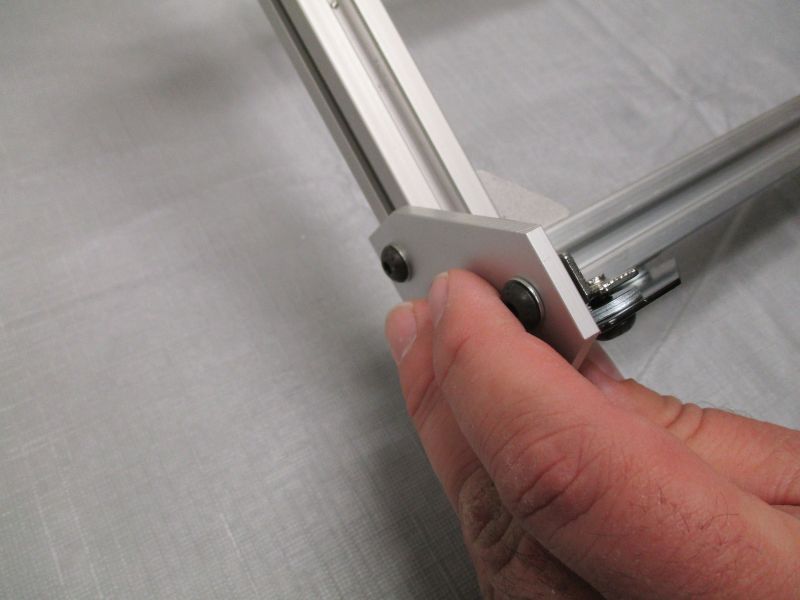
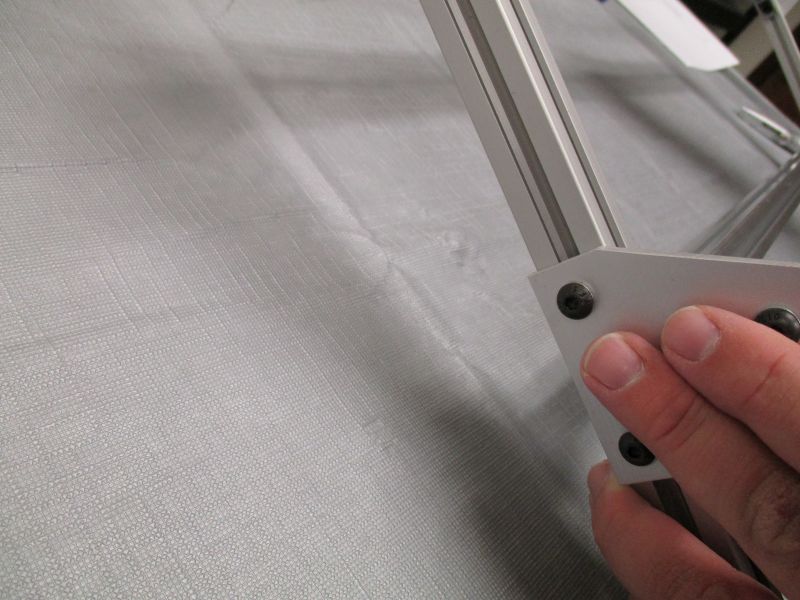
Slide Corner Bracket Assembly onto a Long Beam.
Snug the Corner Brackets into place so they won't slip out.
Repeat for each Corner Bracket.
Slide a Notched L-Plate into the side of a Long Beam opposite from the Corner Brackets. The notch faces towards the end of the Long Beam.

The M5 Fender Washers sit between the Notched L-Plate and the Long Beam.
Leave the screws loose for now. You will tighten them once the rest of the structure is assembled.
Slide a T-Plate into the outer slot of a Clear Cross Beam.

You will need to make sure the second T-Nut in the line aligns with the slot as you slide it in.
Move the T-Plate well into the beam and then sjnug it so it won't move around during assembly.
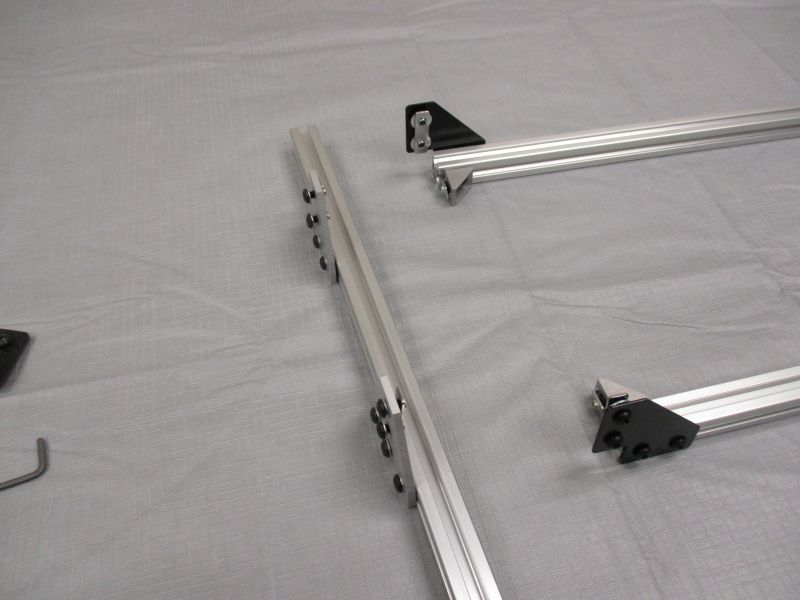
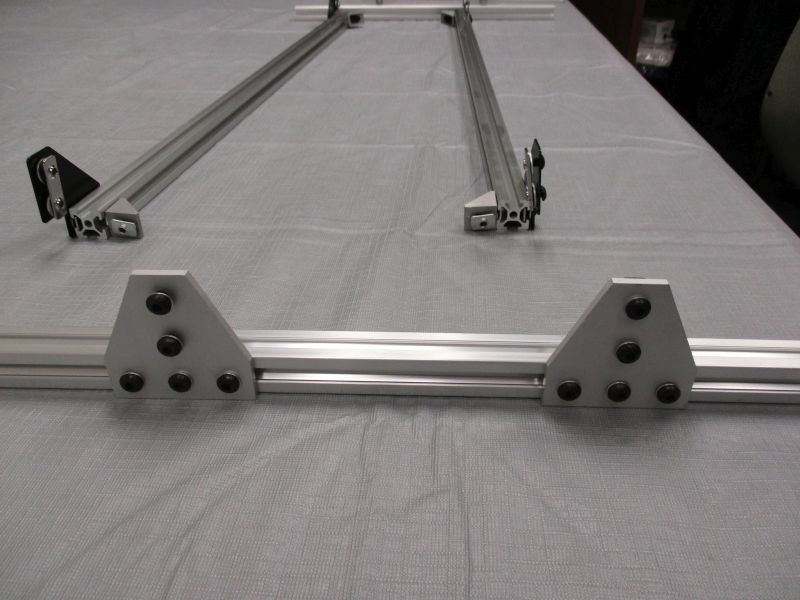
Repeat with remaining T-Plates and Notched Corner Plates.
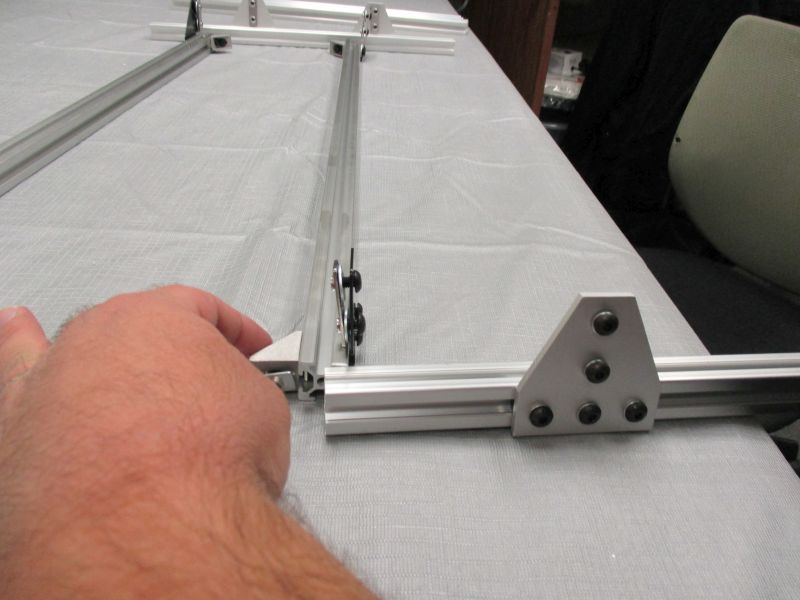
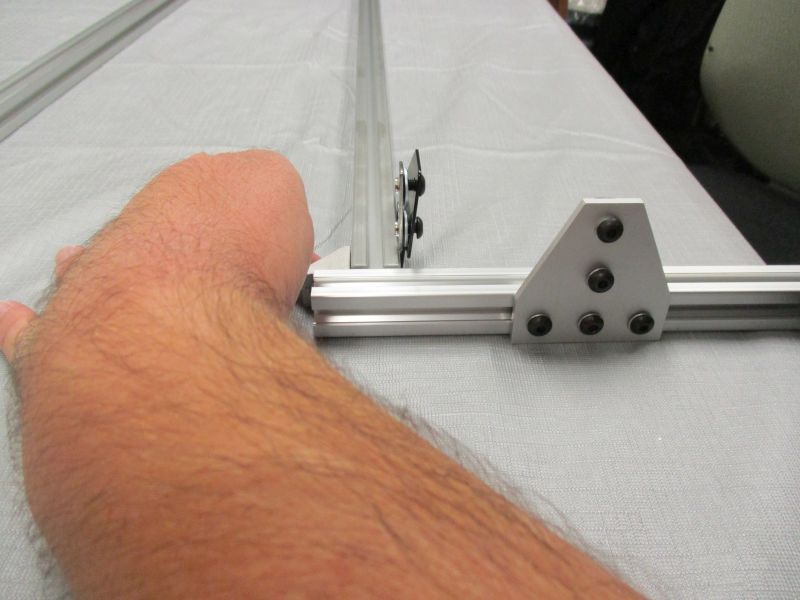
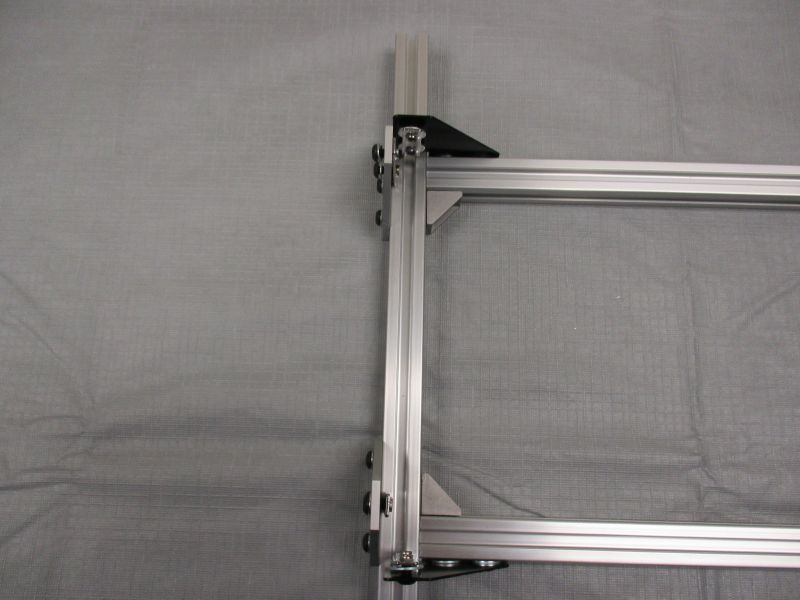
Slide Clear Cross Beam onto the Corner Brackets. Slide Notched L-Plates out of the way as necessary. You may need to loosen and adjust the position of the Corner Brackets as you work.
Snug corner brackets into place.
Repeat with the other side.
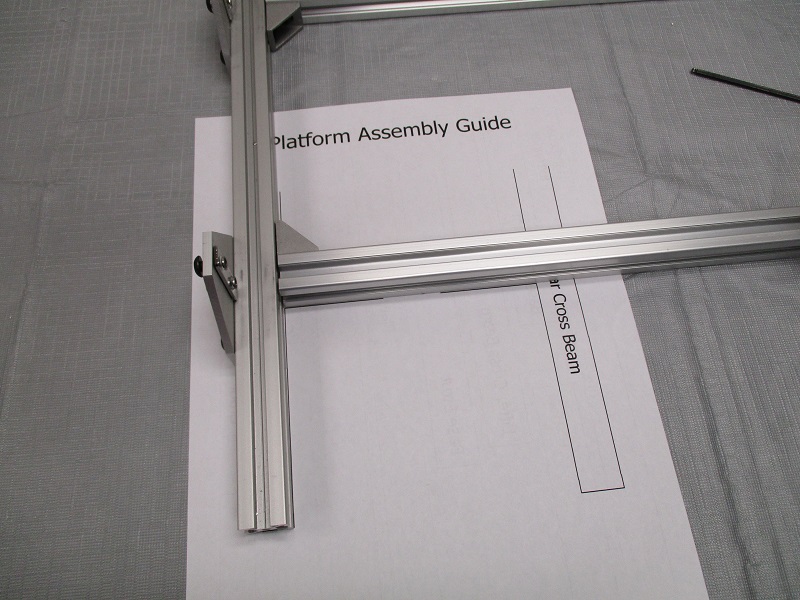

Use the Platform Assembly Guide page to precisely position the Long Beams along the Clear Cross Beams and square platform. Loosen and retighten screws as necessary to adjust.
Tighten Corner Brackets in their final position.
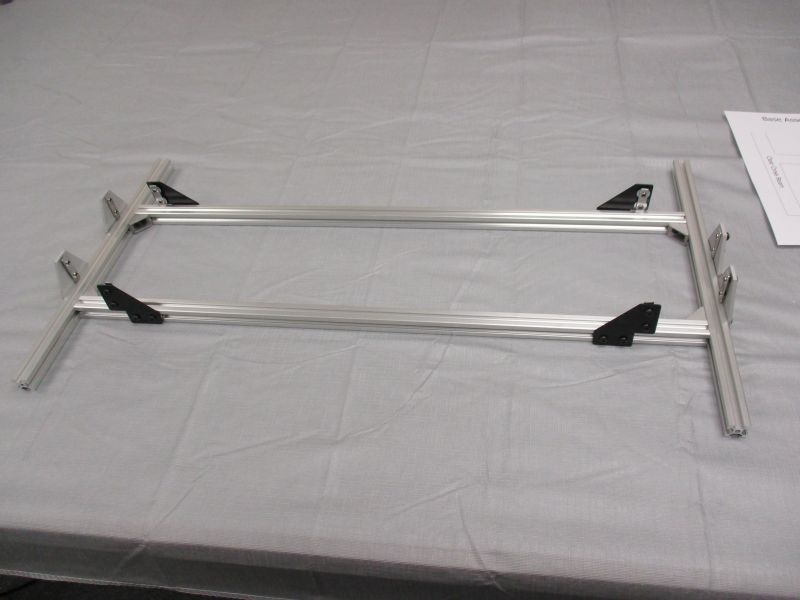
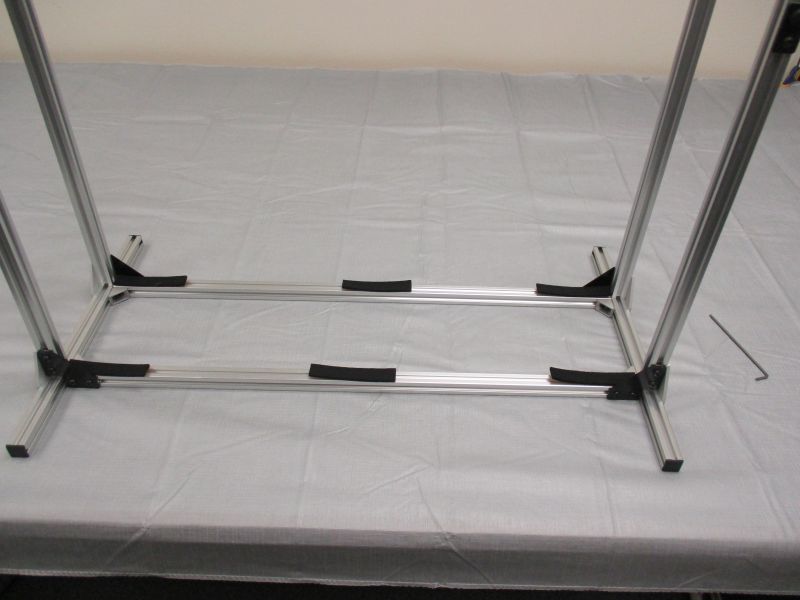
The Assembled Figure H is now ready.
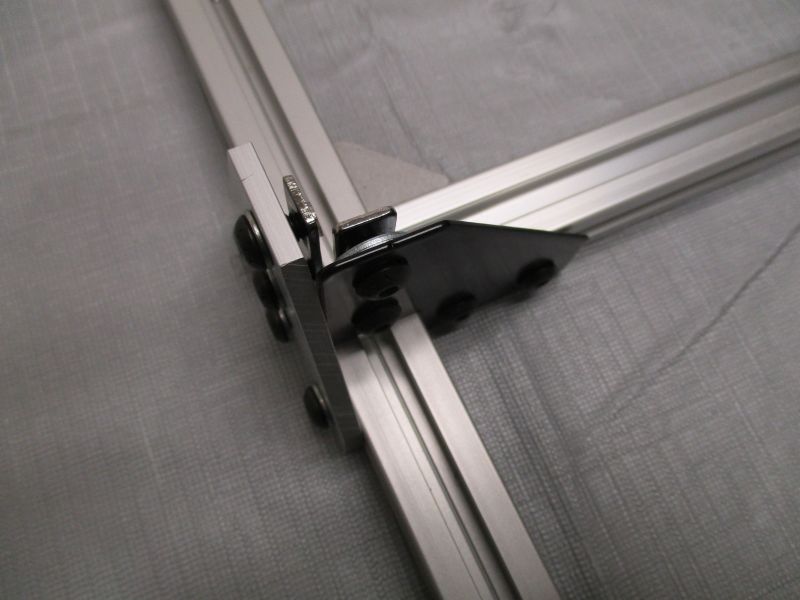
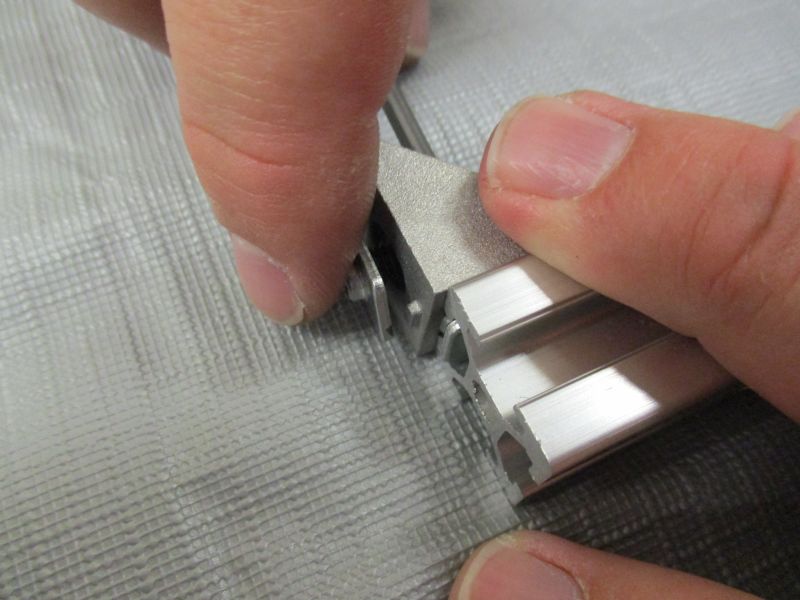
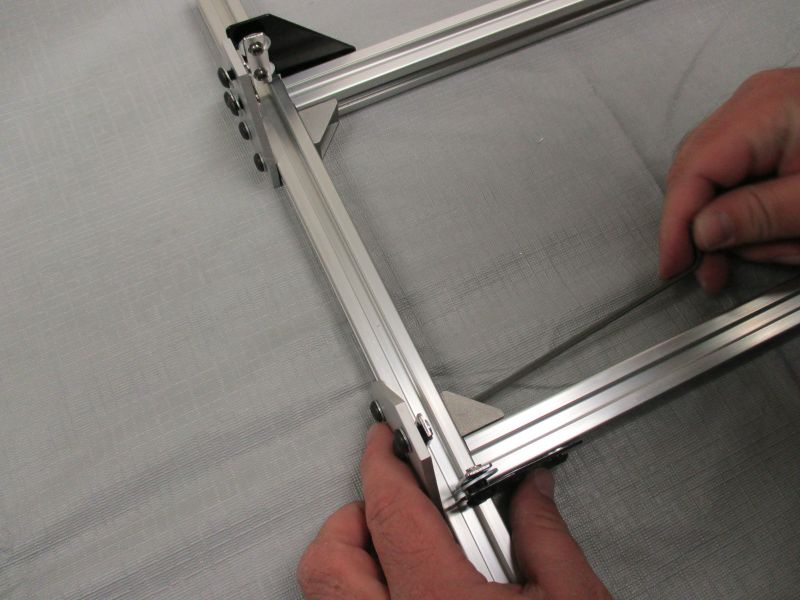
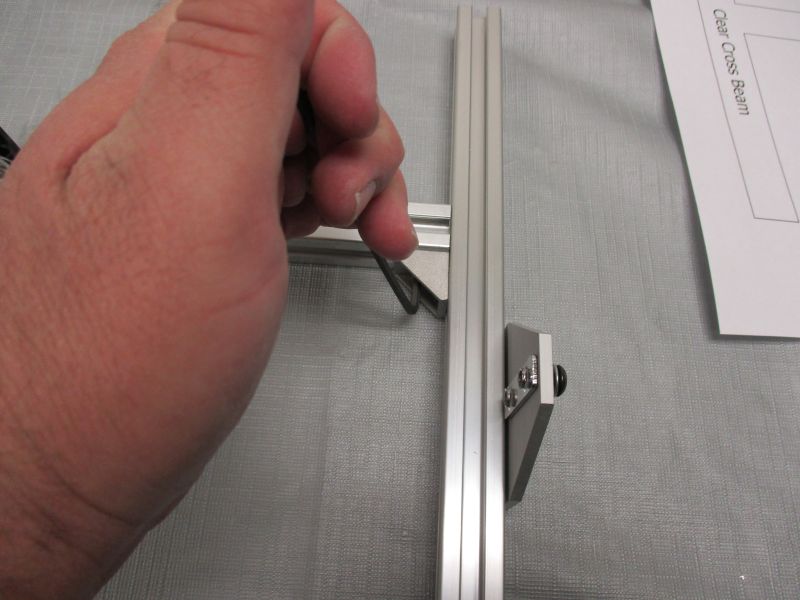
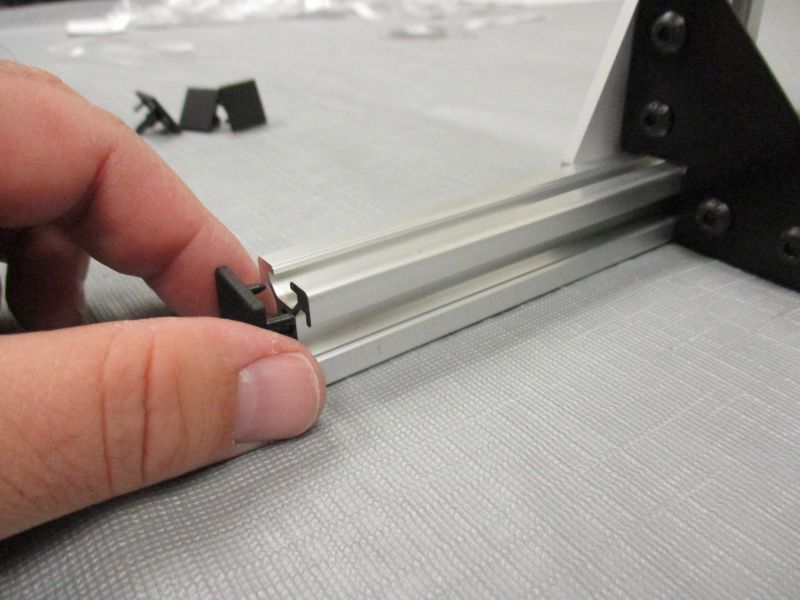
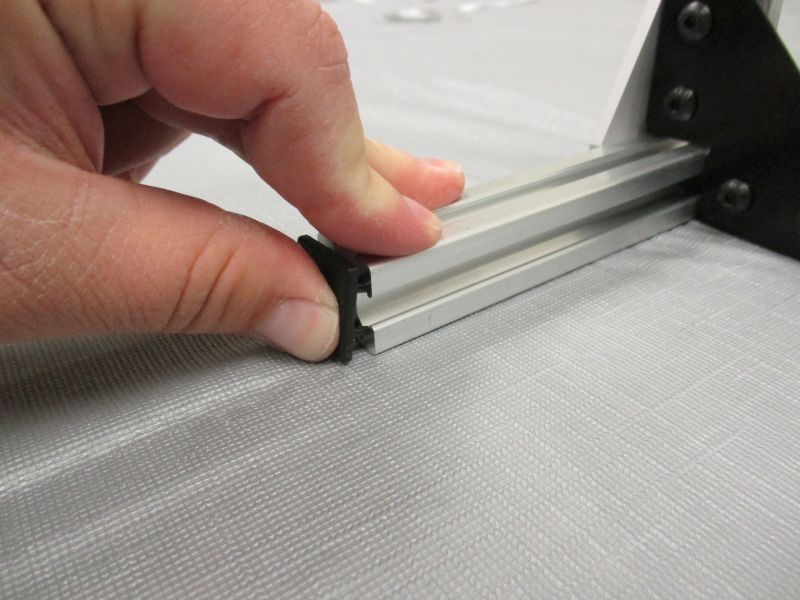
Slide the T-Plate and Notched L-Plate so that they form a corner. We will slide the vertical rail into this corner.
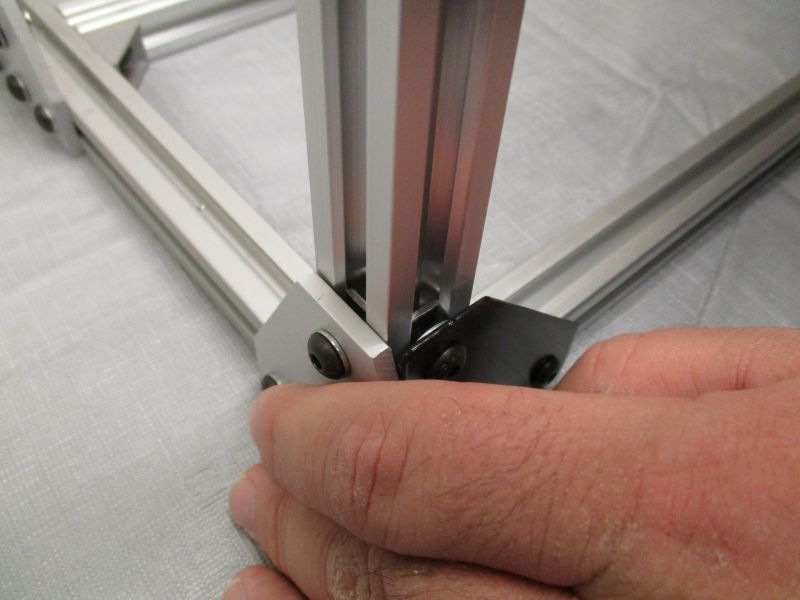
The tricky part is that the M5 Washers need to go between the plate and the Double T-Nut. One way to make it easier is to use gravity to help. Hold the screws tight against the plate and lift the whole 'H' at an angle to get the M5 Washers flush against the Notched L-Plate. Then put the Vertical Rail in the gap.
The Vertical Rail will slides into the corner onto both Double T-Nuts.
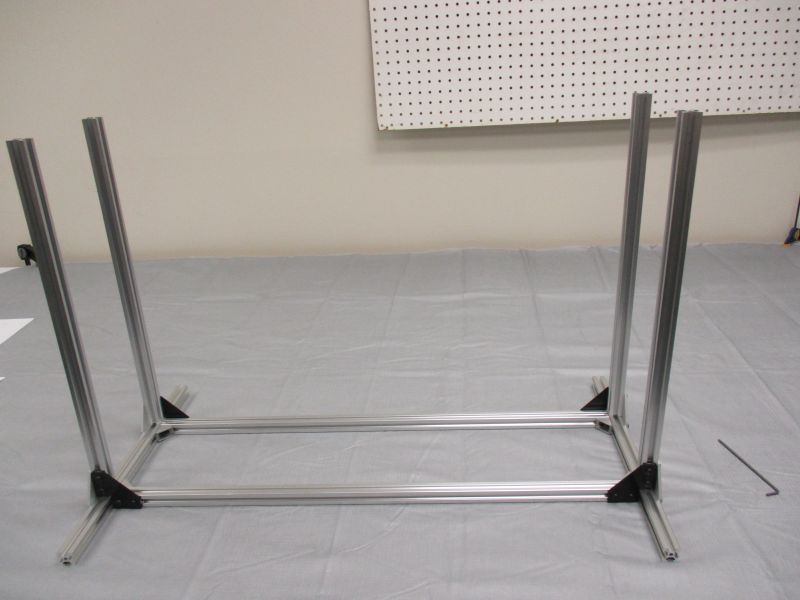
Repeat with each corner.
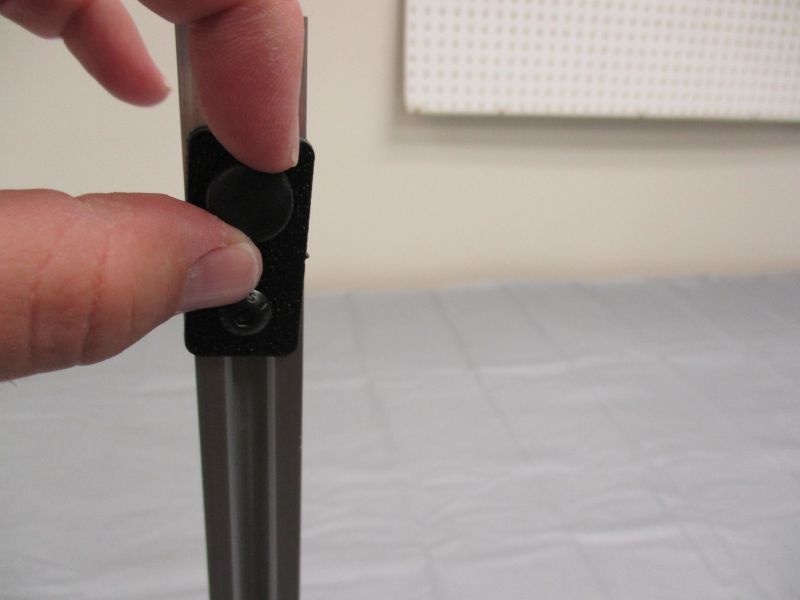
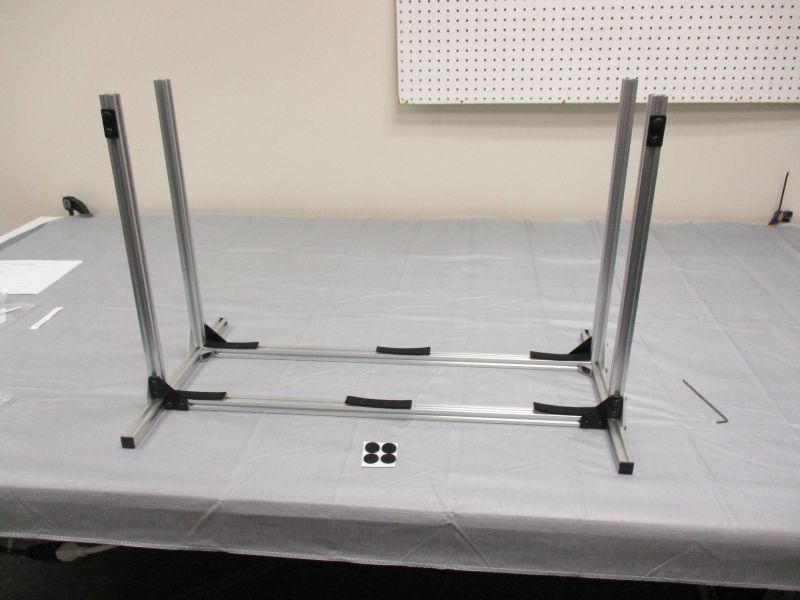
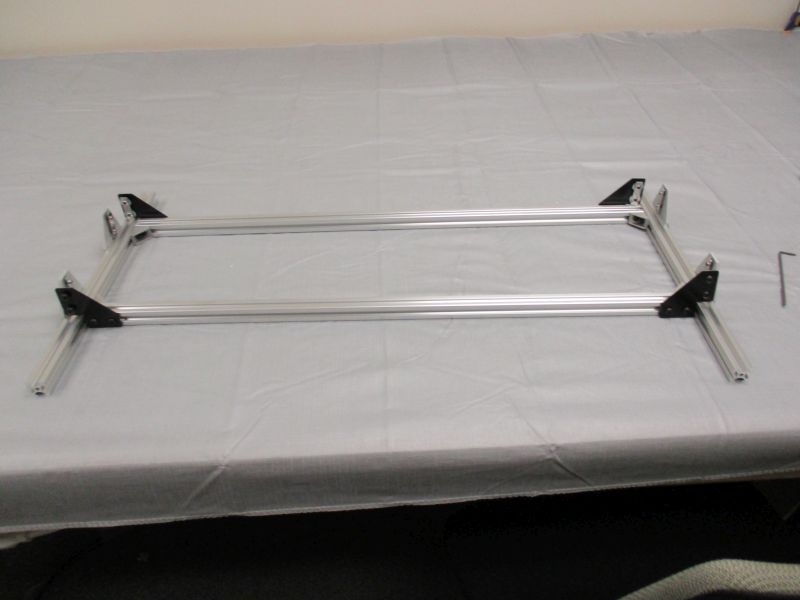
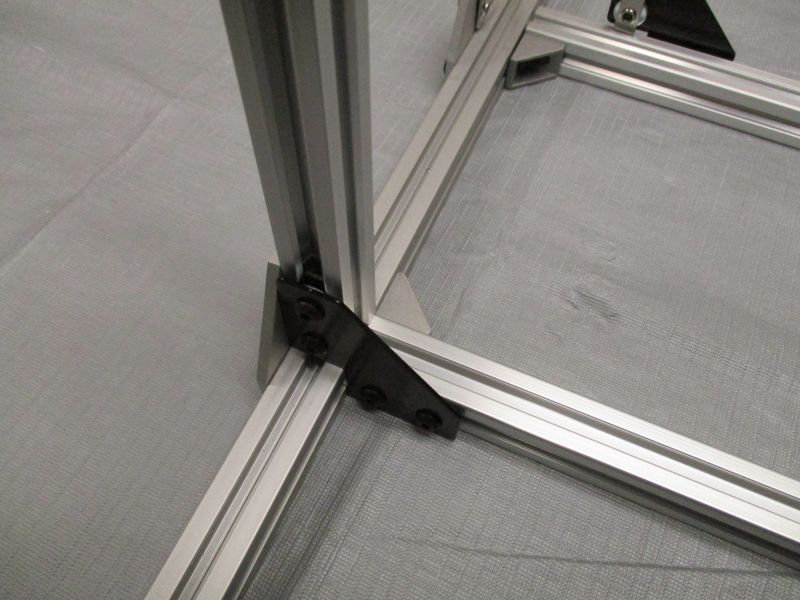
Slide Cradle Stop onto Vertical Rail. The M5 x 8mm Screw should stay loose. Tighten and untighten using the M5 Finger Clamp. The M5 Finger Clamp always goes on top.
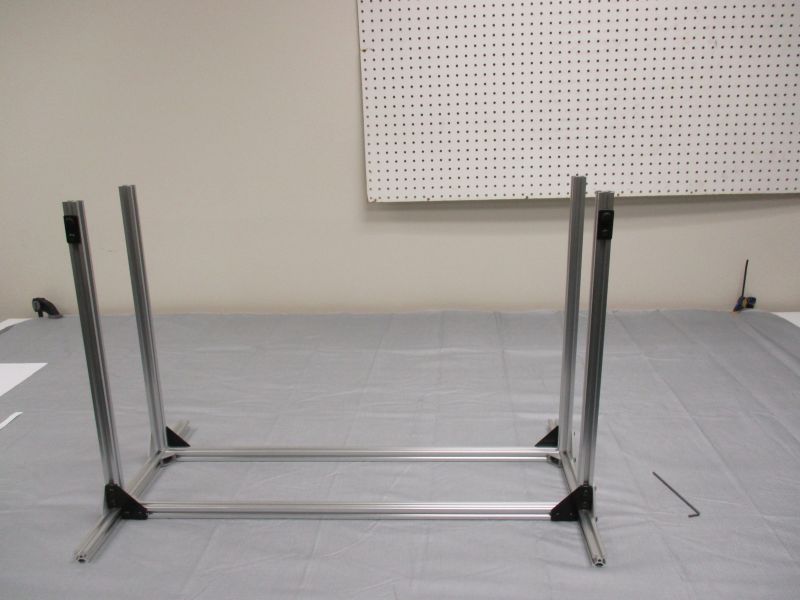
Repeat with the other Cradle Stop. The side with the two Cradle Stops will be the front.
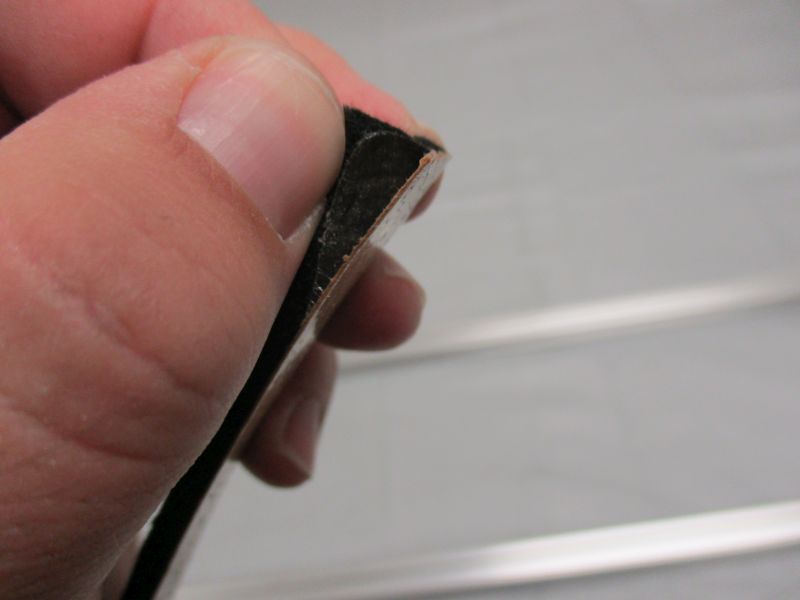
Each Felt Strip has a paper backing which is removed to expose the adhesive layer. The adhesive is between the felt and the paper, so make sure that you remove all of the paper when you are peeling it off.
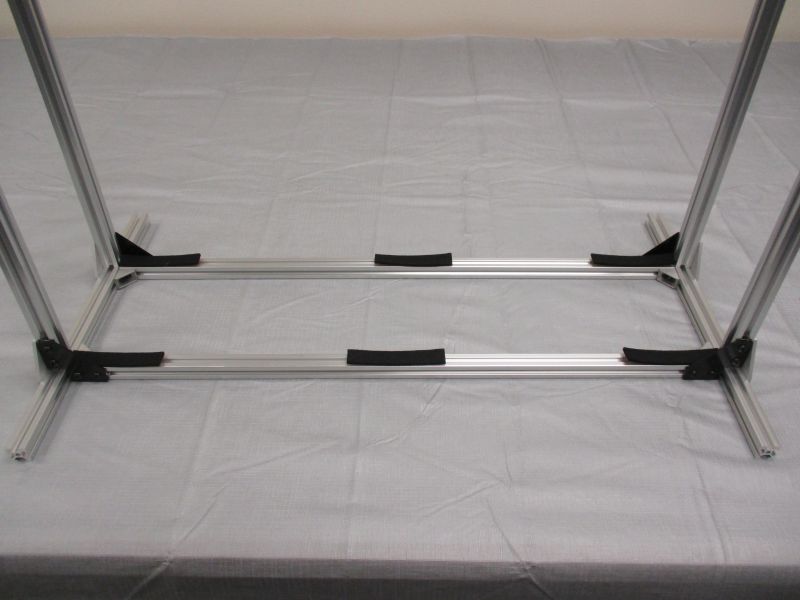
The (6) Felt Strips are placed on top of the Long Beams, one at either end and one in the center.
Push Plastic End Cap on the ends of each Clear Cross Beam.