Optional Foot Pedal
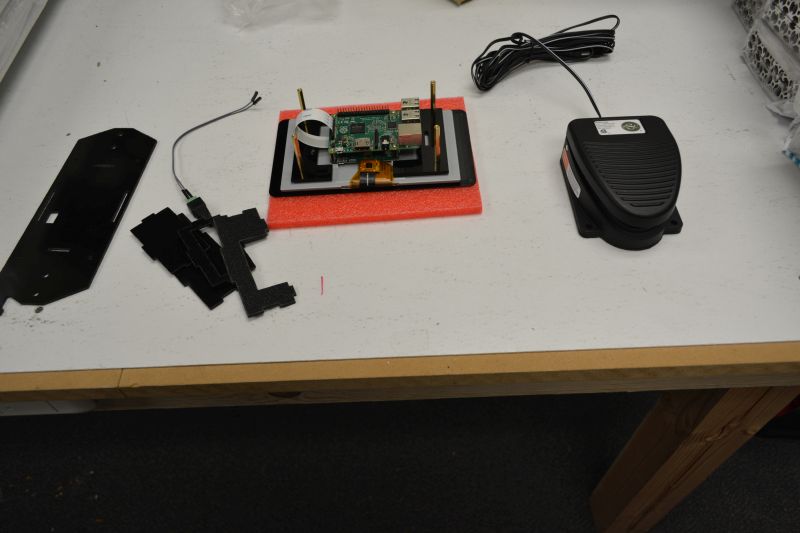
Inventory
Tools needed:
- 2mm Hex Key
Parts needed:
- Industrial Foot Pedal
- Jumper Cable Assembly
- Raspberry Pi with Enclosure
- Zip Tie
General Notes
Cheap USB foot pedals are available which can plug into the Raspberry Pi. These pedals act just like a keyboard except that they only ever send a single keypress (usually 'b' by default). These USB pedals are compatible with the Archivist Quill and Pi Scan.
Better quality pedals made of cast zinc are frequently used for industrial operations and are available for a reasonable price. But these pedals are electronically much simpler and don't have the smarts to speak the USB protocol. Instead, they operate like a light switch which connects two wires when you press down and disconnects them when you release. If we plug these two wires into pins on the Raspberry Pi, then Pi Scan can detect pressing the pedal. This allows us to use the much higher quality pedals while still keeping costs reasonably low.
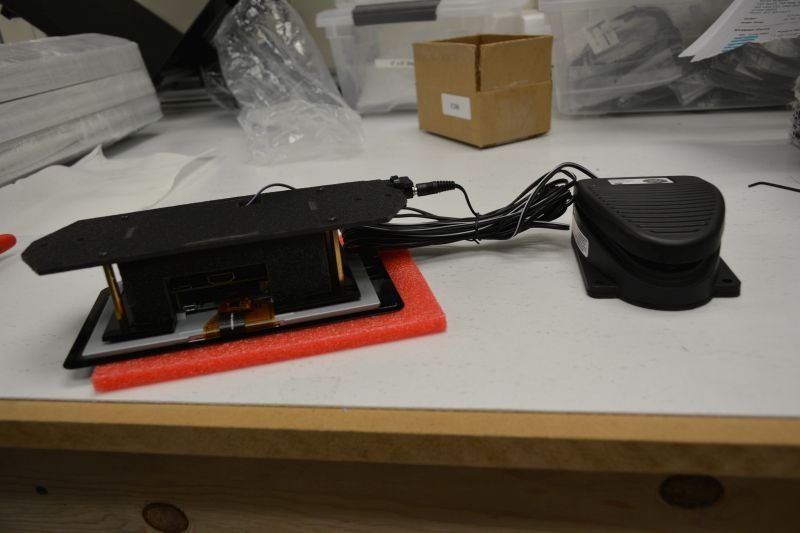
If you ordered an industrial foot pedal with your Archivist Quill, it comes with a 5 meter (16 foot) connection cable. This cable plugs into a jumper cable assembly on the enclosure which connects to pins on the Raspberry Pi. The industrial foot pedals are heavy enough that they stay in one place, but have mounting holes if necessary. They are also sturdy enough that you can rest the weight of your foot on top of it without accidentally triggering the pedal.
However, any setup which has a switch connecting the proper two pins will work to trigger capture. Any button or foot pedal or momentary switch can be used. Interesting modifications to the Archivist Quill might include a pushbutton trigger on the handle or a microswitch that automatically triggers when the cradle presses against the glass.
Assembly
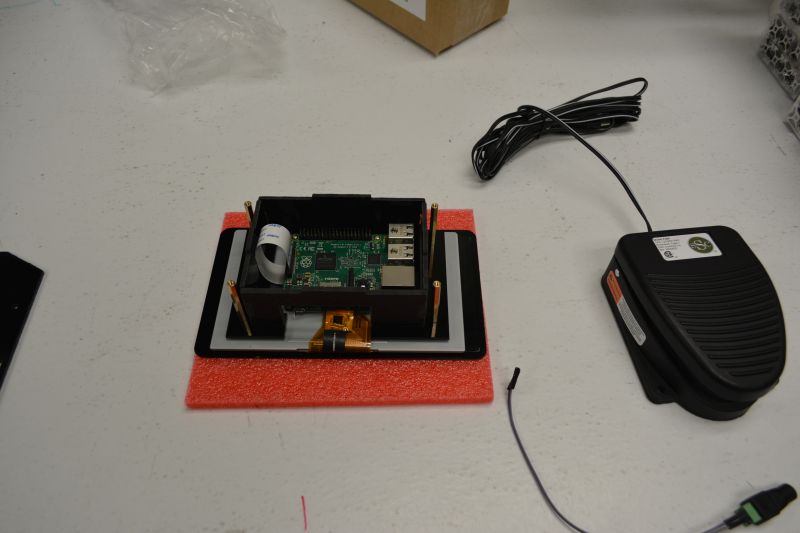
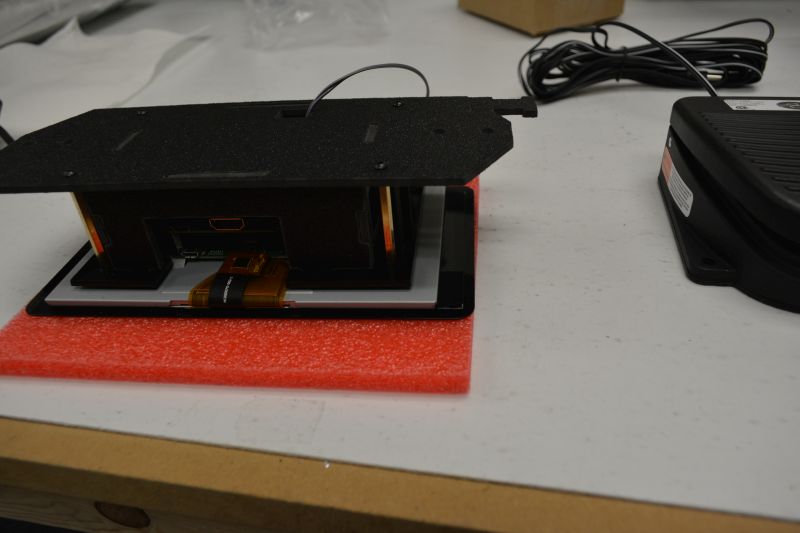
When assembling the Raspberry Pi enclosure, you will need to attach the Jumper Cable Assembly to the Raspberry Pi.
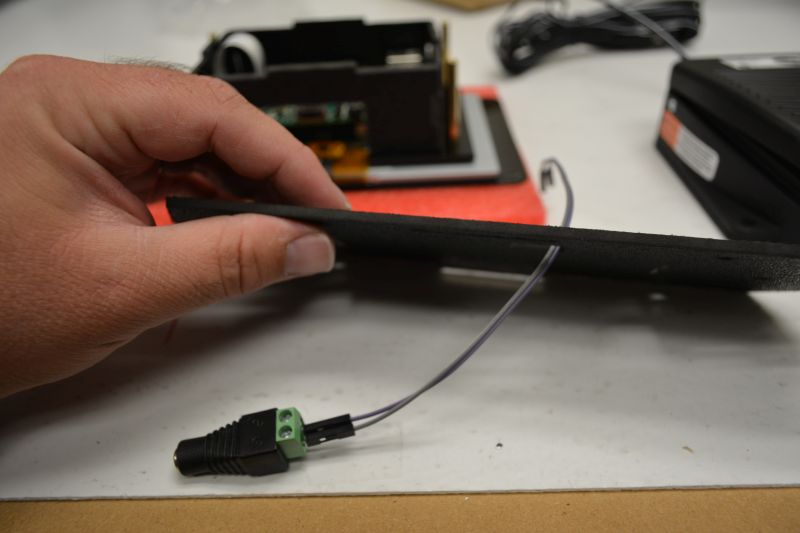
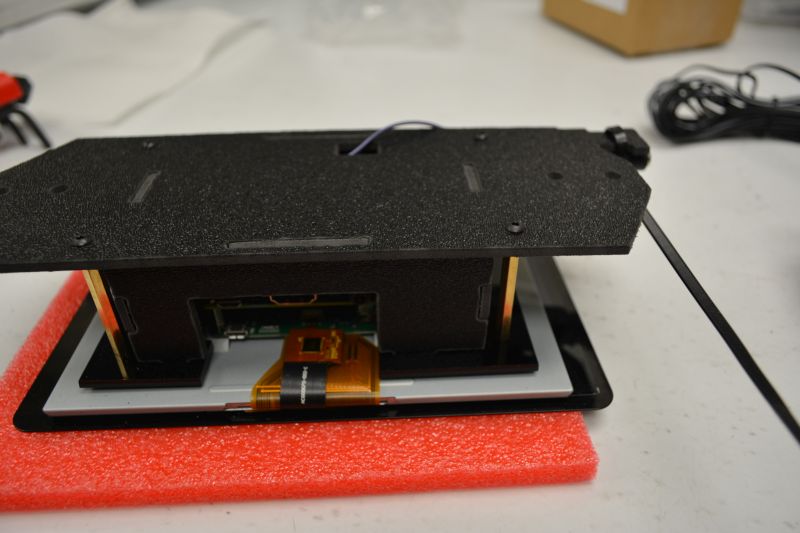
Put the jumper wires of the Jumper Cable Assembly through the access slot.
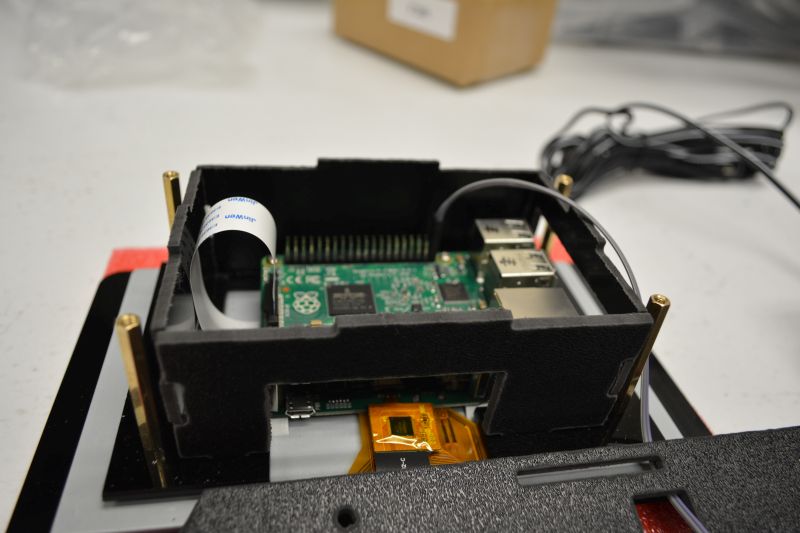
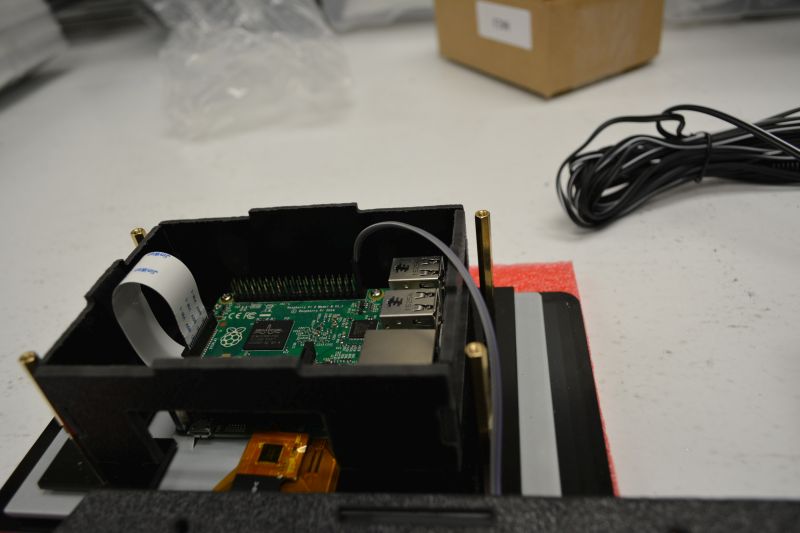
Attach the jumper wires to the two header pins closest to the USB ports. It doesn't matter which wire goes on which pin as long as it is the pair of pins on the far end. In the Raspberry Pi documentation, these two pins are known as GPIO21 and GND.
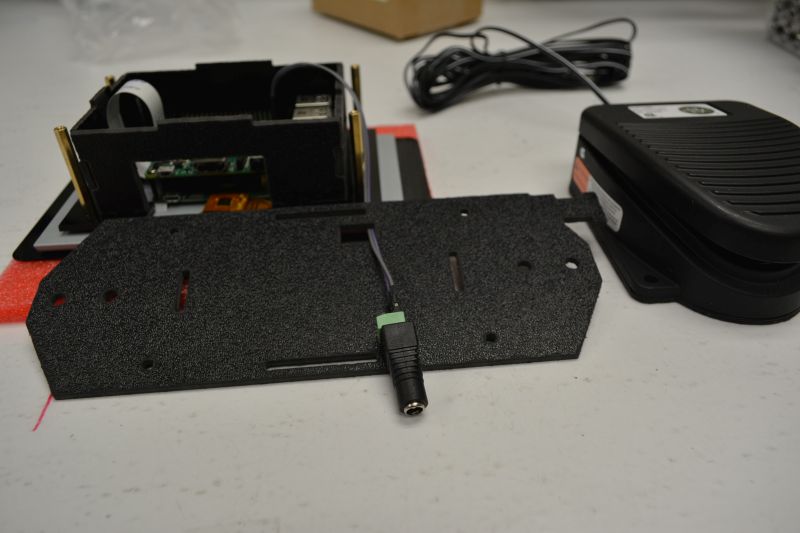
Attach the back plate to the enclosure using the (4) M3 x 6mm Screws that are part of the electronics pack. The barrel plug should be outside of the holde.
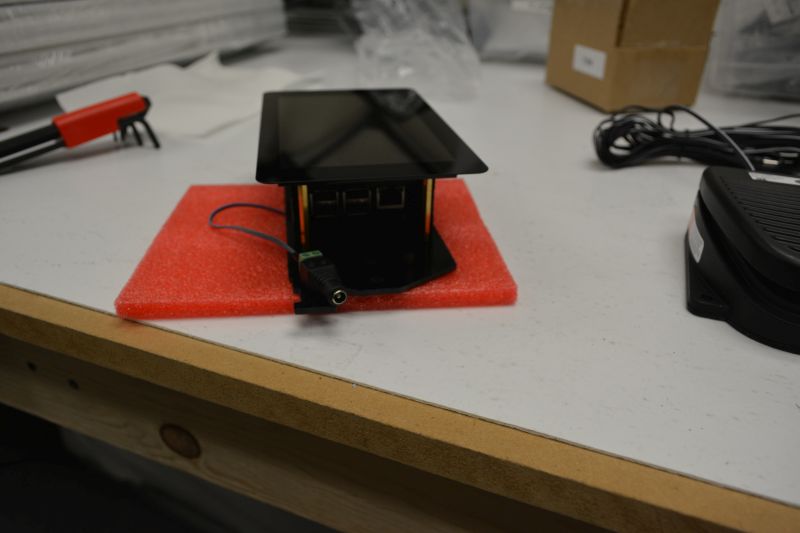
Turn over the Raspberry Pi and enclosure and place the barrel plug on the mounting tab.
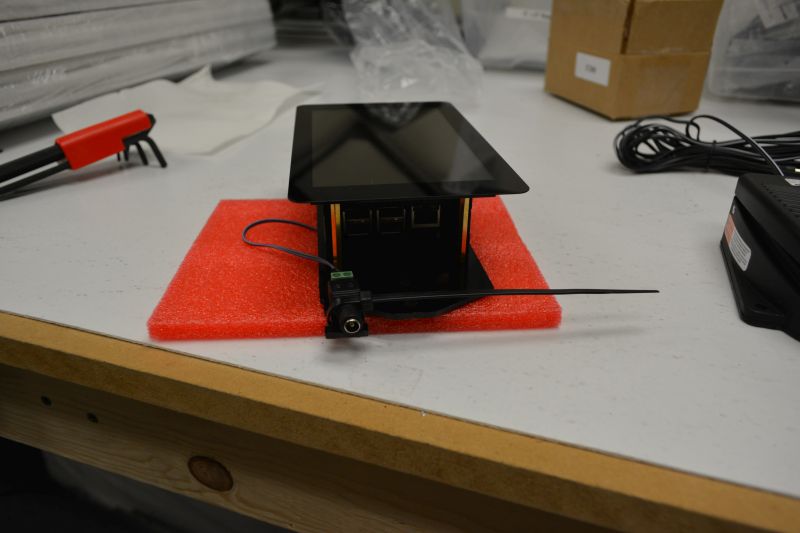
Use a Zip Tie to secure the barrel plug on the mounting tab. The Zip Tie should hold it at the narrowest part of the tab. Note that this barrel plug is incompatible with the one used for the lighting system. It should be impossible for you to accidentally plug the light cord into the pedal port and vice versa.
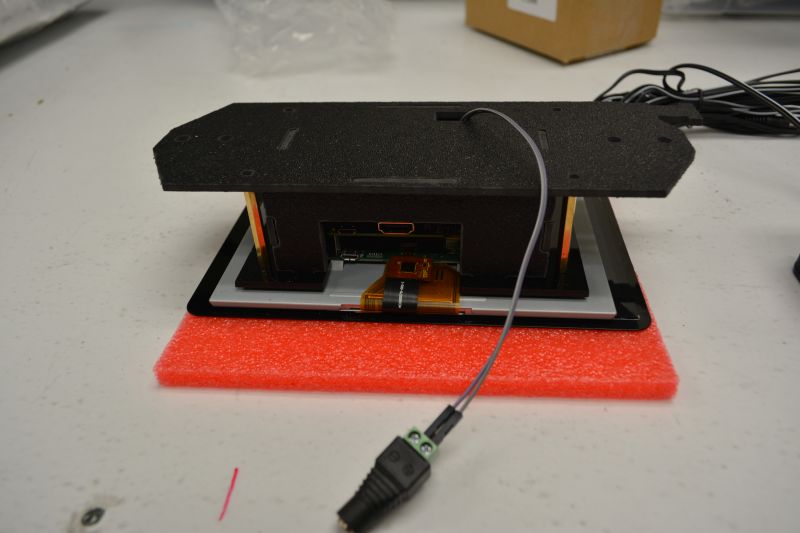
Turn the enclosure over and push the excess wiring inside of the enclosure.

Turn over the enclosure and connect the barrel jack of the Foot Pedal to the barrel plug. Cut off excess zip tie plastic.